This post is to help you get to the famous rock where you have probably seen many instagram pictures, here’s our experience so let’s start.
First thing you should know, is that the way to take once you get to Braemar Hill Road, is the one on the left! Yes, you are going to have to jump the fence. I start with this because when we get there the first time we went to the right and then the second time we saw people doing exactly the same thing, so keep reading and you won’t make the same mistake.
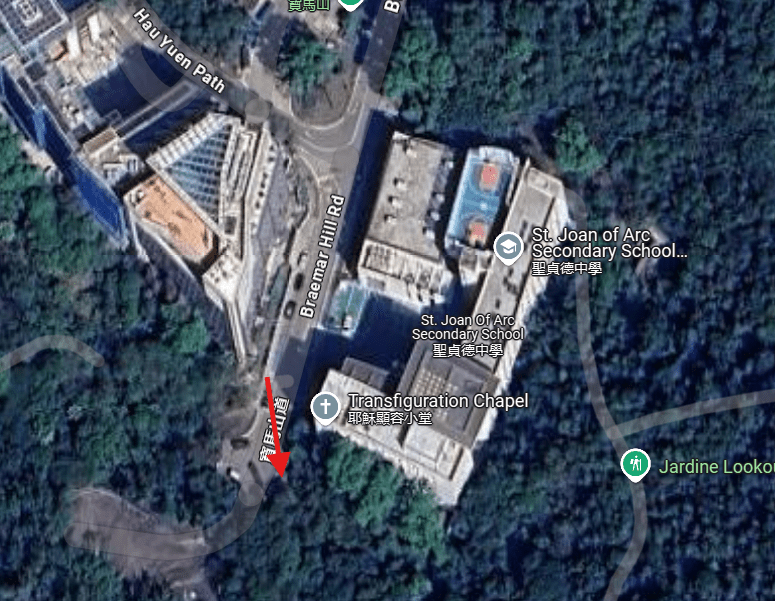
Braemar Hill Peak starting point
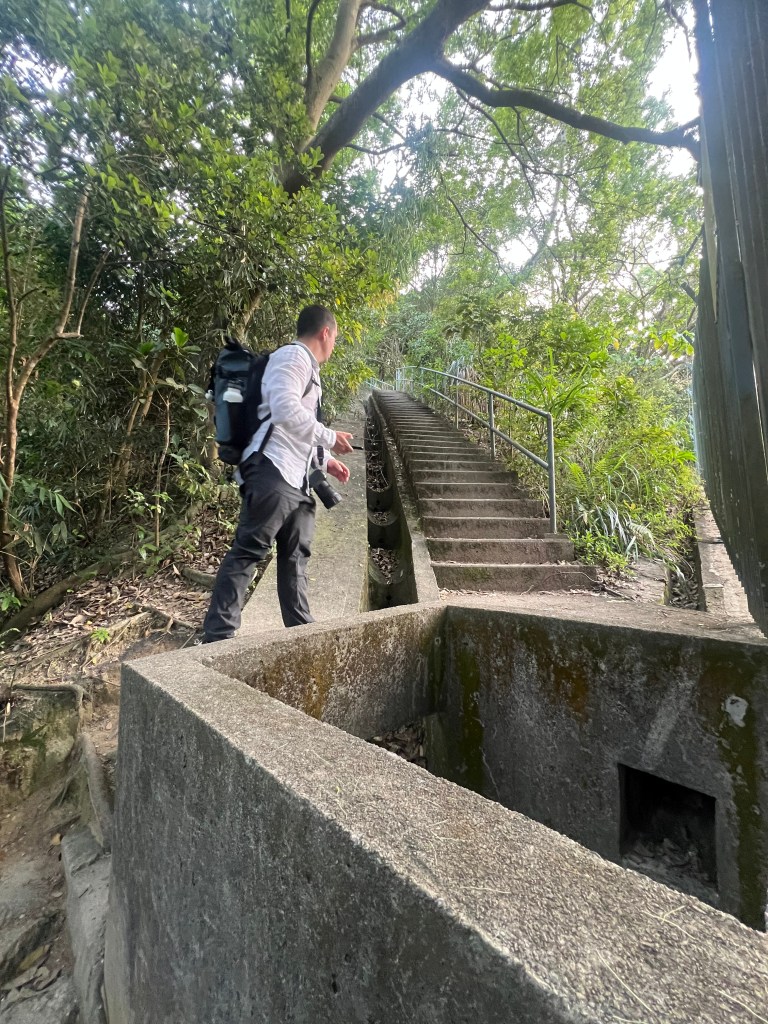
To Braemar Hill Rd you can get by any public transport or by Uber, just make sure you get to the very end of the road (you will need to pass the school). Once you there you will see a small fence on the left, just jump the fence and keep walking, you will see some steps, start to follow them up until you get to this point (see pictures).
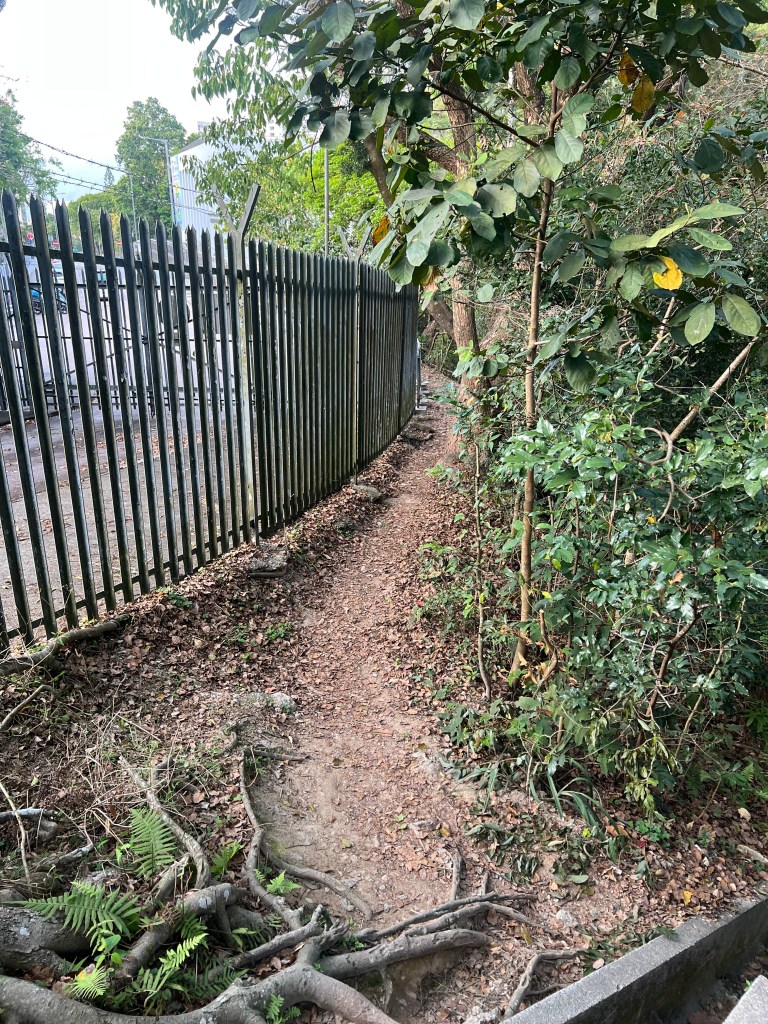
Starting pointThis is the fence you need to jump overOnce on the top of the steps, go left follow this pathGo all the way up
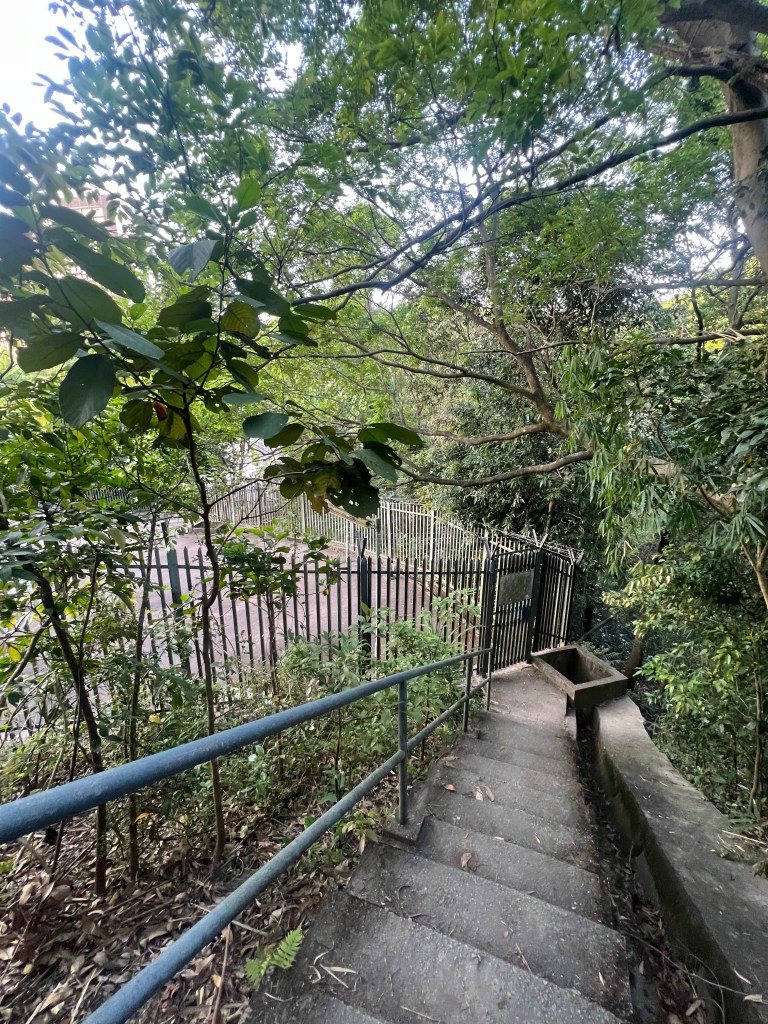
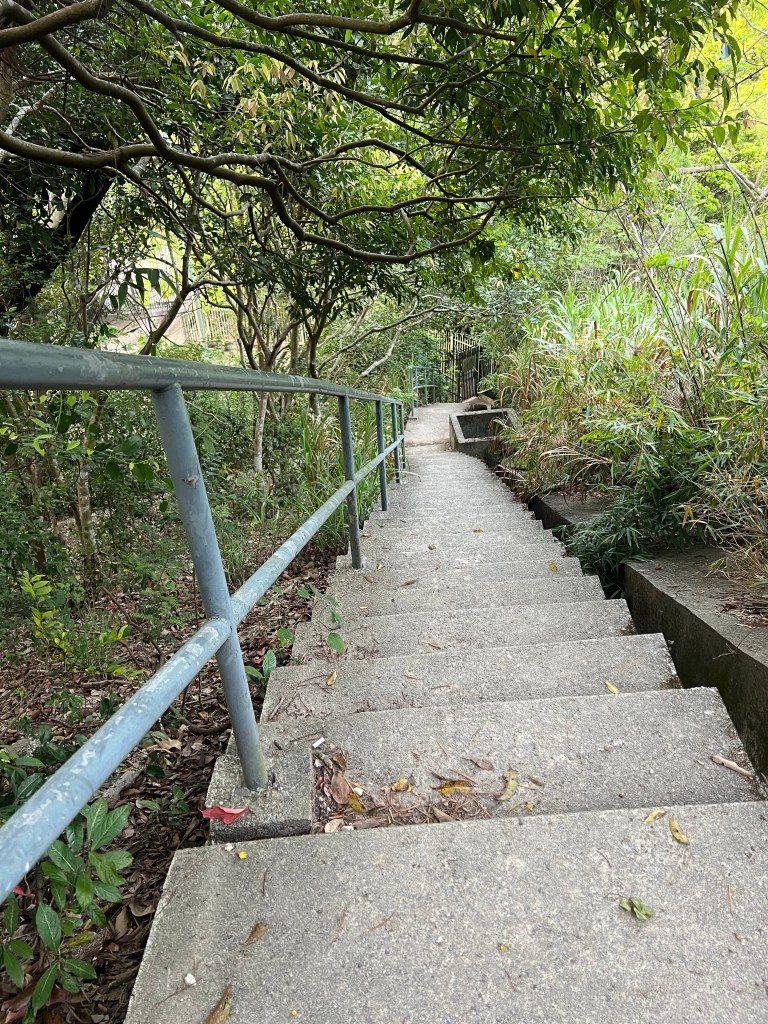
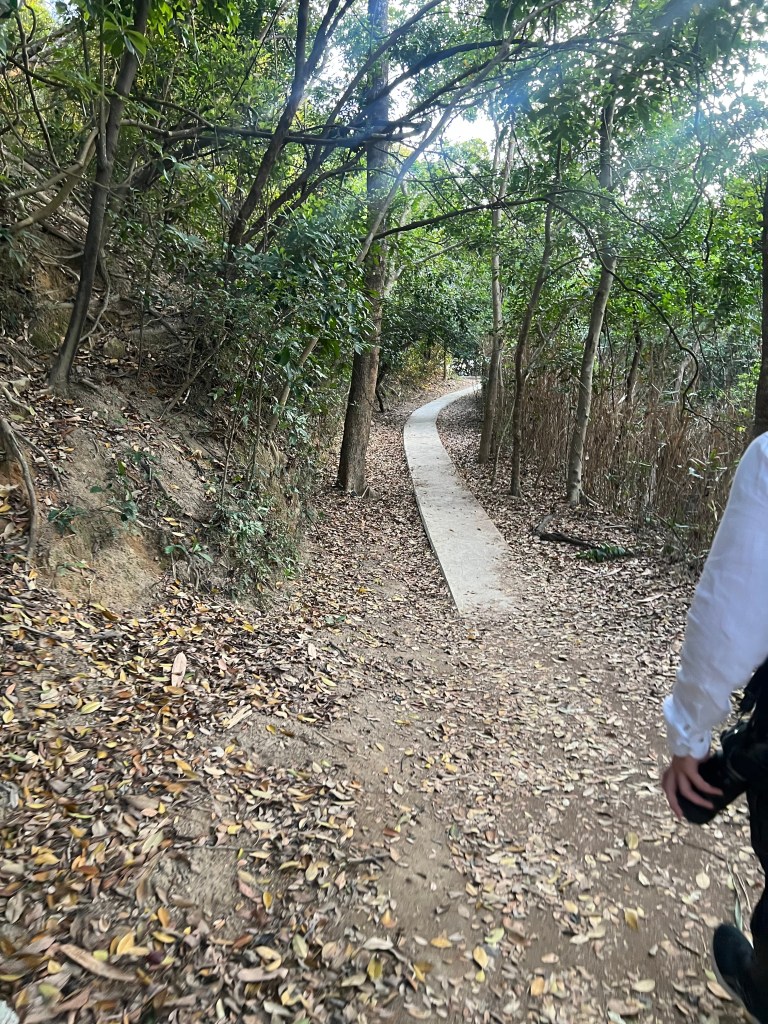
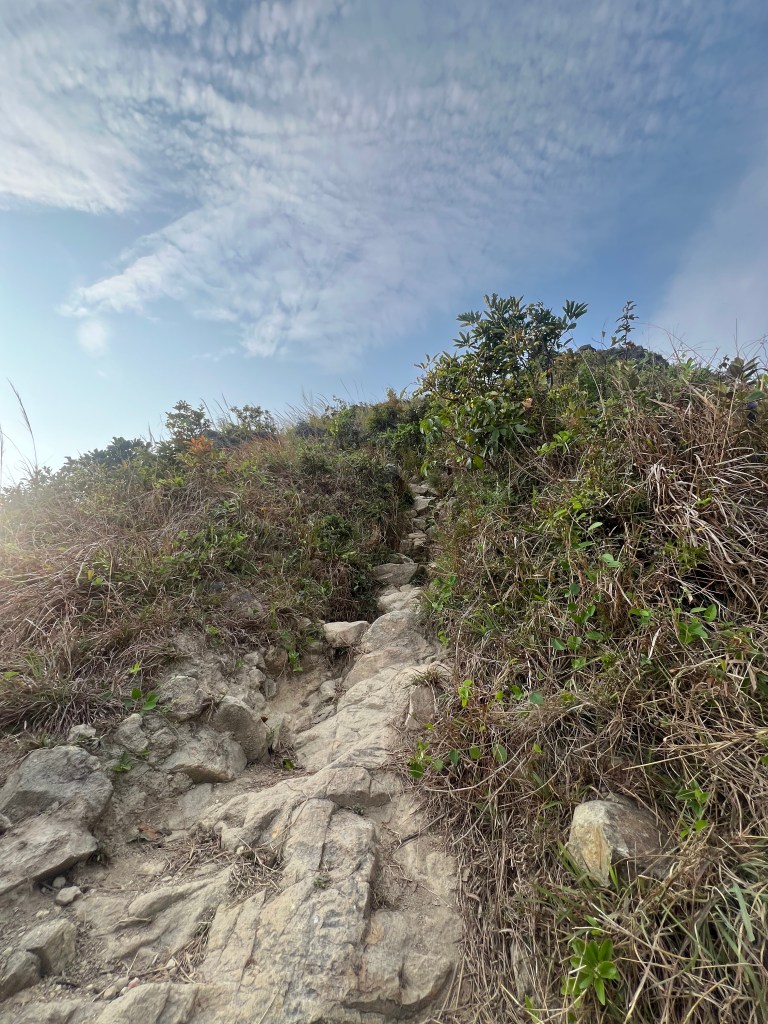
Right, now when you get to the very top of this steps, you will see there is a pathwalk, take right and keep walking.
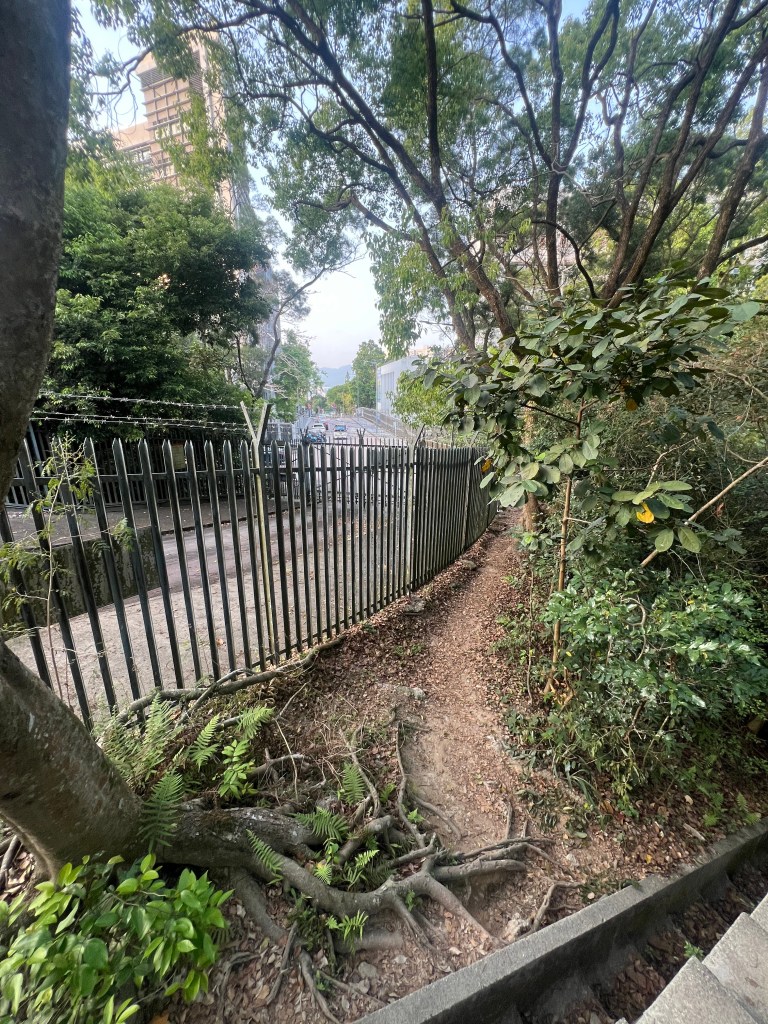
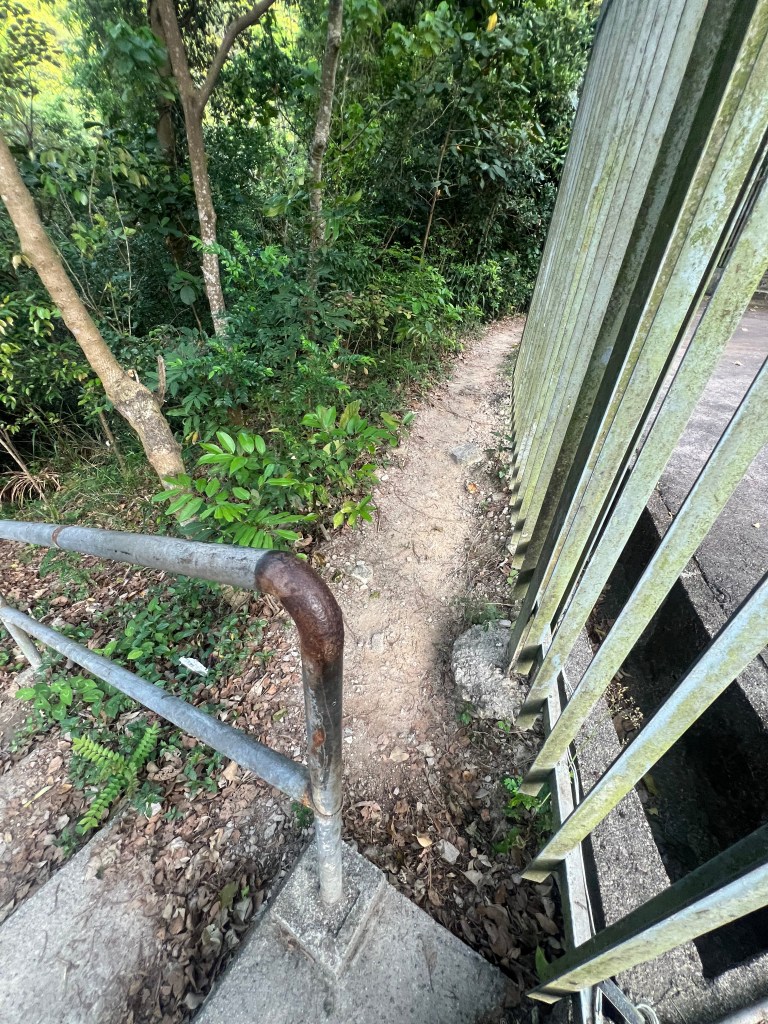
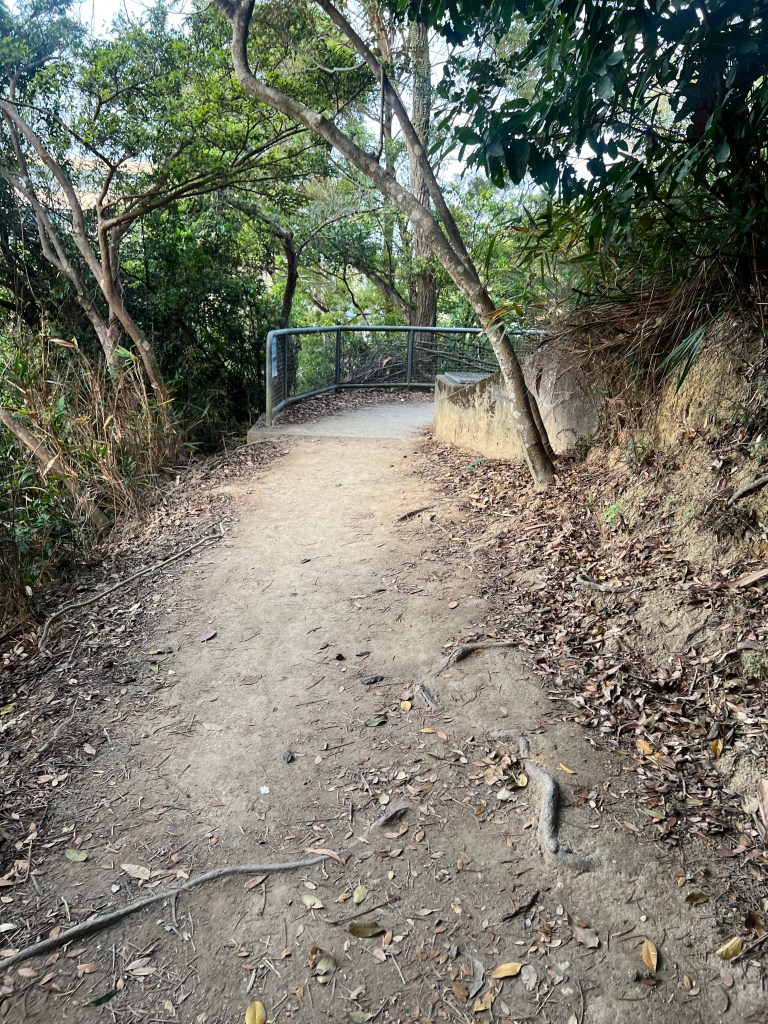
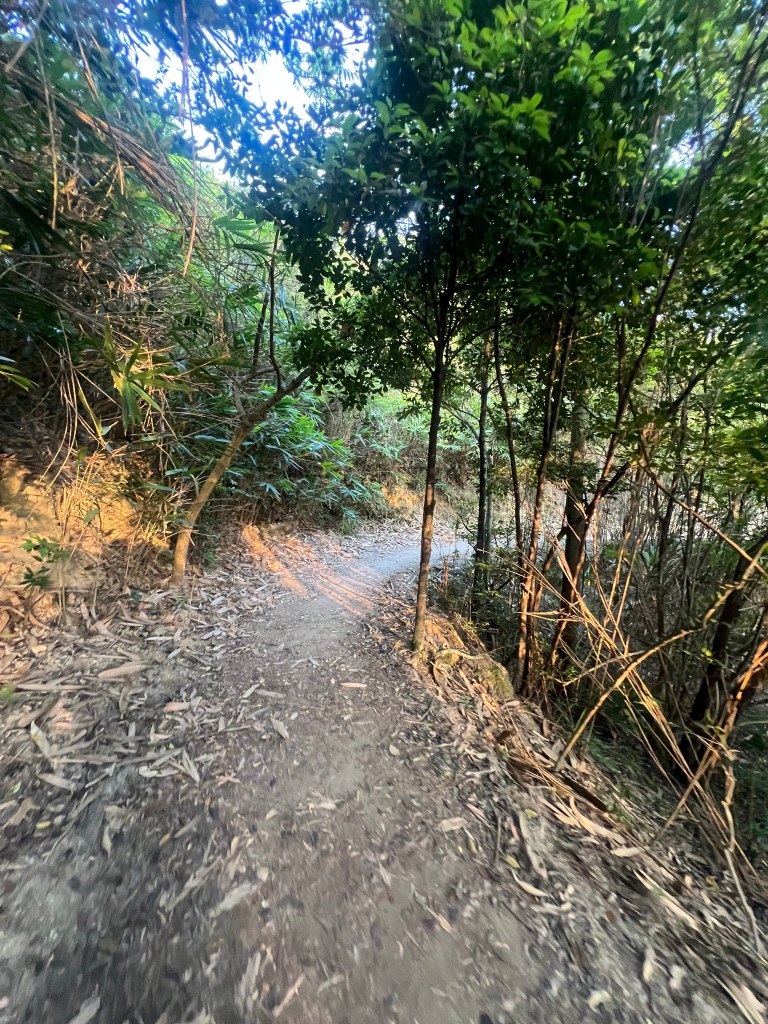
This is how it will lookPathwalkHere the path starts to clear
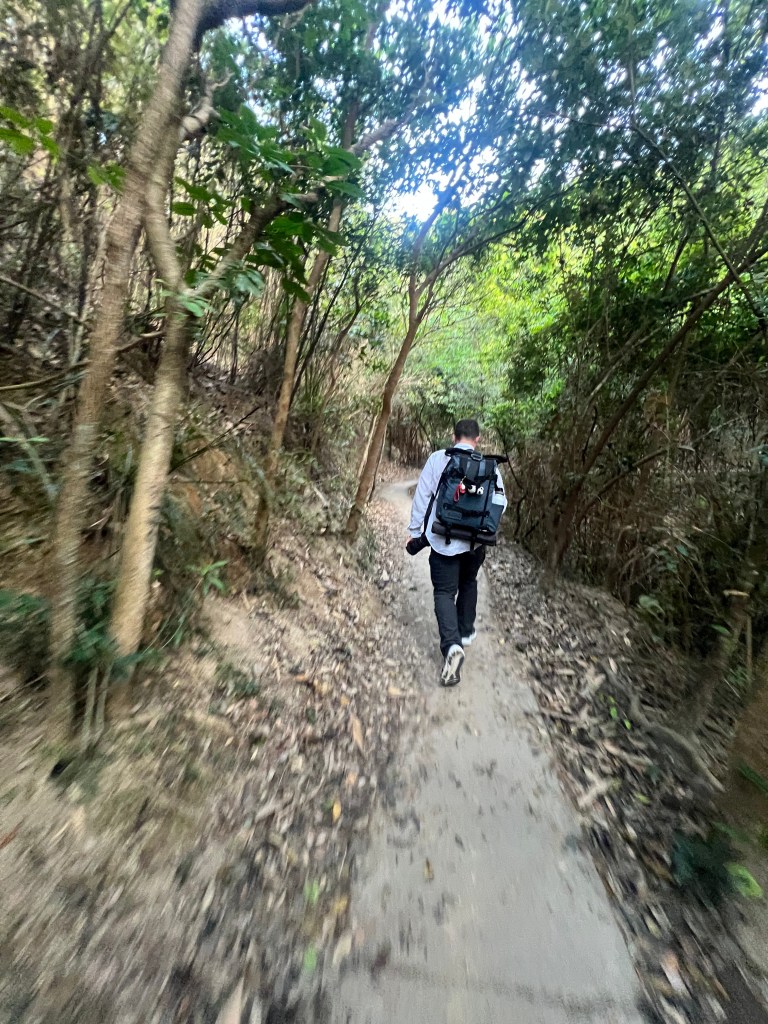
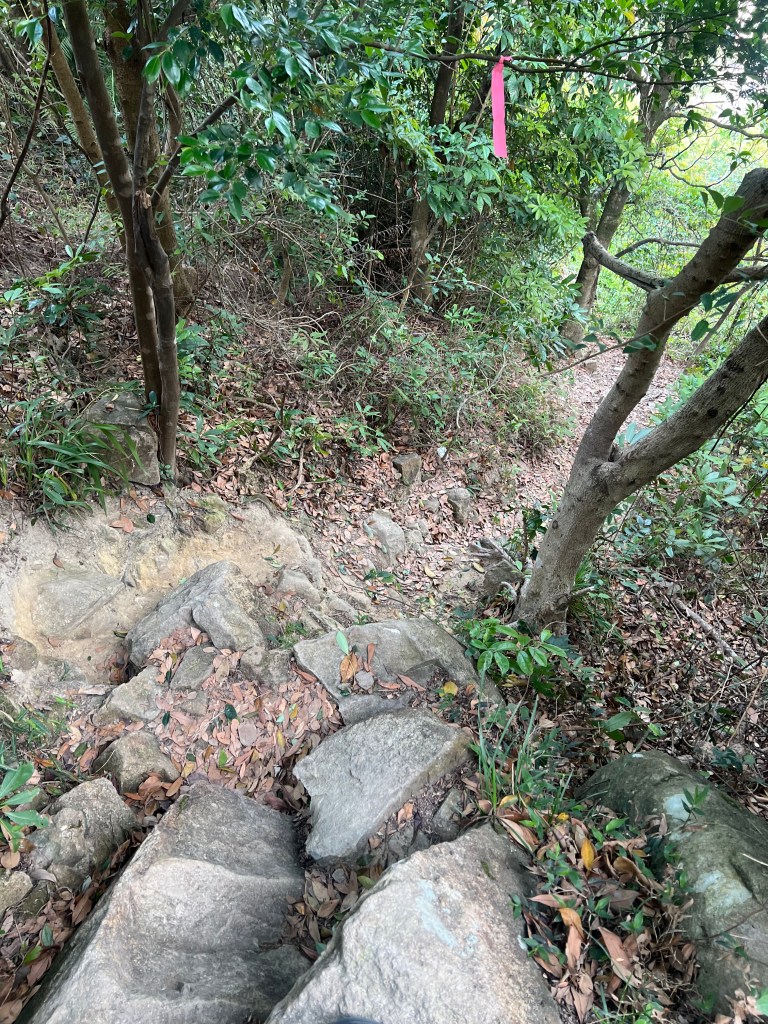
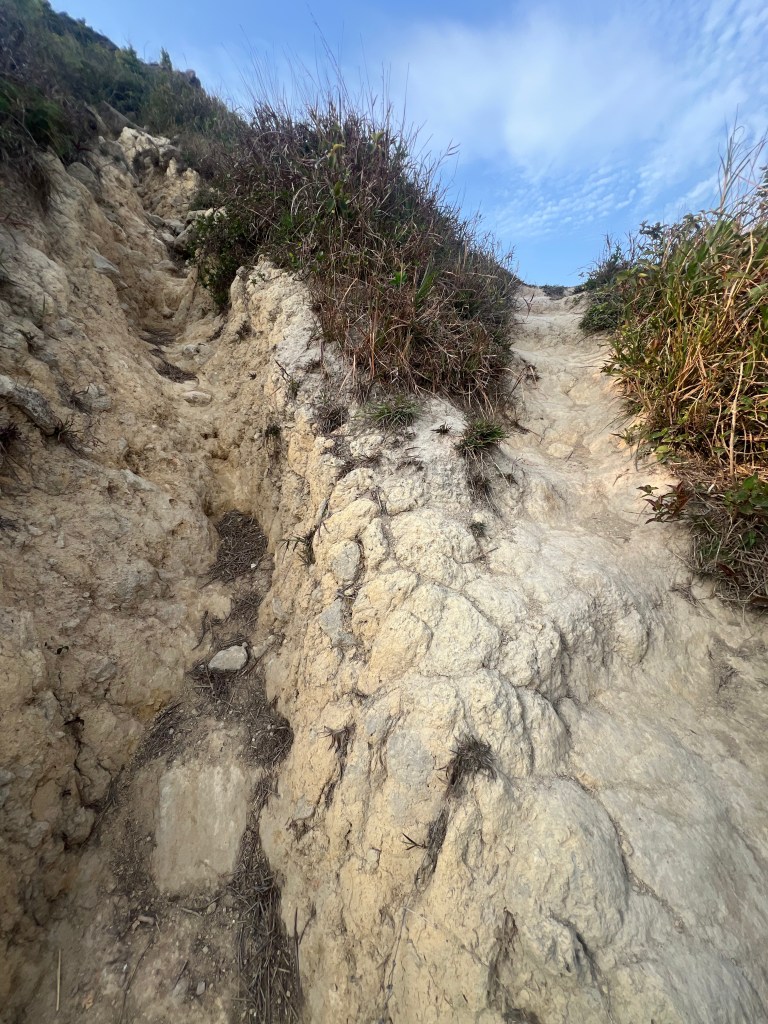
To walk this path it takes about 15 minutes, along the way you will see different spots where you can take pictures. Also, you will leave behind some rocky area in the pathwalk, after this you are basically there.
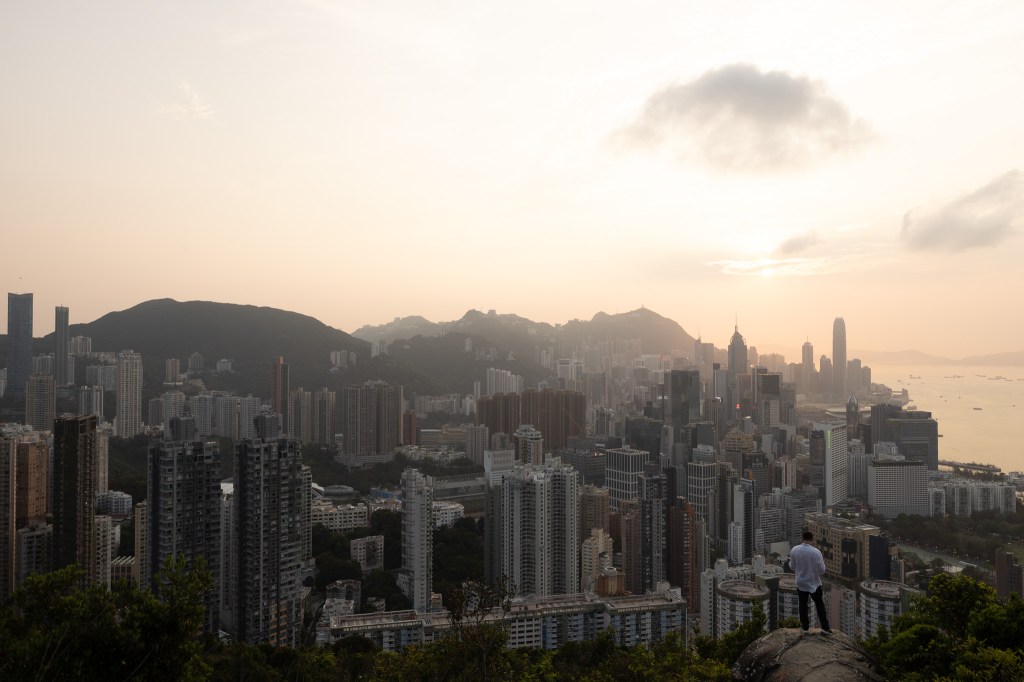
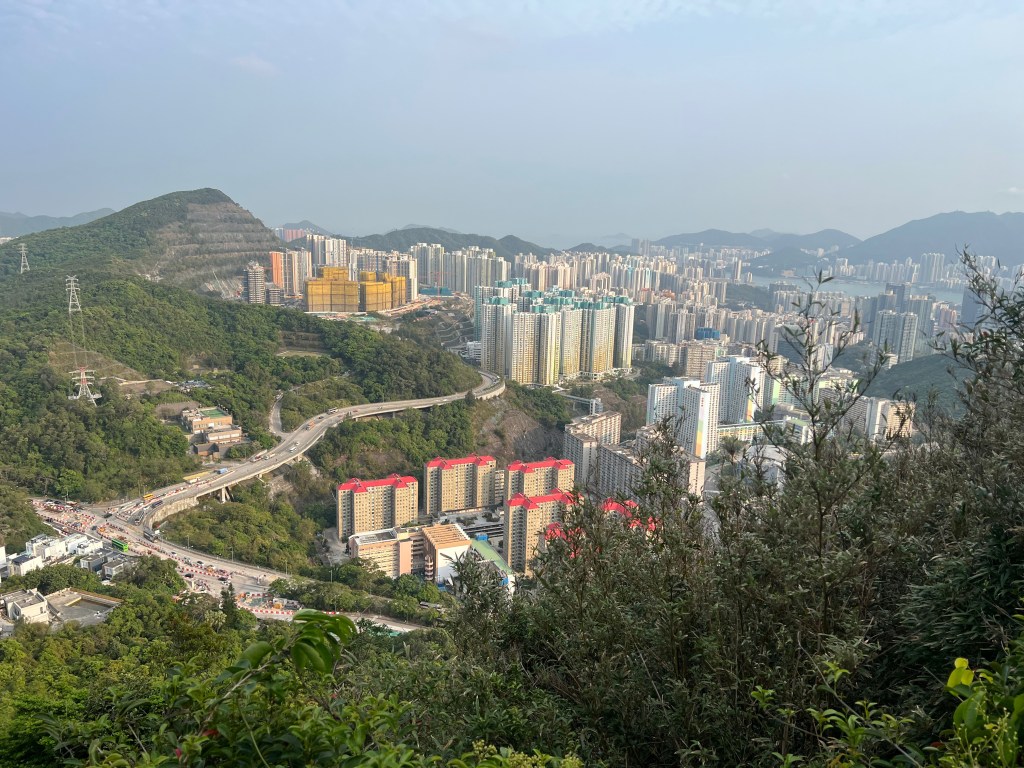
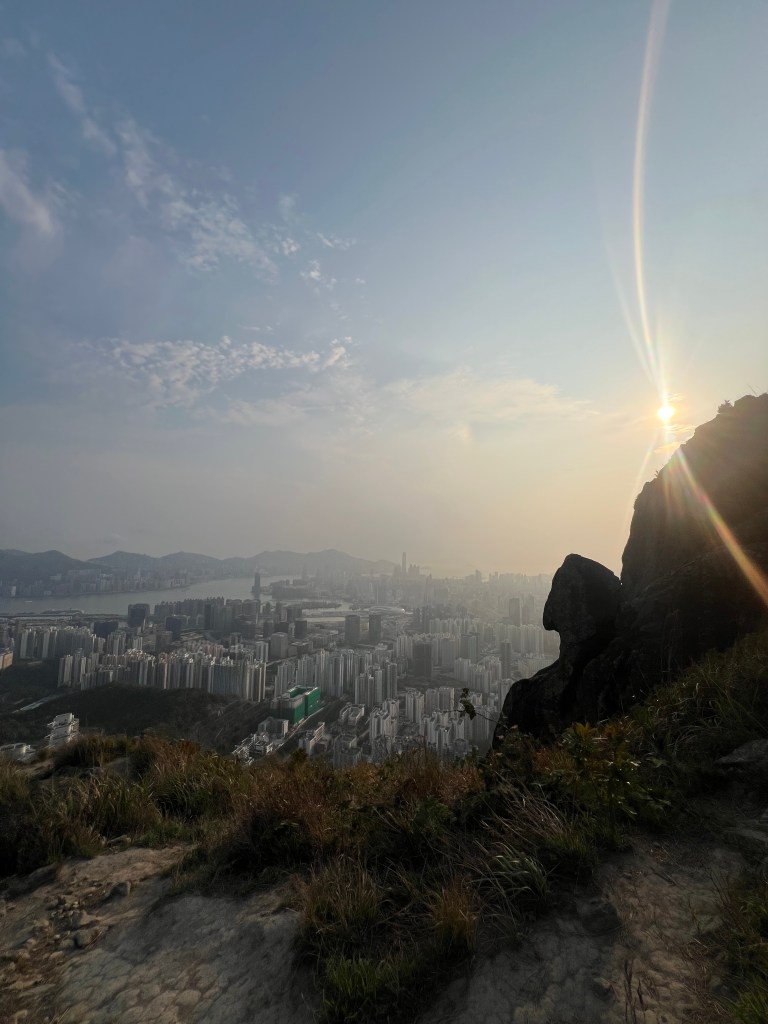
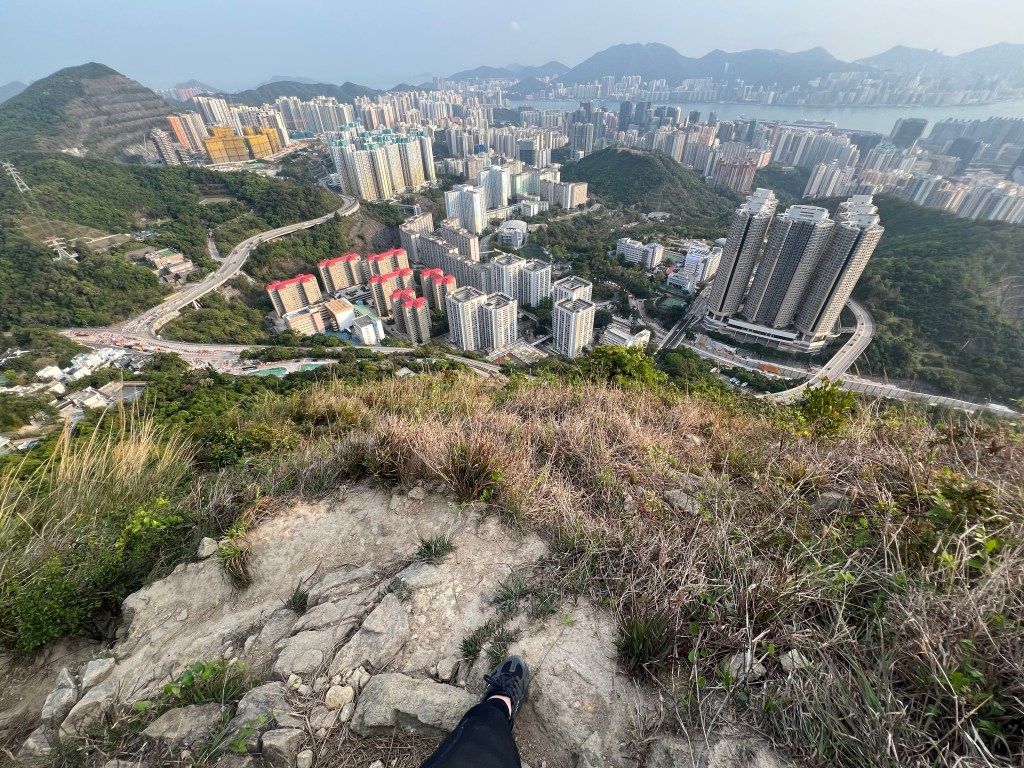
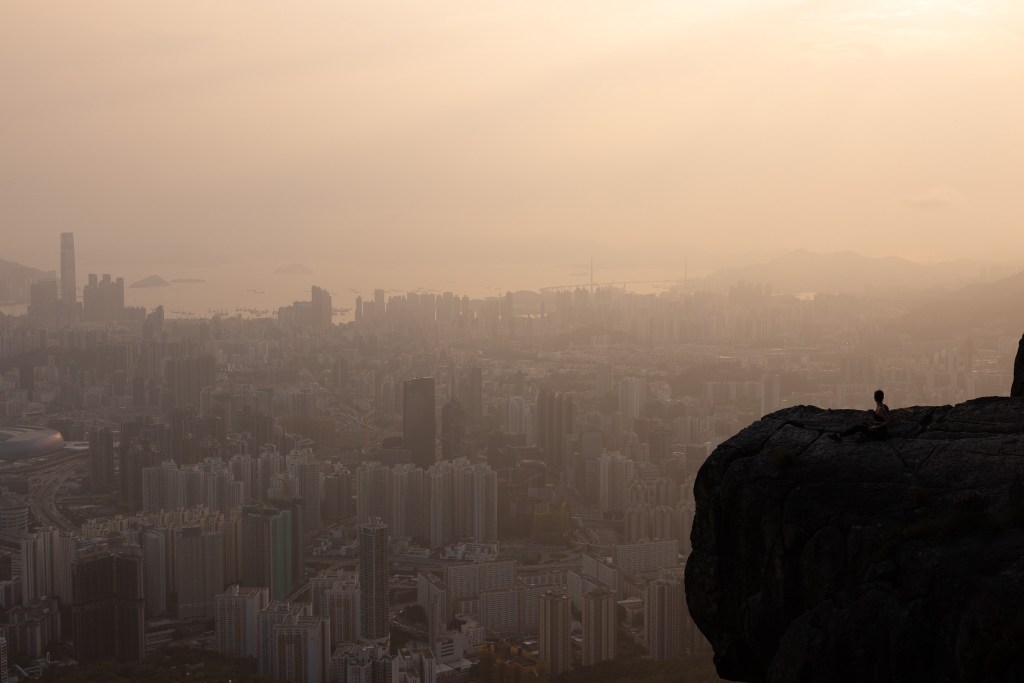
You will know you get there because on the right you will have a whole view of the buildings. Next thing you have to do to get to the Rock viewpoint, is walk up the hill, it’s not anything difficult and you don’t have to walk much but the ground might be very slippery. The views you will get are these, you probably recognise the spot since it’s quite popular.
Braemar Hill Peak (Photo Rock)
Worth it, right? I hope this post serves you as a guide to get there and if you already been there and have any comments just leave them below, we will be waiting to see what you would like to add.
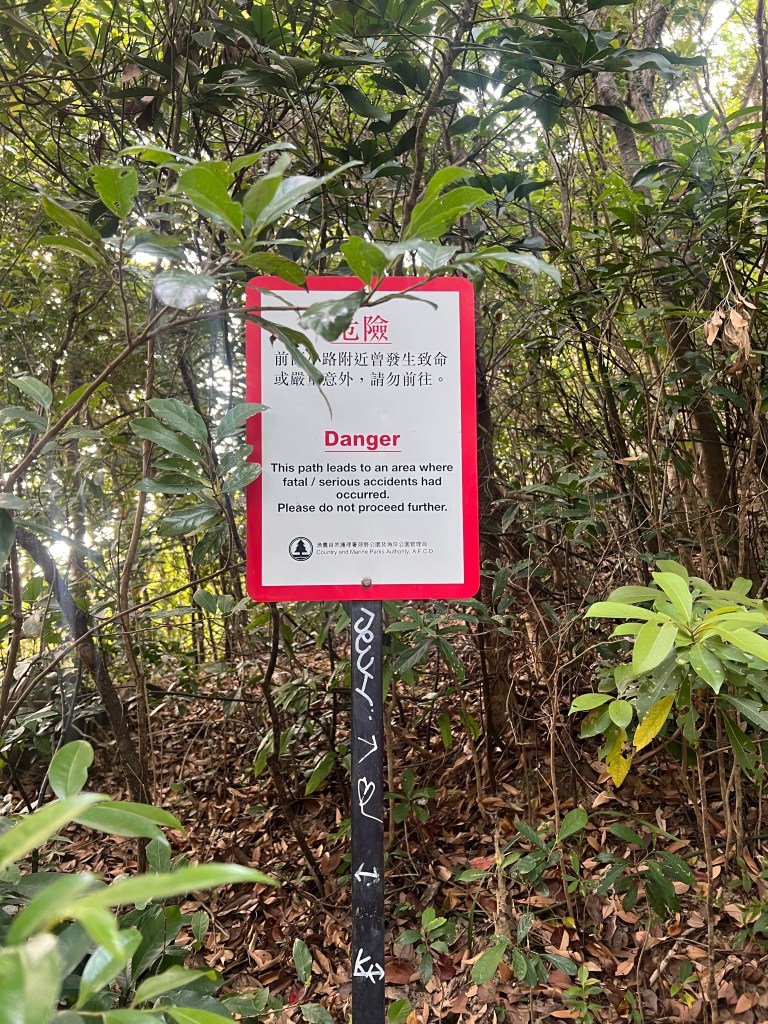
To do this hike you have a few options, in one of them you can visit Kowloon Peak, stop at Elephant Hill and finish in Suicide Cliff, but for us our main goal was to get to Suicide Cliff for sunset and we didn't have much time, so here I will explain just what we did and how was our experience. Just for the record, it wasn't our intention to do this the hard way, but it just happened to be and we just moved ahead with it!
Before I start, first things first, you should pack light and wear proper hiking shoes. The hike can get a bit tricky in some parts and this is in my opinion, without any doubt, is one of the most important things.
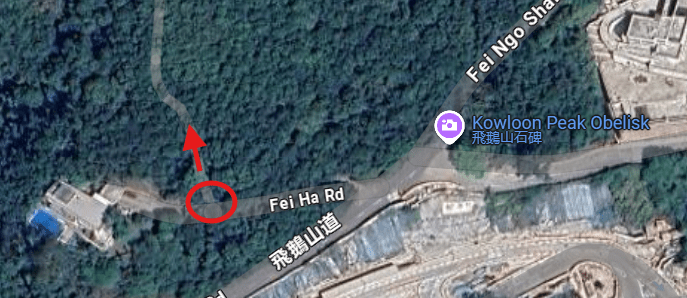
Our hike started in Fei Ngo Shan Rd, if you ubicate your map where the Kowloon Peak Obelisc is, you will see that opposite to this there's a small road without an exit, it's called Fei Ha Rd. and here in the right is the start of the trail that will take you to Suicide Cliff.
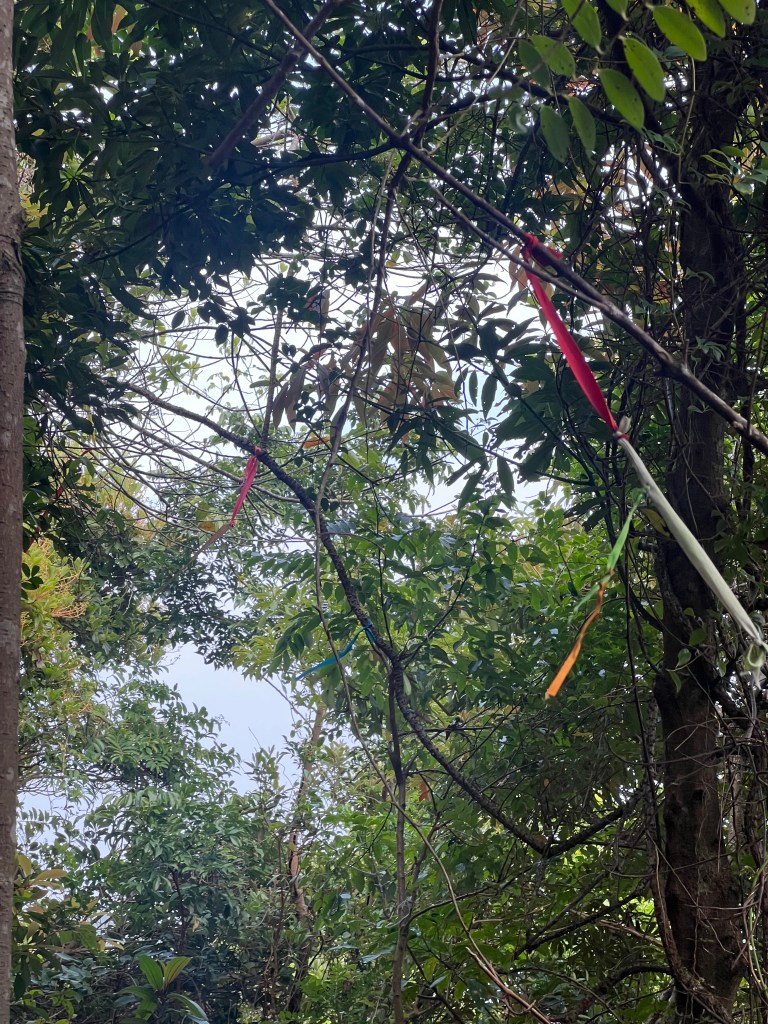
Here it might look a bit confusing at the start since there's not a properly marked route, but once you start to go up you will see that the path is easy to identify. You will also find strings that another hikers tied to the trees to mark the way up (it was actually helpful!).
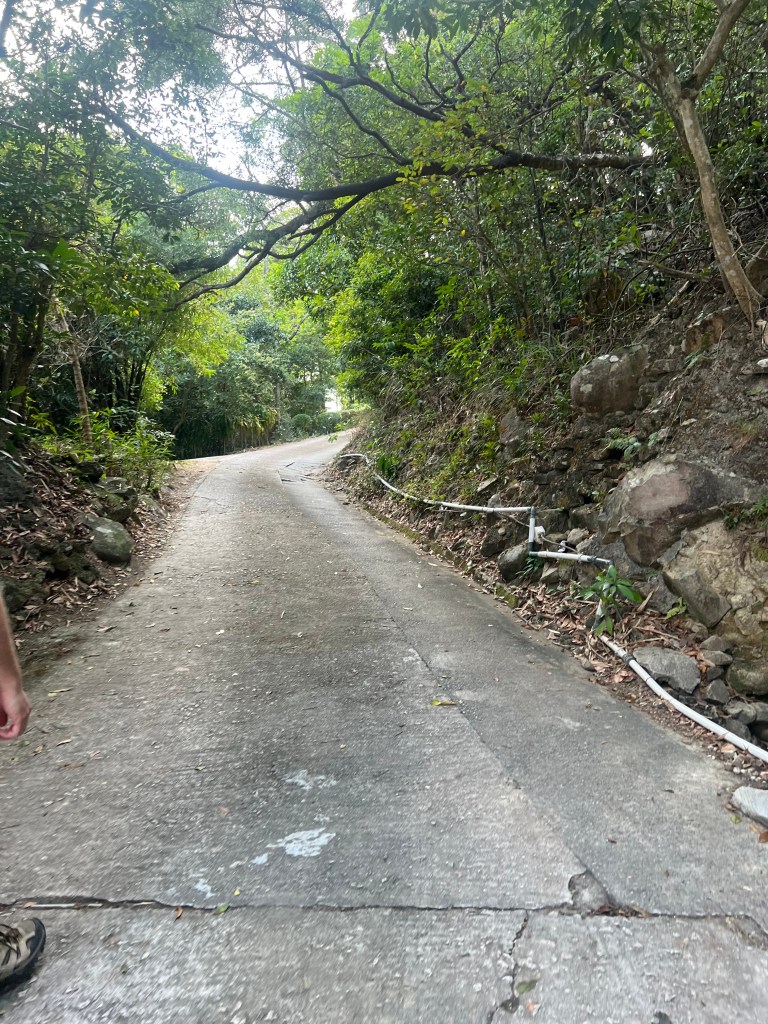
Fei Ha Rd
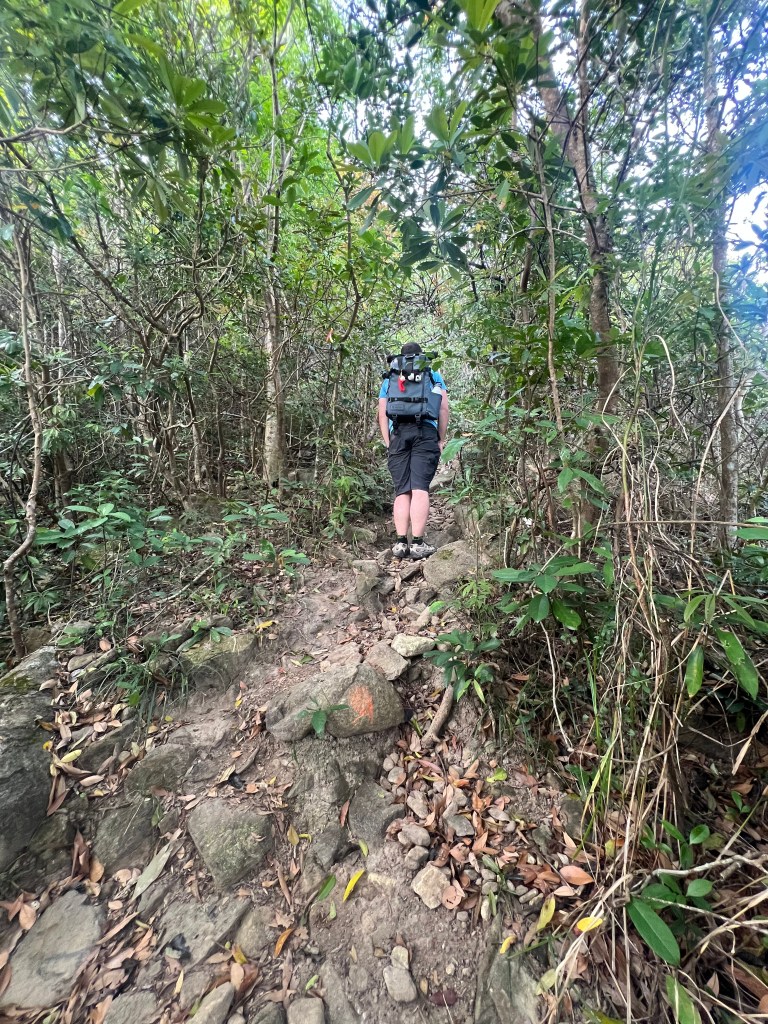
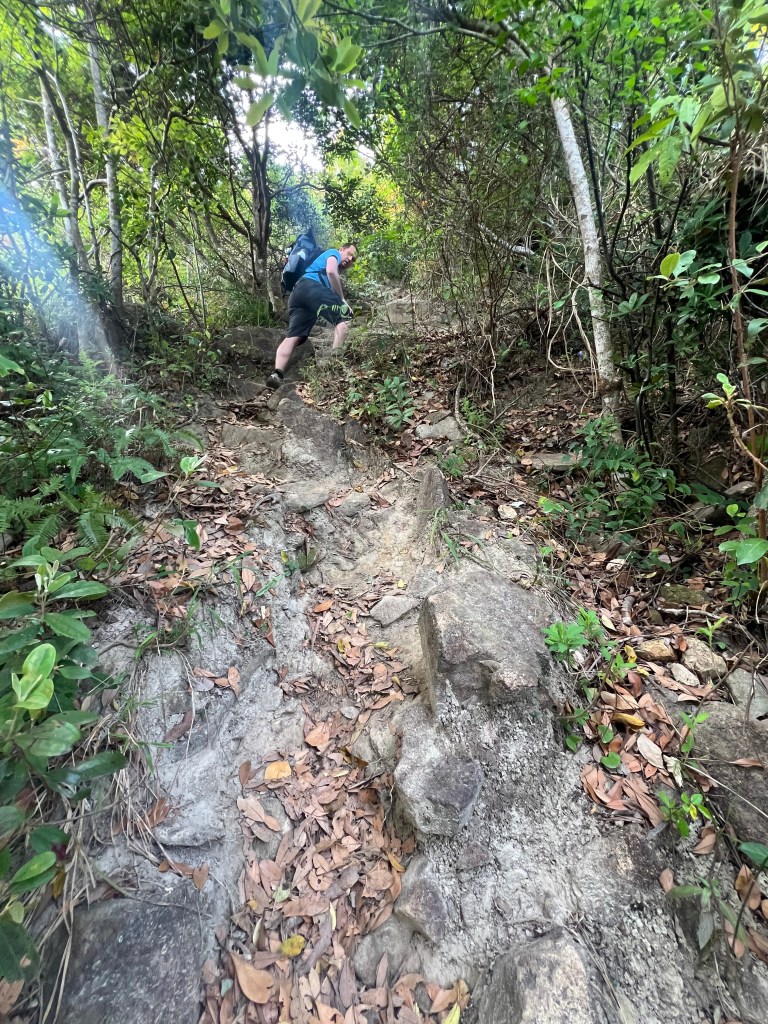
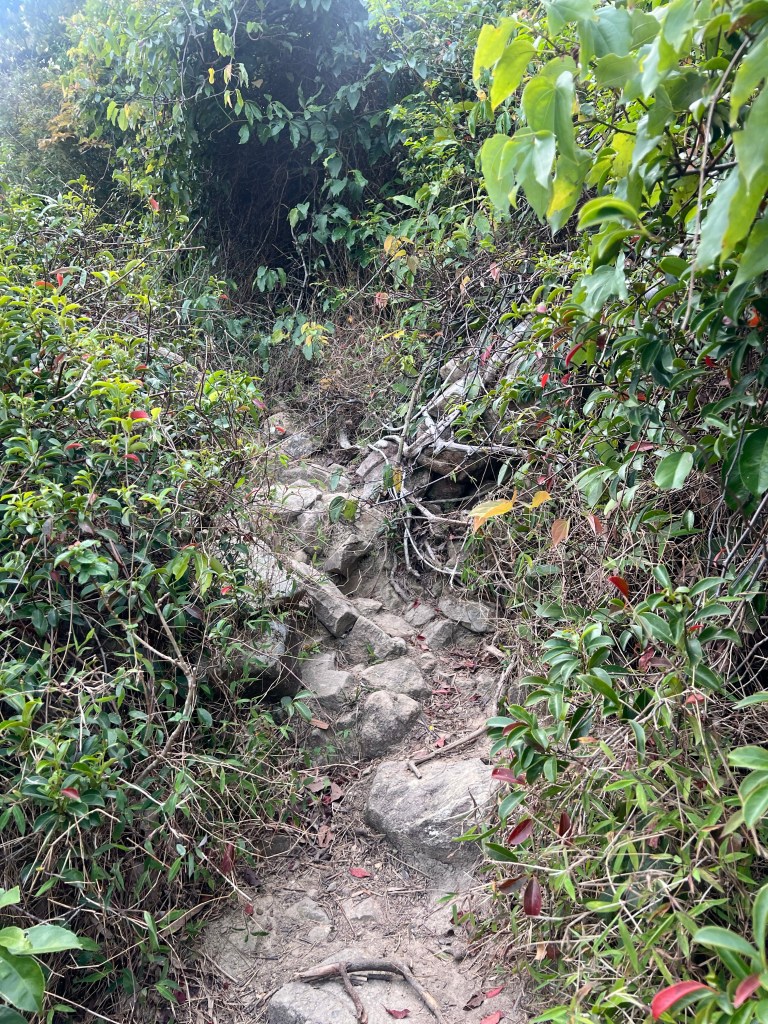
What you see above is the beginning of the trail, is not too bad here but then it starts to get more complicated, overall because of the vegetation in some parts and there's some areas where the path is almost vertical.
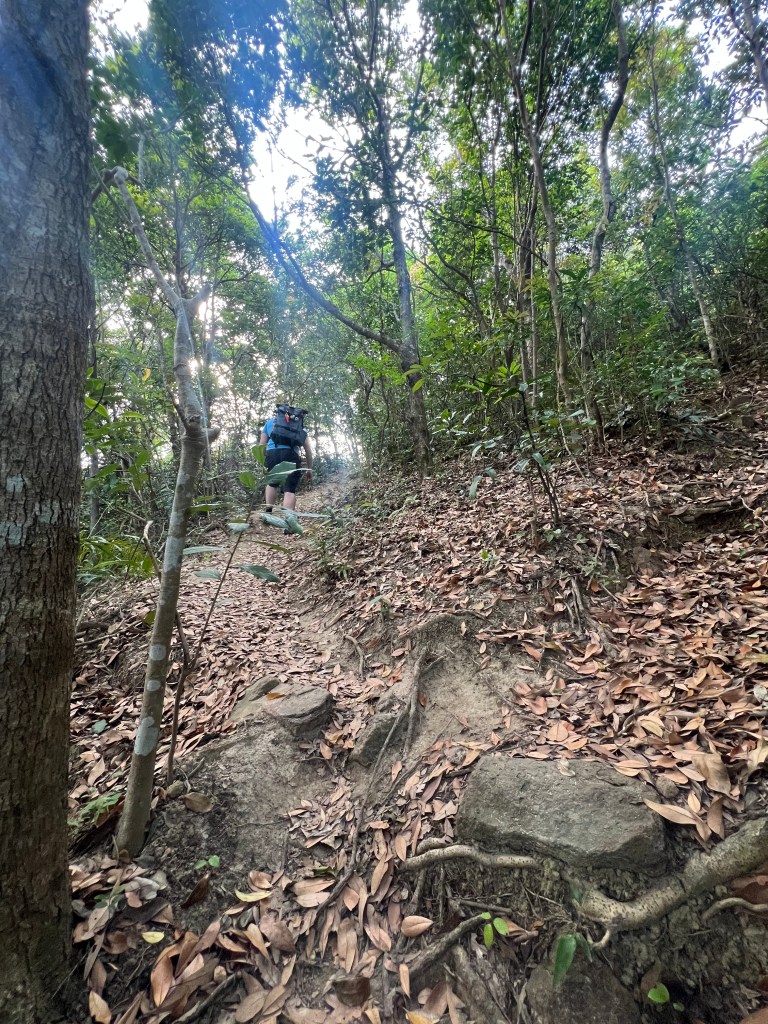
Steep part during the hikeStrings on the trees
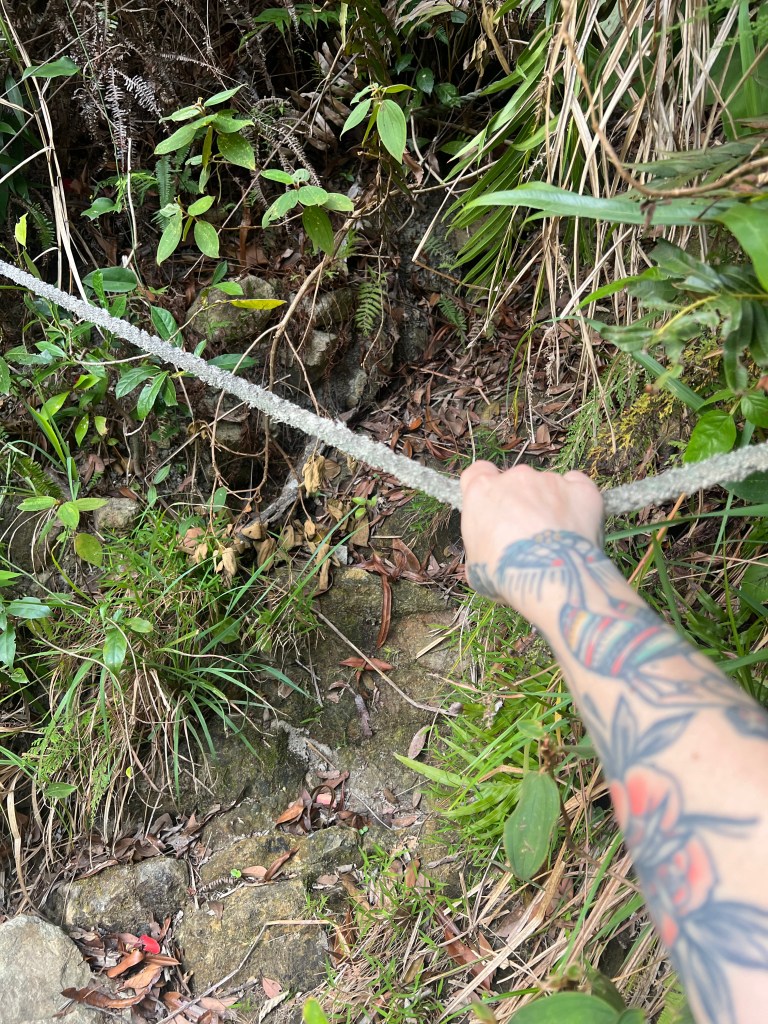
As you can see the path is quite well signalised and there you will find also ropes that will help you to go up if needed.. Here we were hiking for about 20min.
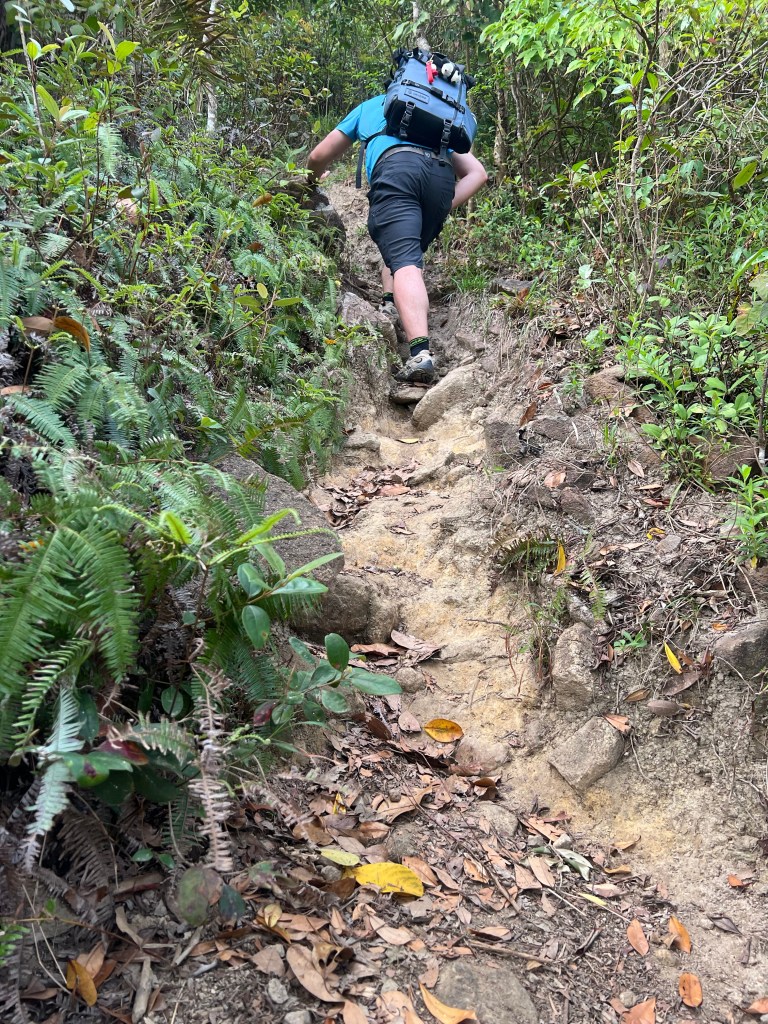
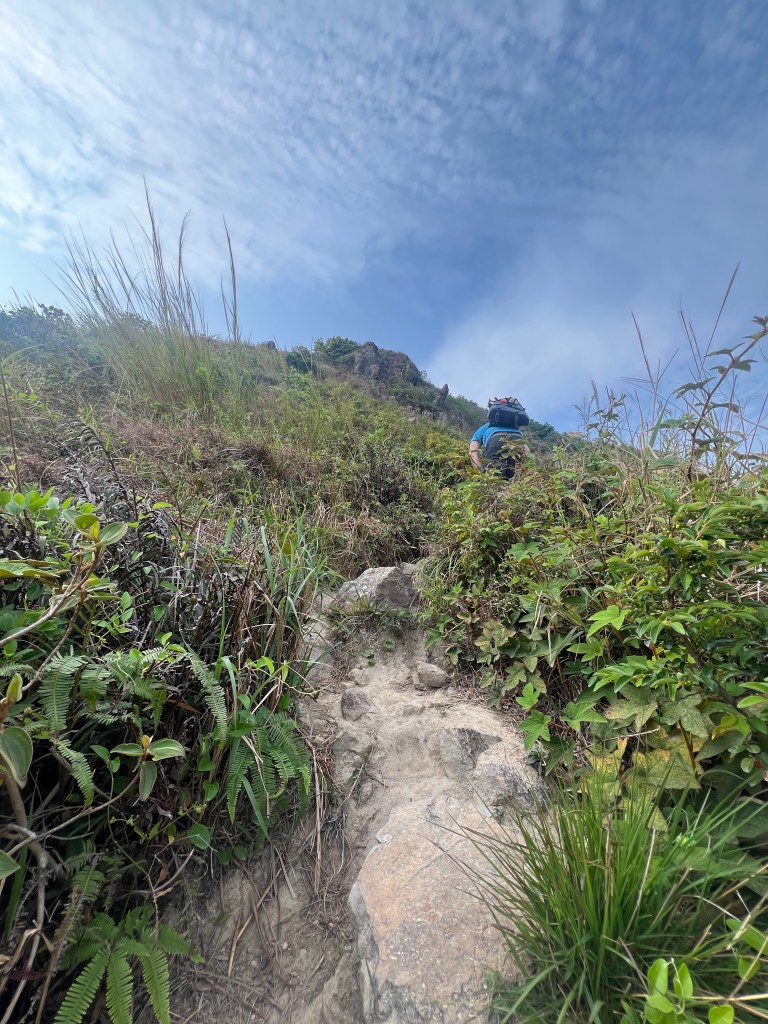
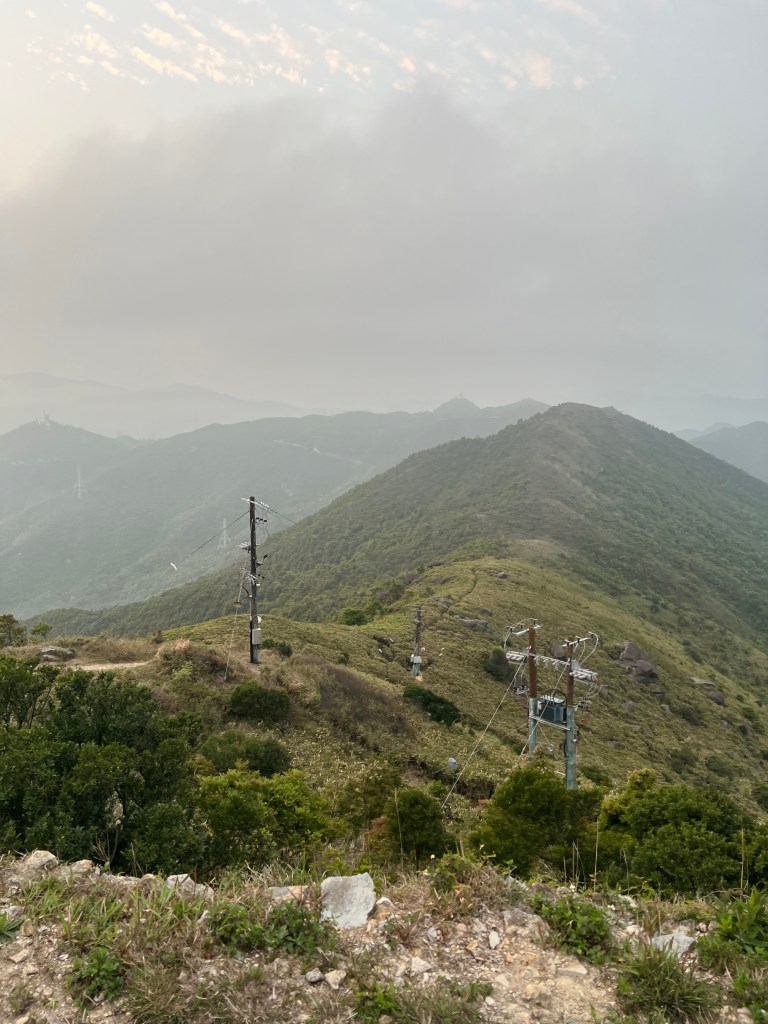
After approximately 30 minutes we started to see a bit of the views, but the hardest part was about to come so we put our phones away and headed straight up! We didn’t face any big drops but the path is made of rocks and is very steep so you need to watch where you are stepping.
Dense vegetationAlmost there (we thought)Very steep partViews are promisingThe rock here is a bit more slipperyParrot Beak rock
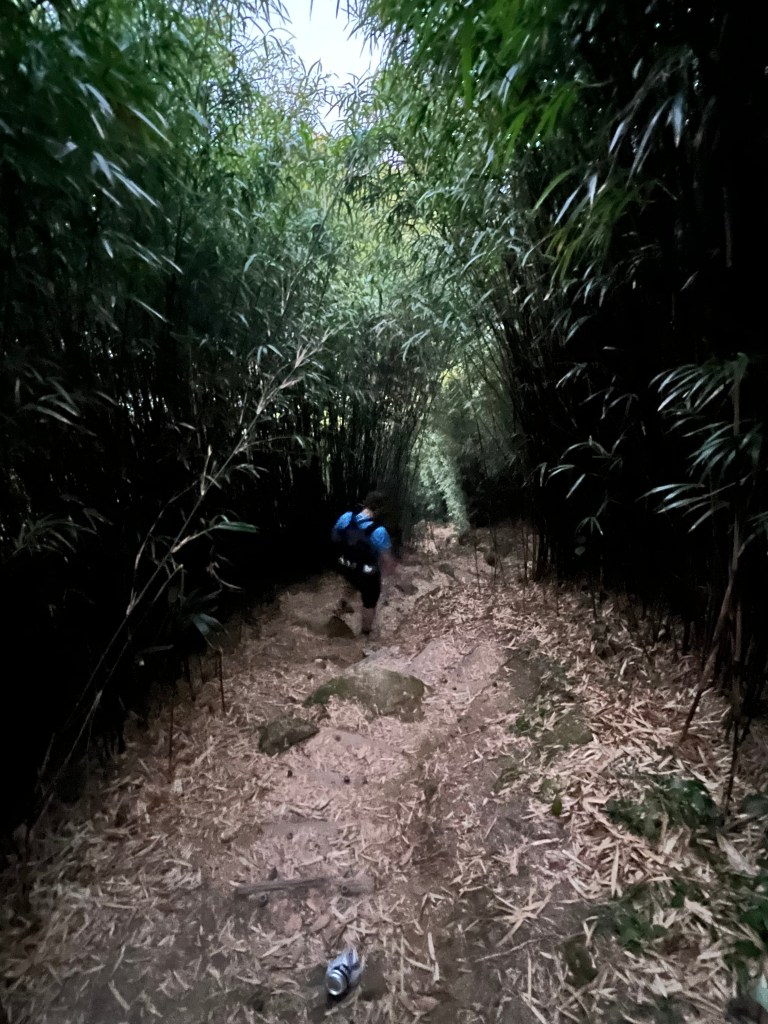
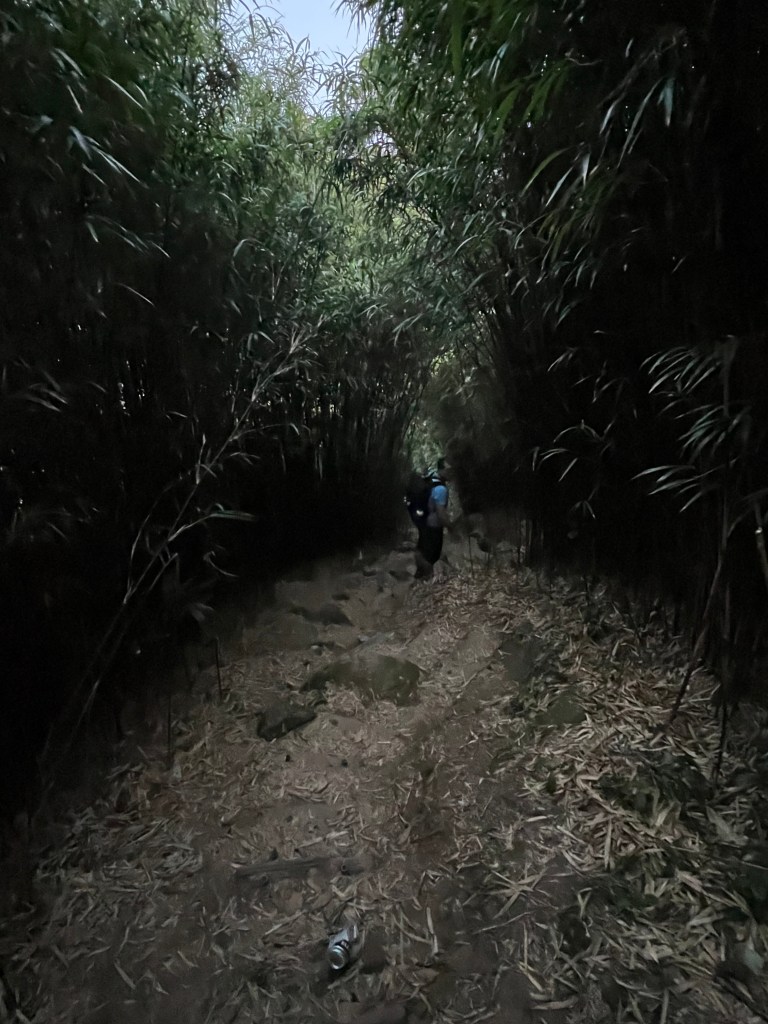
In the first picture above you can see how dense the vegetation gets at some points, we stopped for a minute and we found that we had ticks in our legs (ugh!). After you pass the worst part, the path is clearly visible again. Here the rock becomes a bit more slippery and the slope doesn't make it easier so just pay attention and you will be fine.

In your way up you will pass on your left Parrot Beak rock, this is also a popular viewpoint and many people take pictures here as well so see how you feel about it, you might feel brave and want to take a shot there!
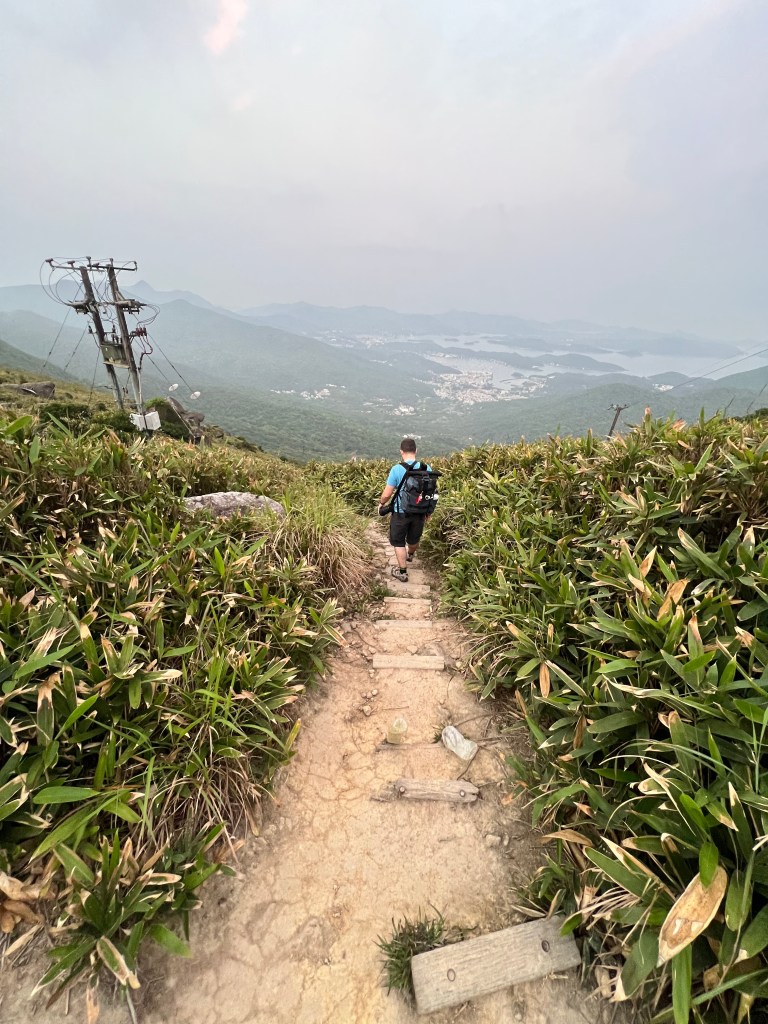
On the left were my favourite views
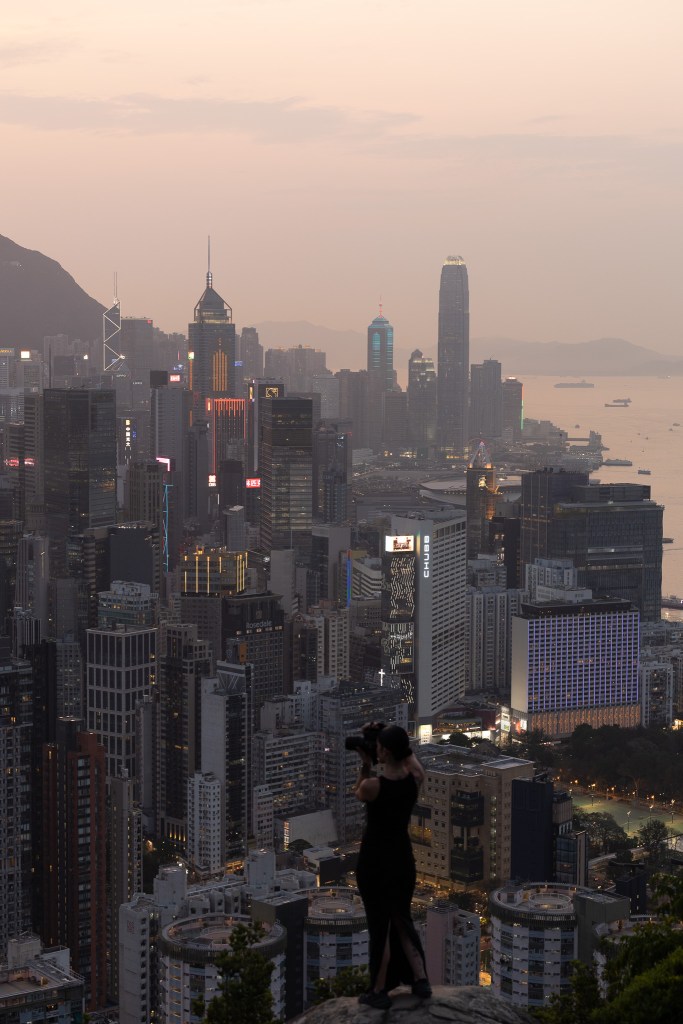
After about 50-60min, we finally reached the top! It was very windy and I seriously considered walking to the rock since there's a big drop on the right side of it and you have to walk a short but narrow way to get there, but after all and after Tom did it as well, I decided I would do it and I have no regrets!
Suicide Cliff at sunset
The way down was definitely easier, it took us over an hour though but its all steps and here we explain you what way did we take.
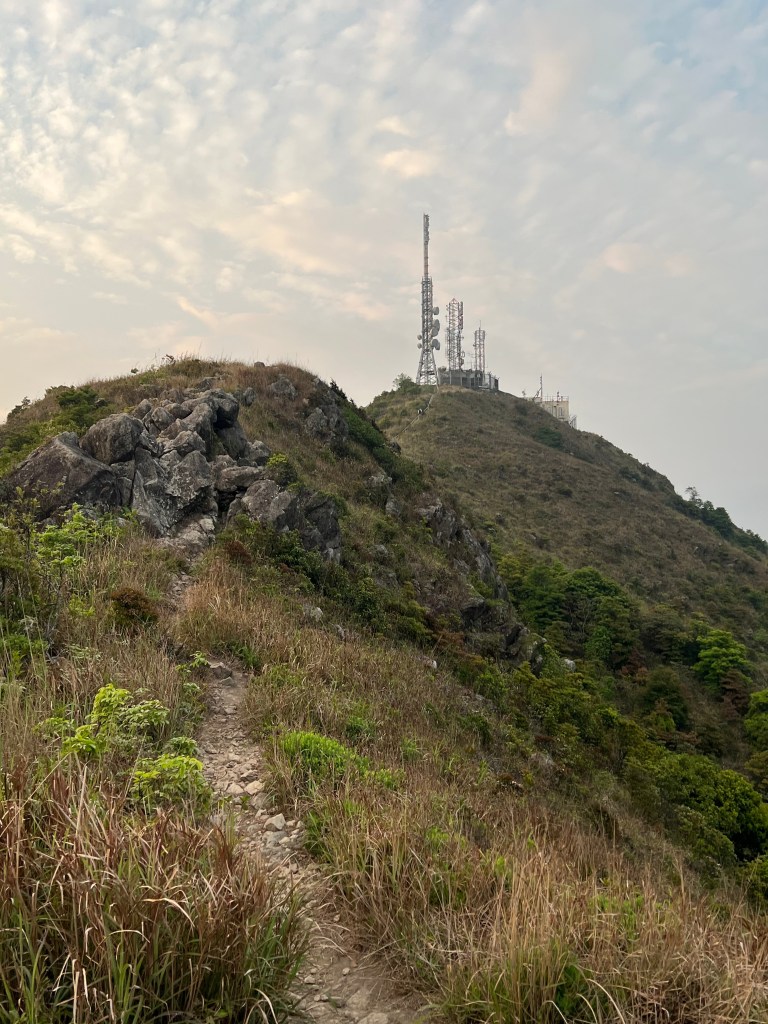
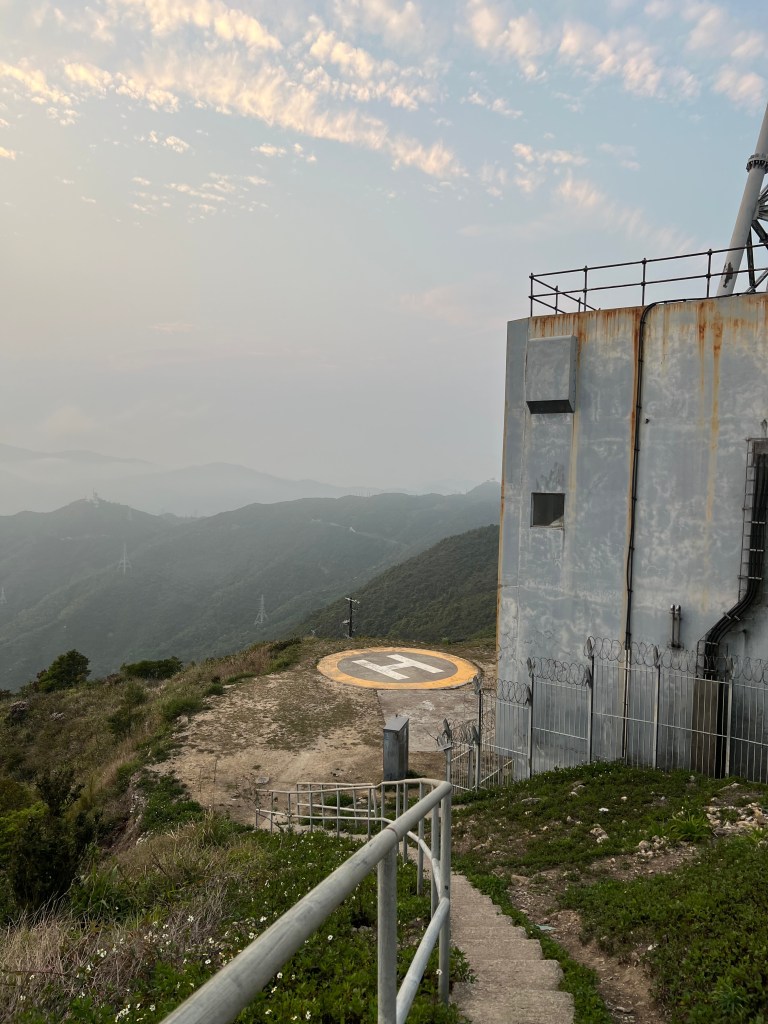
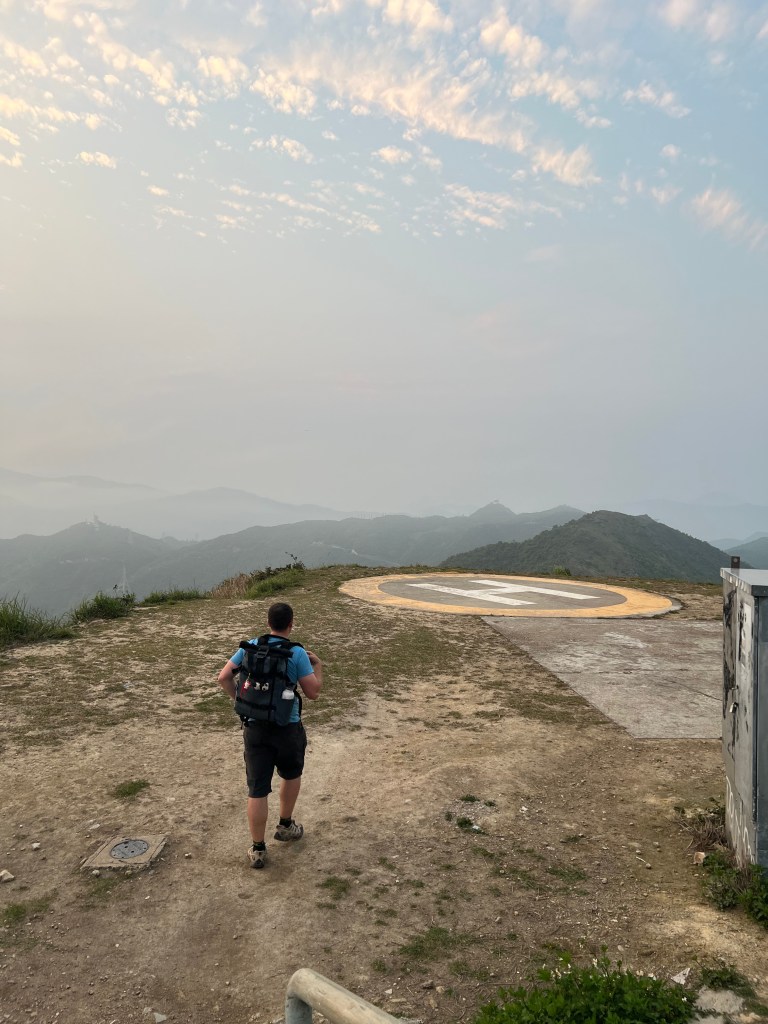
After we finished in Suicide Cliff, all what we had to do was to walk in the direction of the big Radio Station (impossible to miss!) and keep on the right of the way. There's some steps to the right of the station that will take you to the top, just follow all the way up. Once you reach the top you will see a helipad (really cool for a shot too!), you need to follow the path that is just after the helipad.
Radio StationAt the top of the stationHelipadViews from the radio stationPathway after helipad
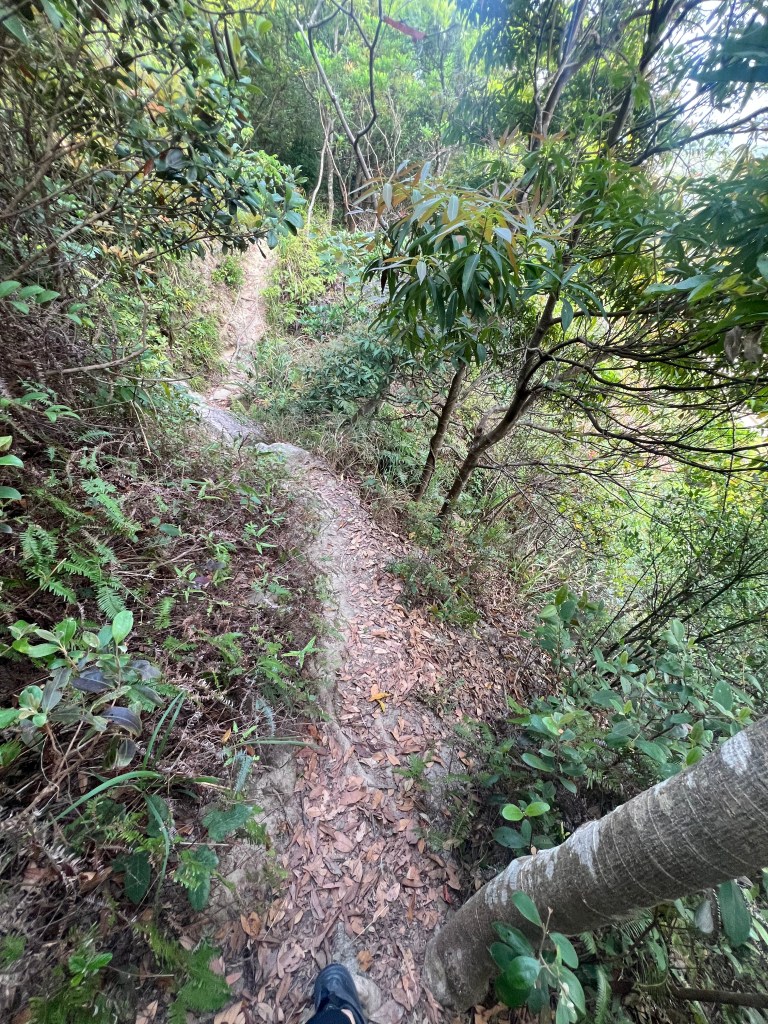
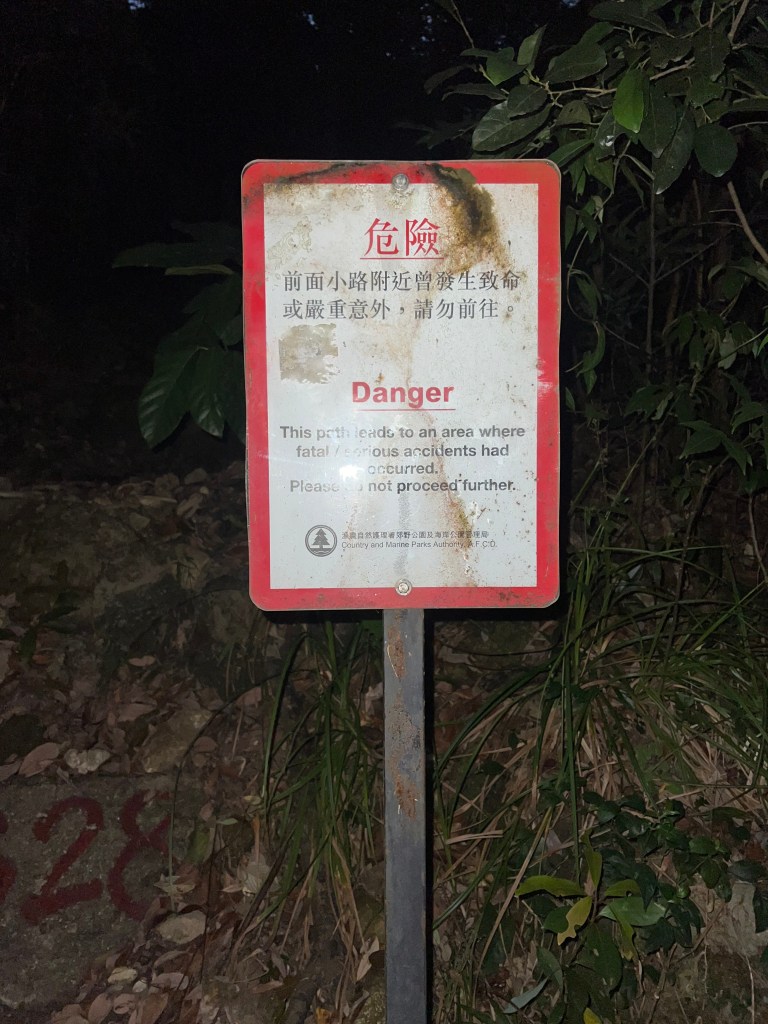
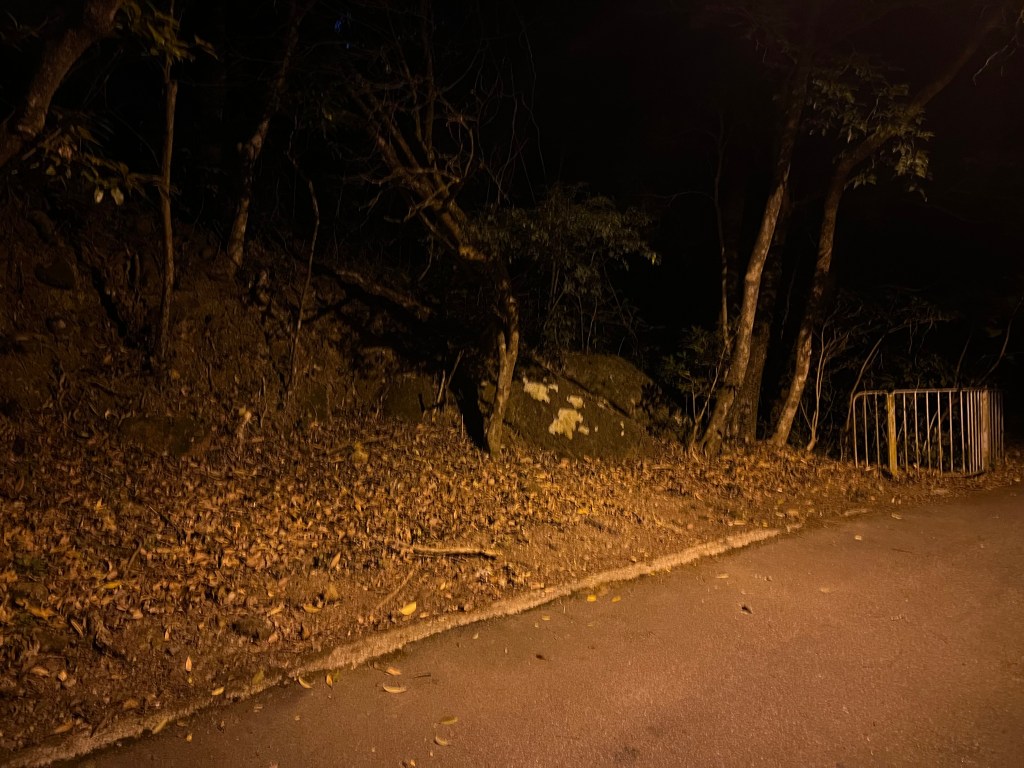
After this as I mentioned above, just keep to the right of the way and follow the steps, it will eventually take you back to Fei Ngo Shan Road. When we get to the end it was already dark, so having a torch with you or having enough battery to use the one in your phone will be really helpful.
On the way downThe path is easy to followEnd of the path, you come out next to the fence on the right of the picture
Overall, I would say this is the hardest hike we did in Hong Kong but if you take your time going up and pay attention to what you are doing, trust me all the effort is well paid off once you reach the top, so if you feel tempted to do this hike, this is your sign to go for it. Also, remember that there's a longer but an "easier" way of getting there, so there's not excuses!

Do you have any comments or suggestions? Leave them below, we will love to hear about it!


Leave a comment