This post is to help you get to the famous rock where you have probably seen many instagram pictures, here’s our experience so let’s start.
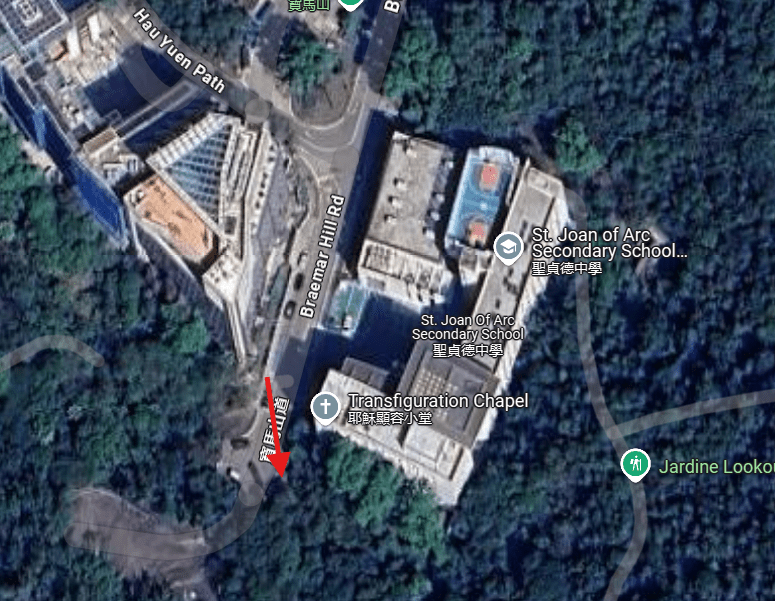
First thing you should know, is that the way to take once you get to Braemar Hill Road, is the one on the left! Yes, you are going to have to jump the fence. I start with this because when we get there the first time we went to the right and then the second time we saw people doing exactly the same thing, so keep reading and you won’t make the same mistake.
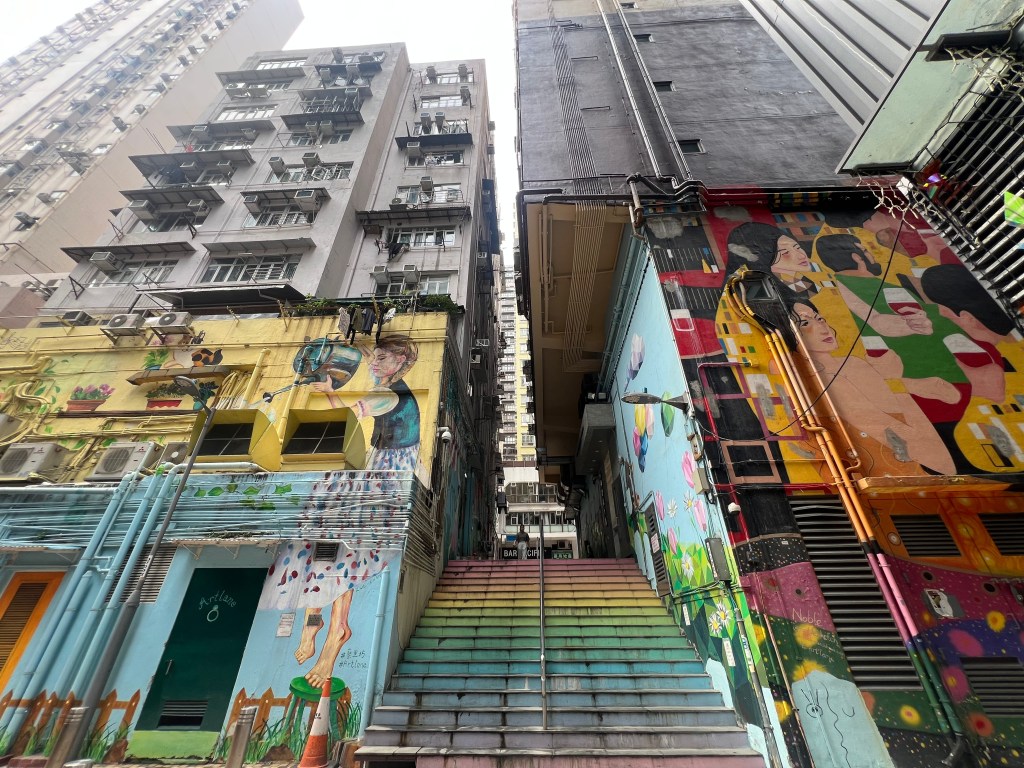
Braemar Hill Peak starting point
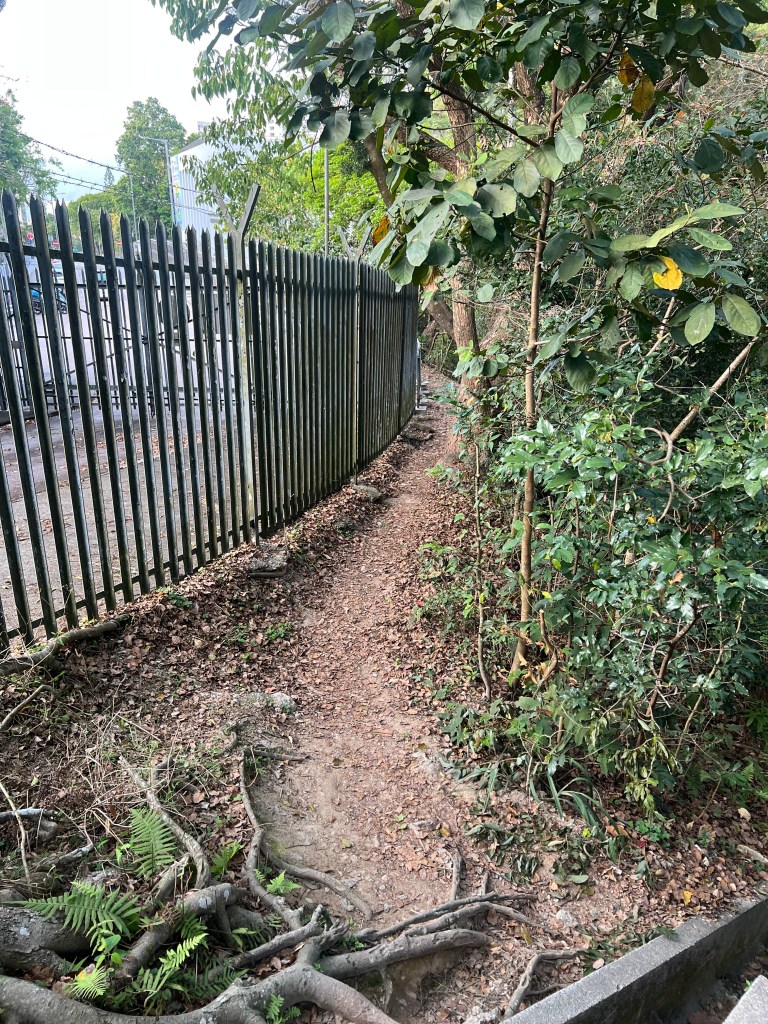
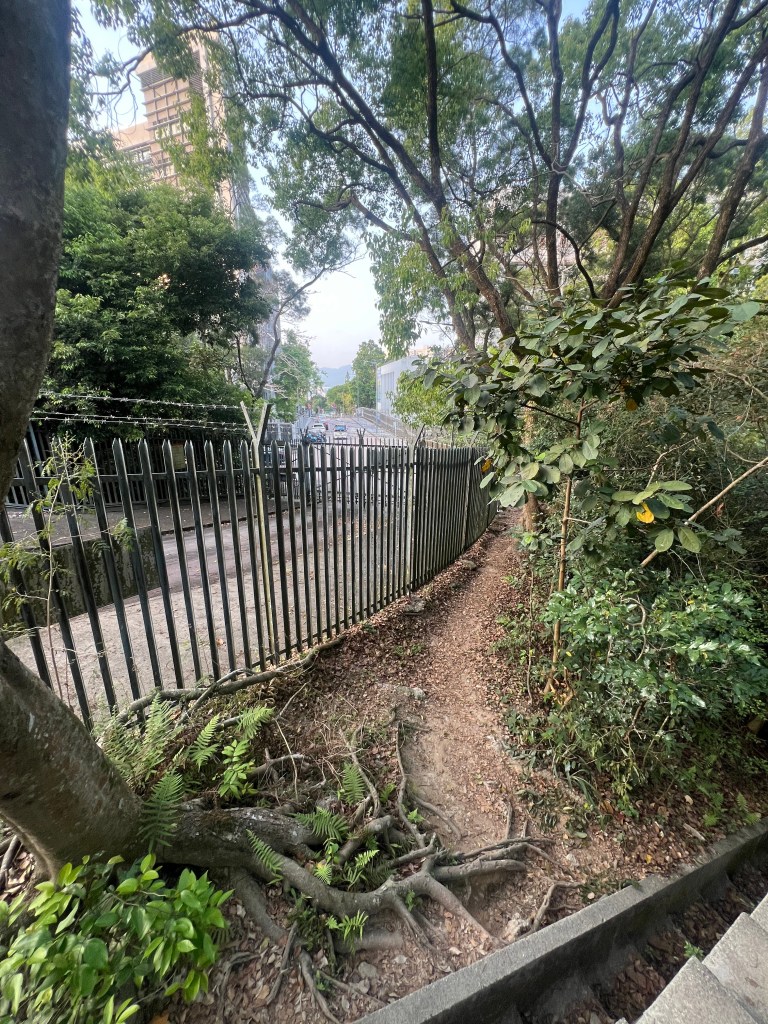
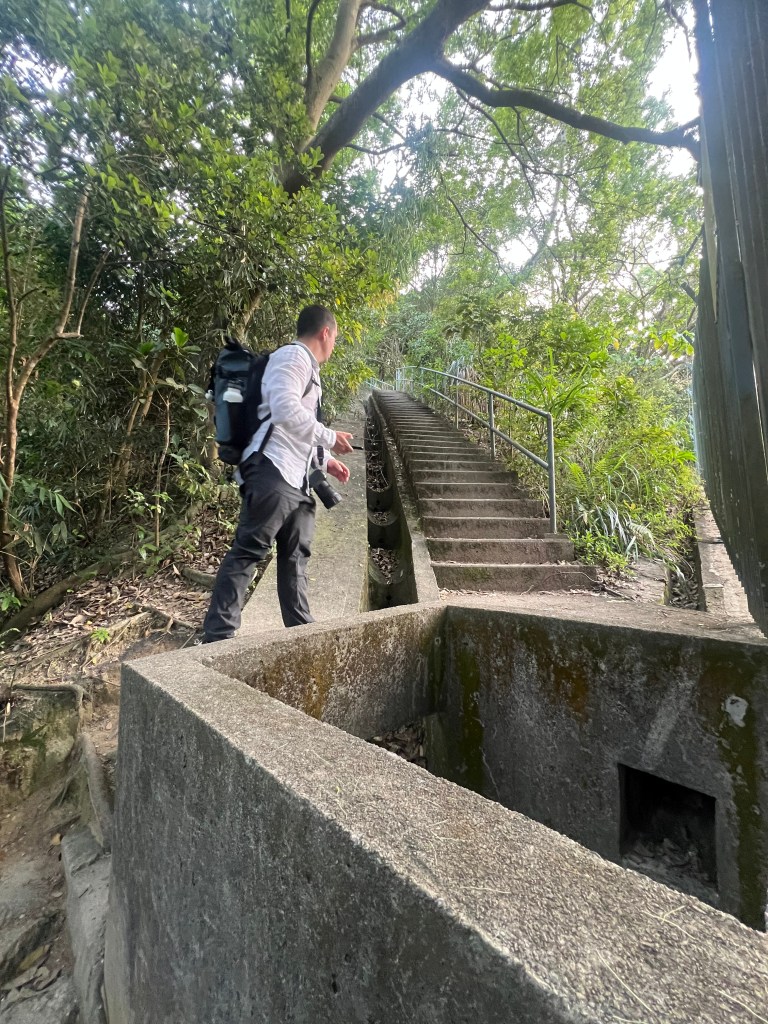
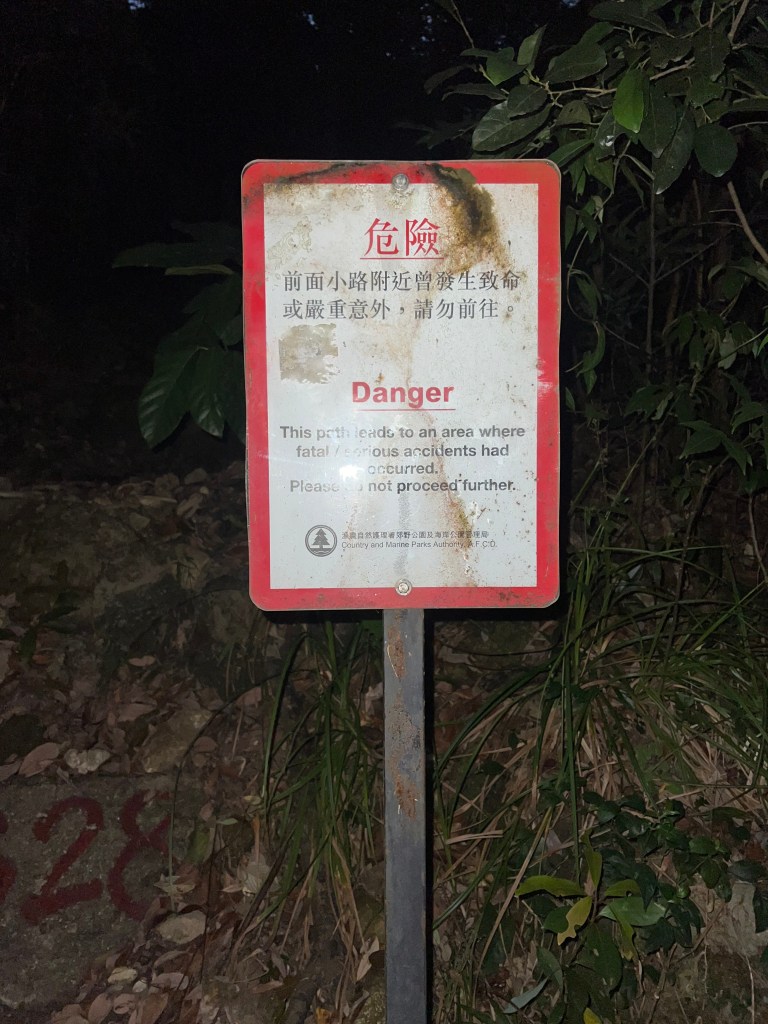
To Braemar Hill Rd you can get by any public transport or by Uber, just make sure you get to the very end of the road (you will need to pass the school). Once you there you will see a small fence on the left, just jump the fence and keep walking, you will see some steps, start to follow them up until you get to this point (see pictures).
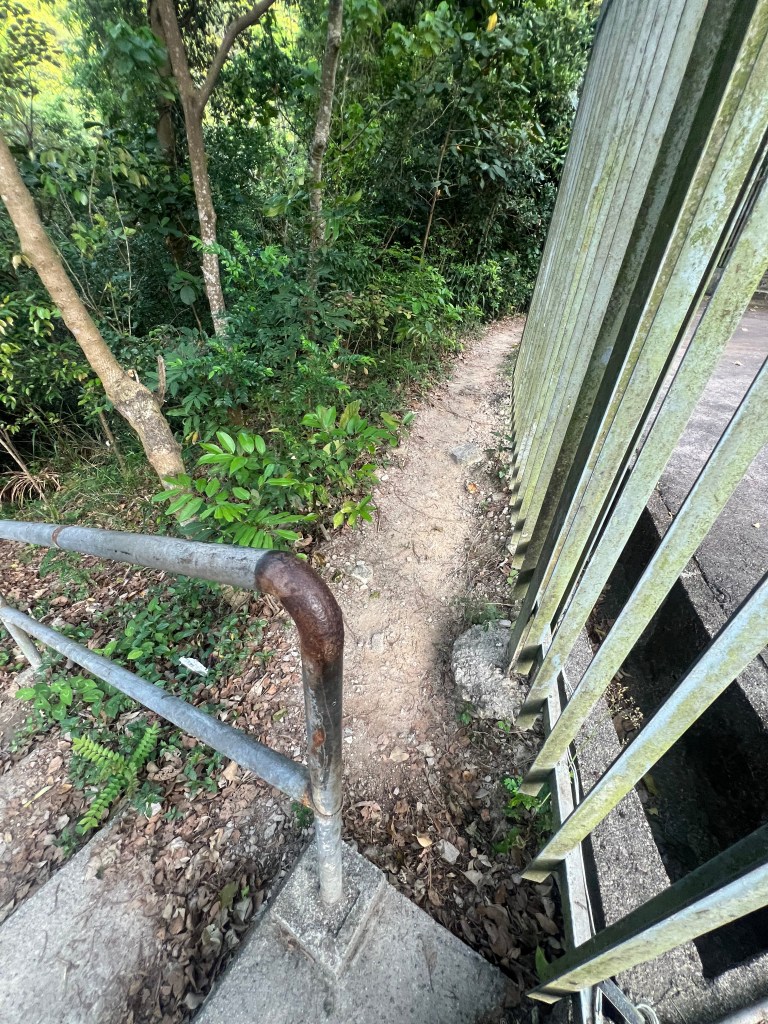
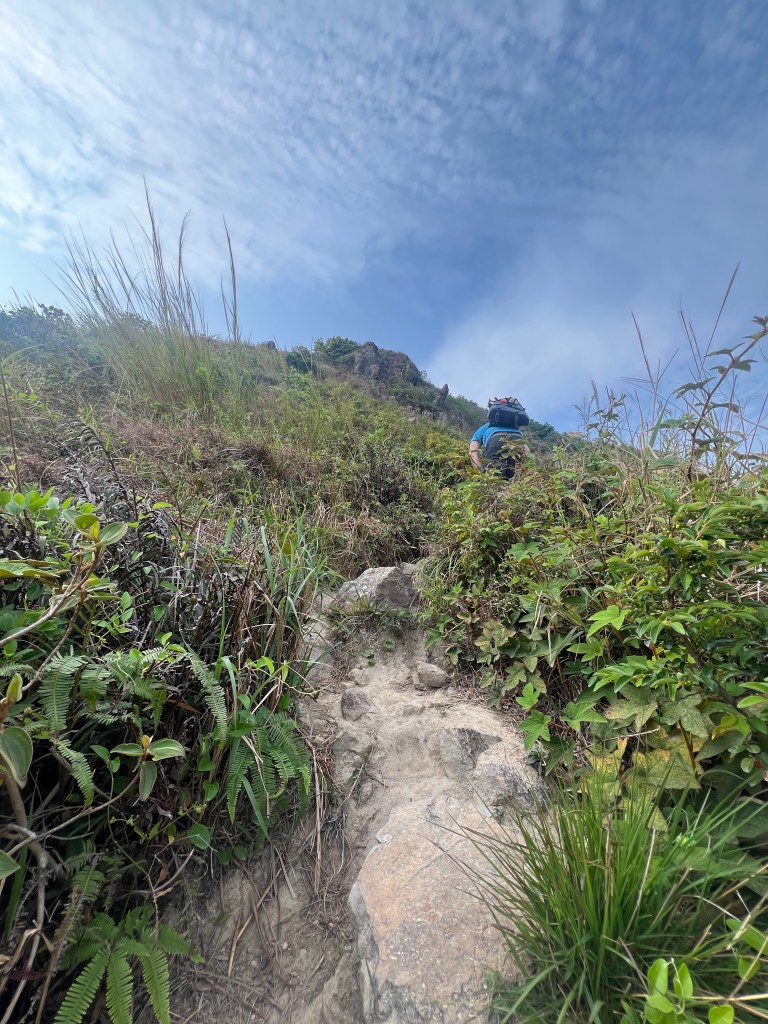
Starting pointThis is the fence you need to jump overOnce on the top of the steps, go left follow this pathGo all the way up
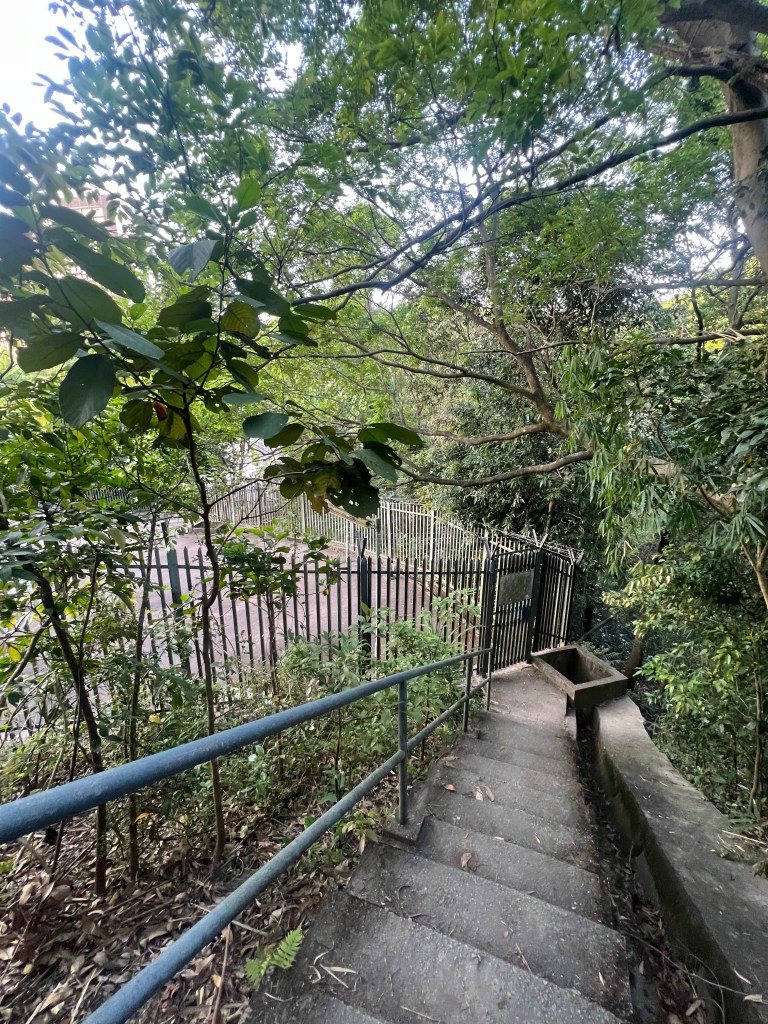
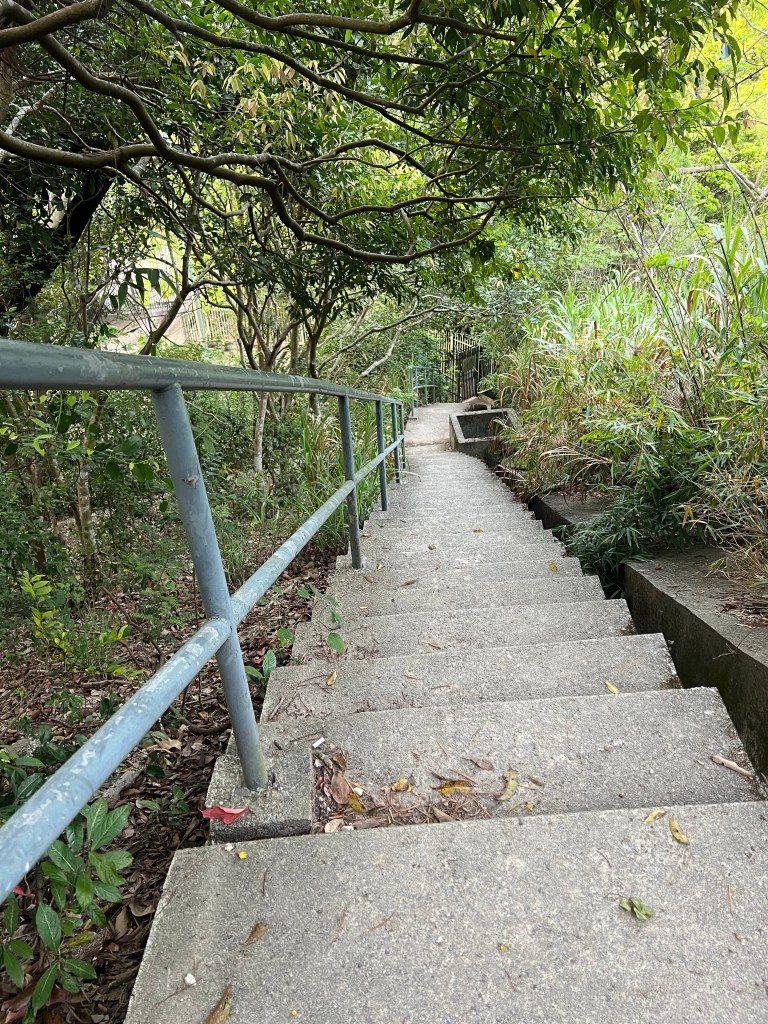
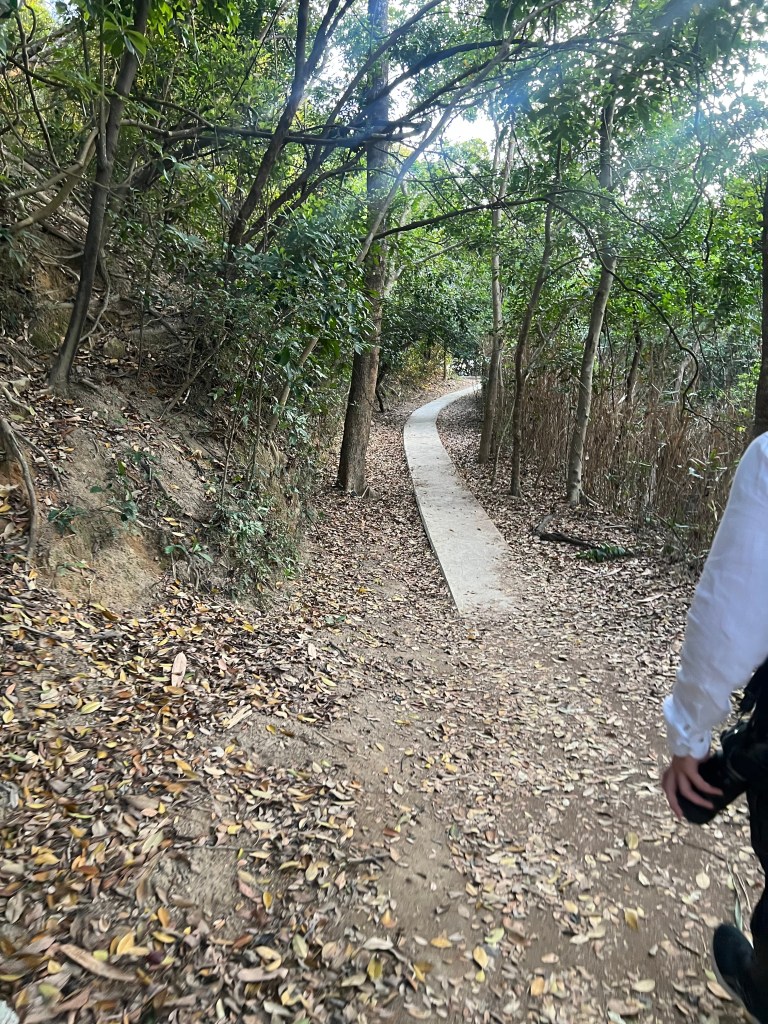
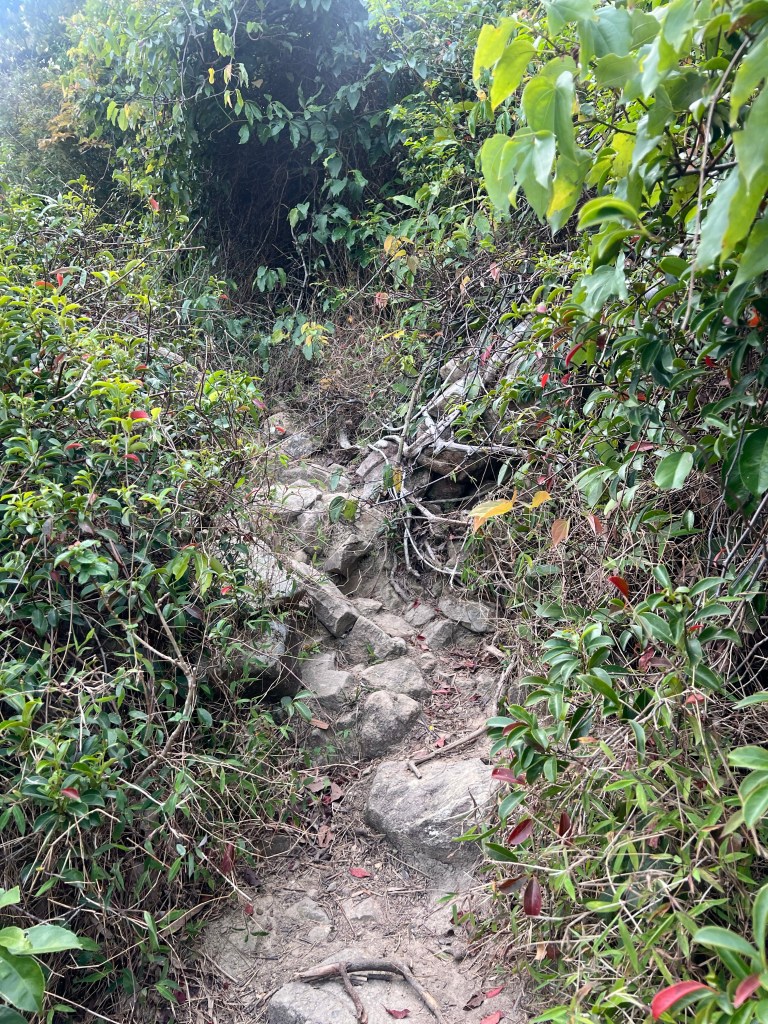
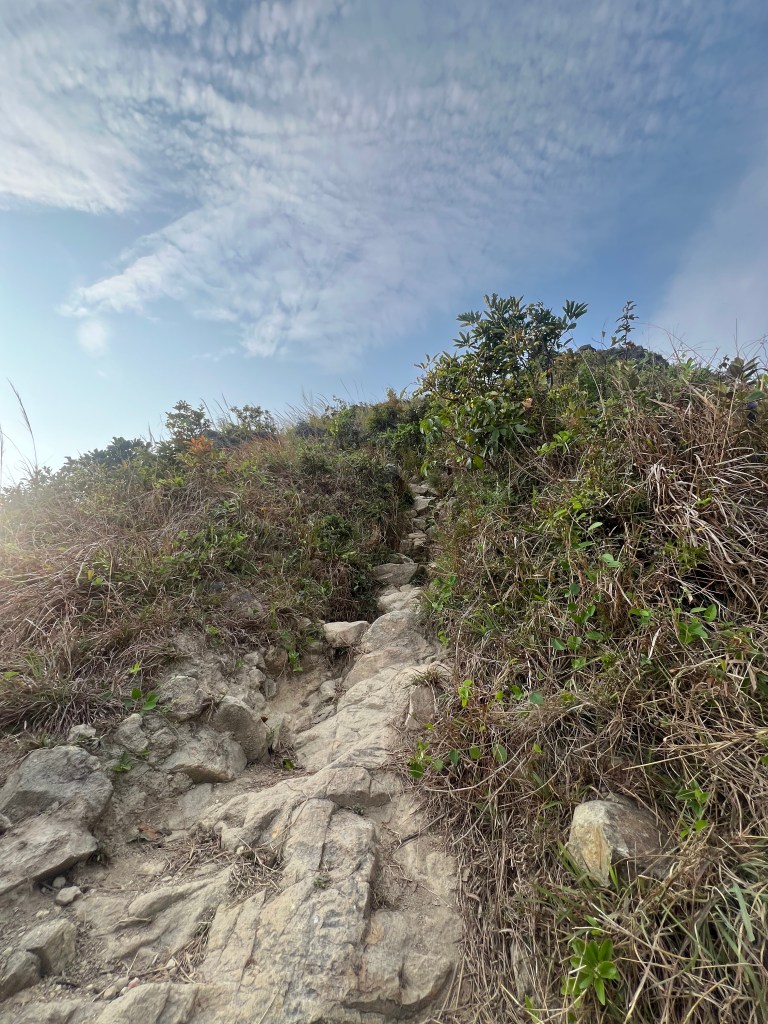
Right, now when you get to the very top of this steps, you will see there is a pathwalk, take right and keep walking.
This is how it will lookPathwalkHere the path starts to clear
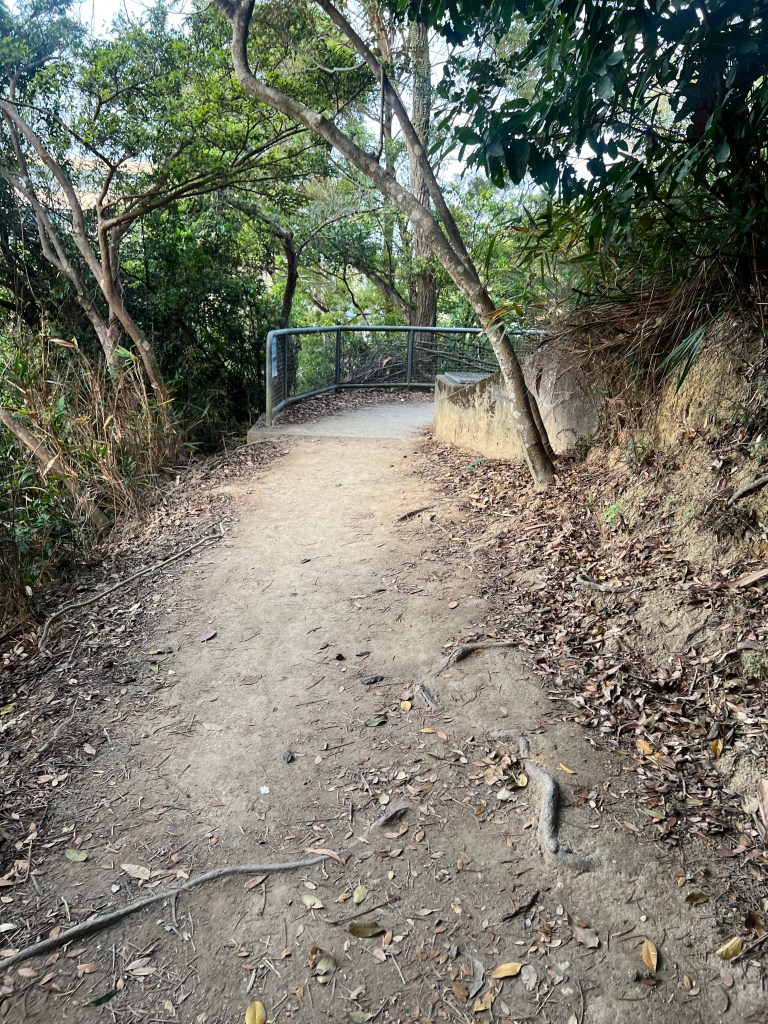
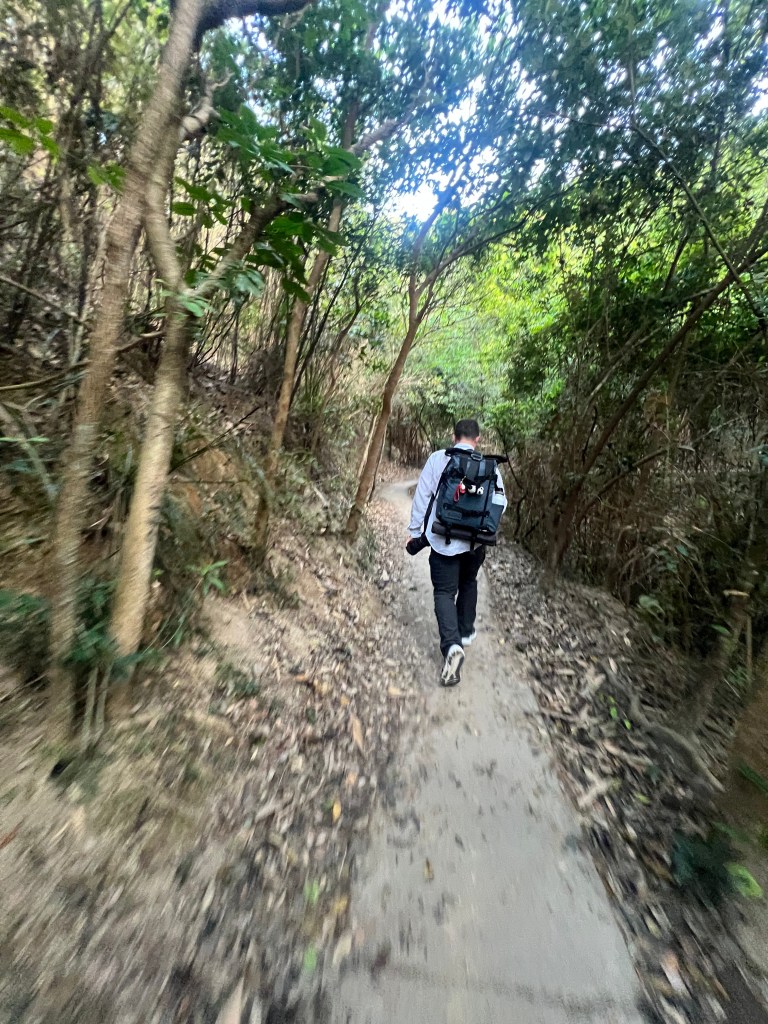
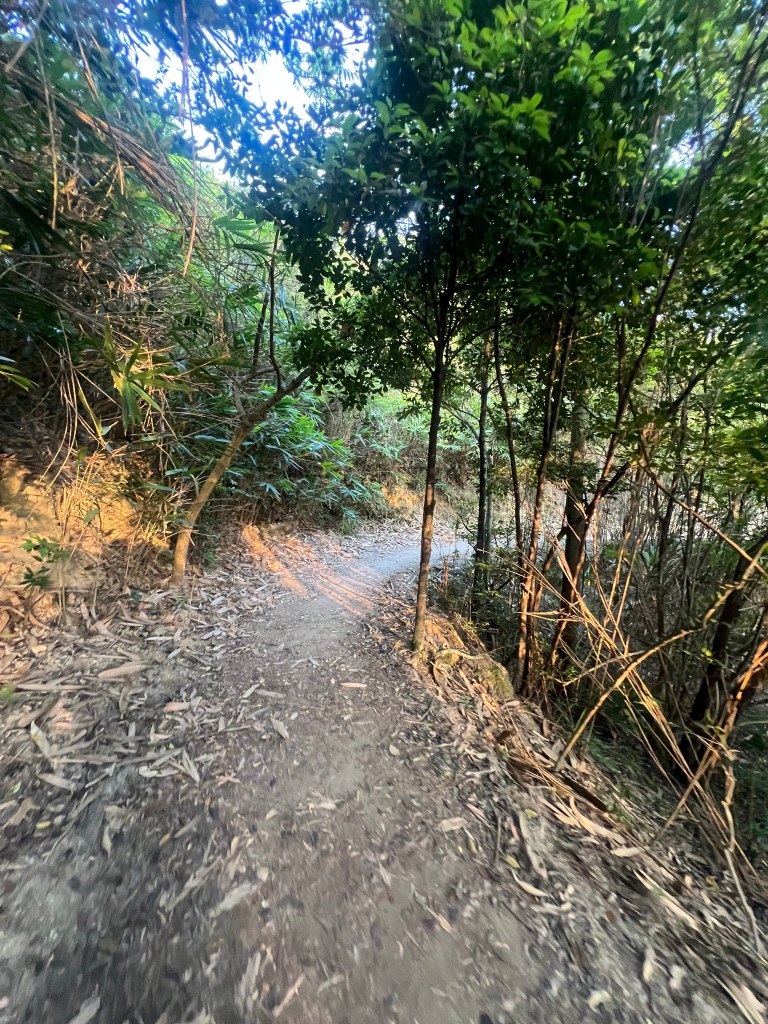
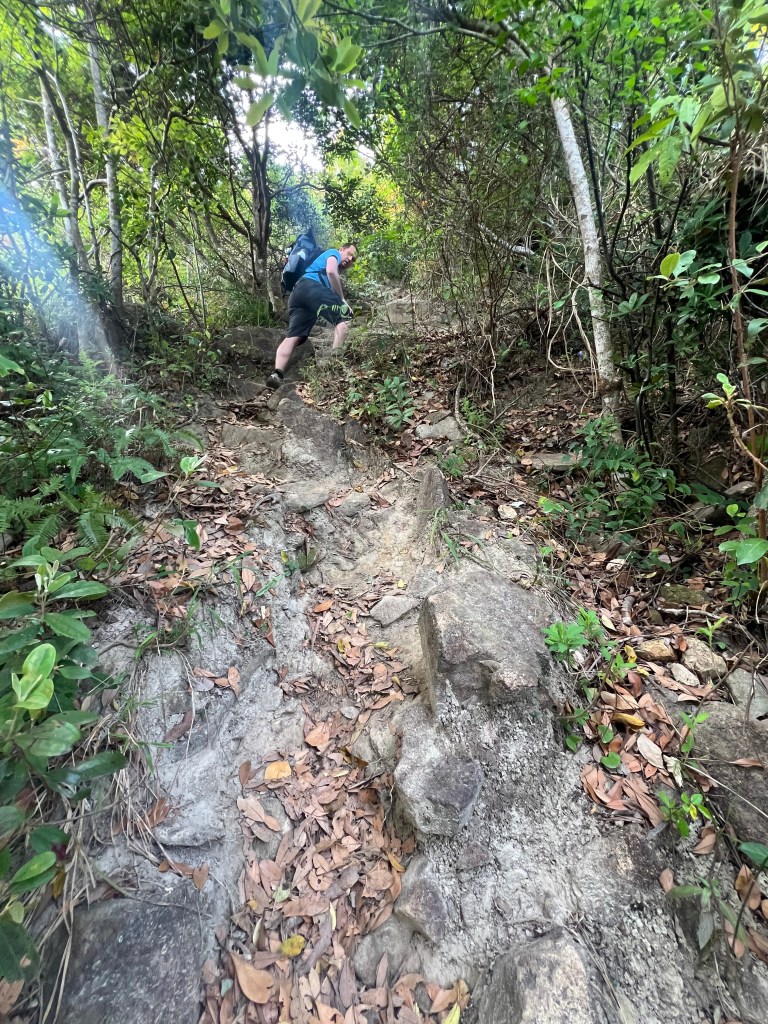
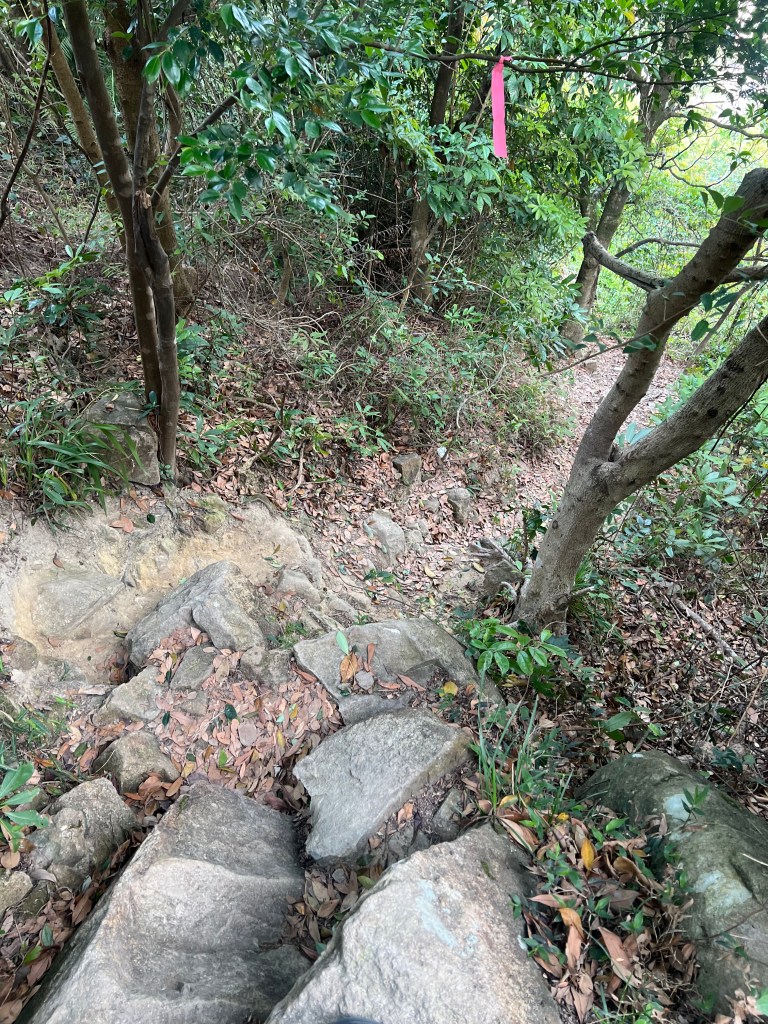
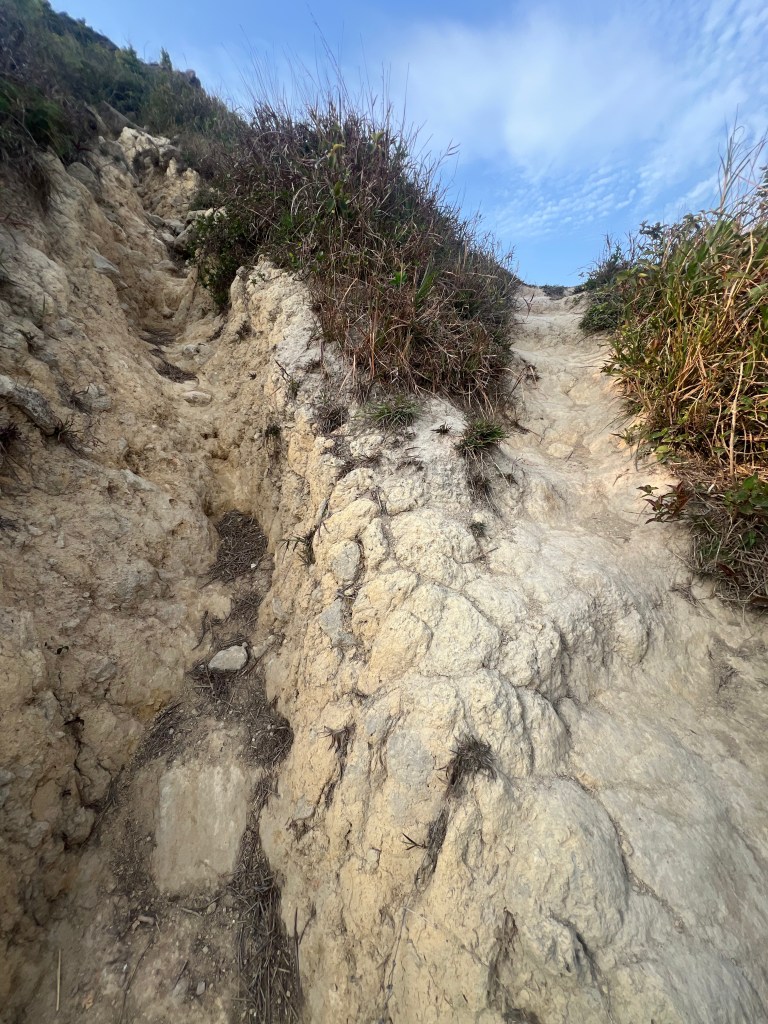
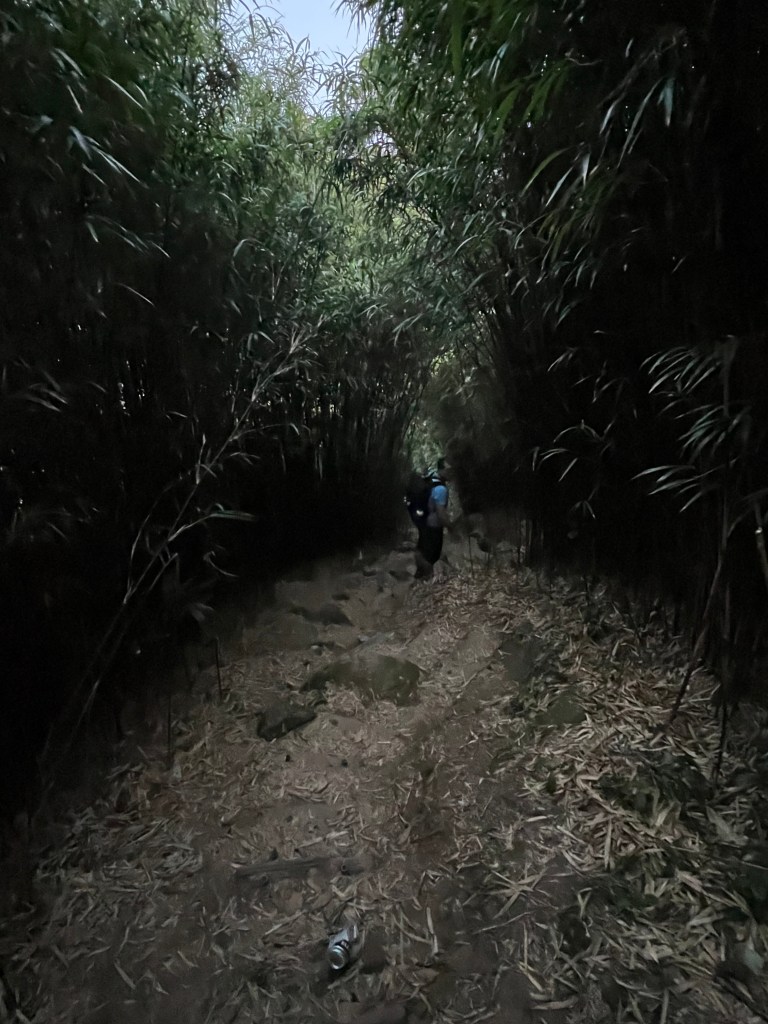
To walk this path it takes about 15 minutes, along the way you will see different spots where you can take pictures. Also, you will leave behind some rocky area in the pathwalk, after this you are basically there.
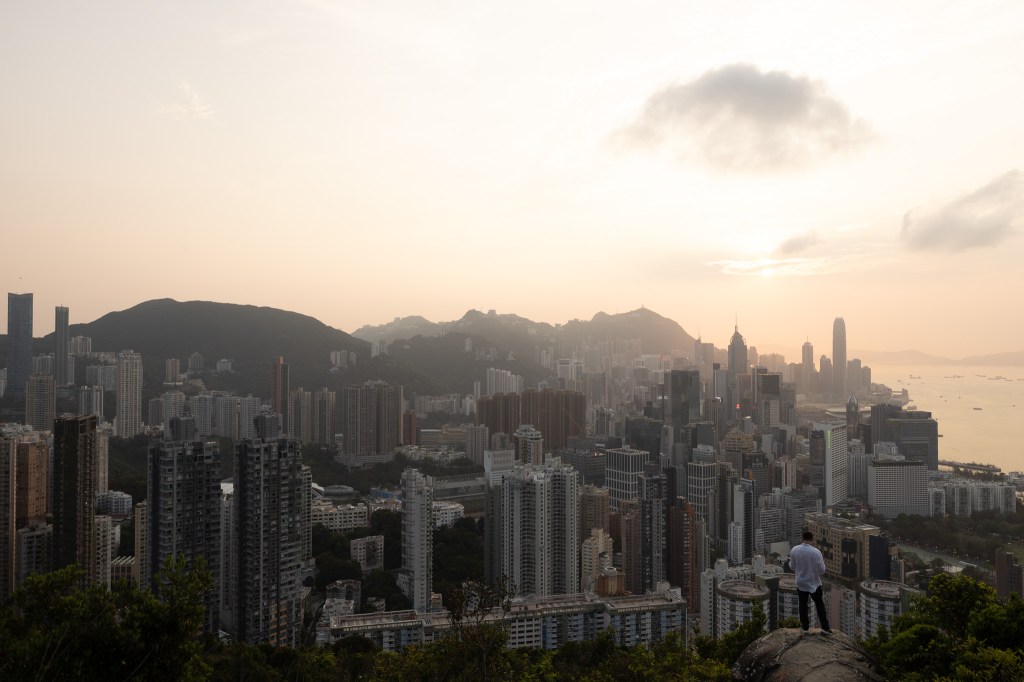
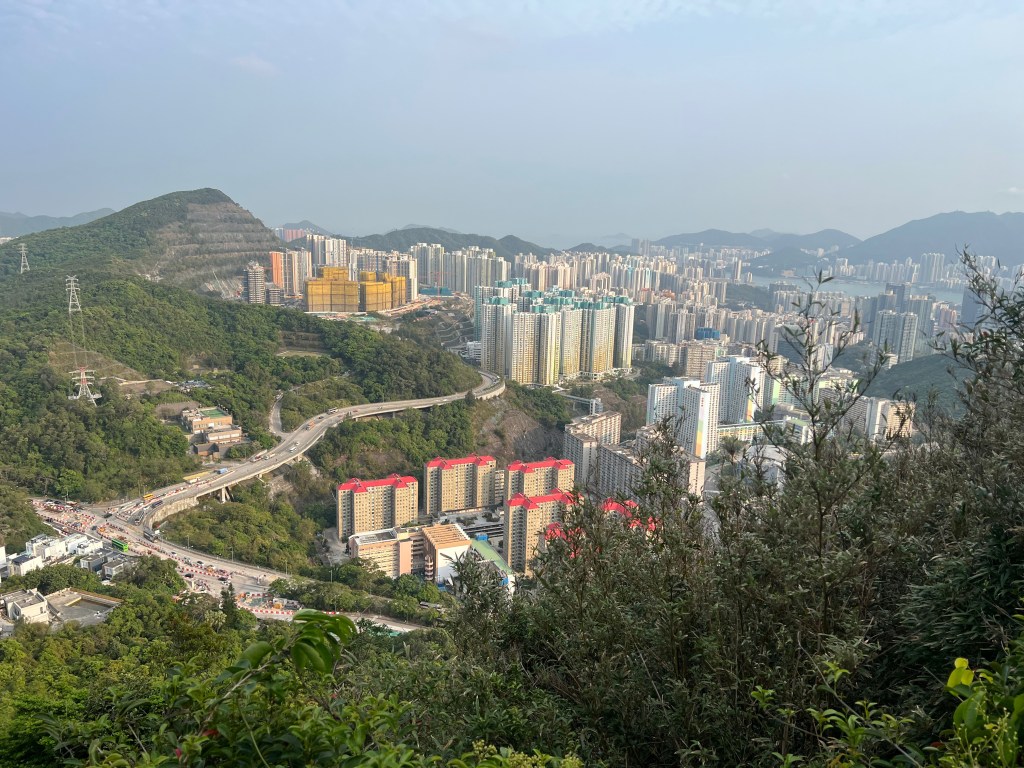
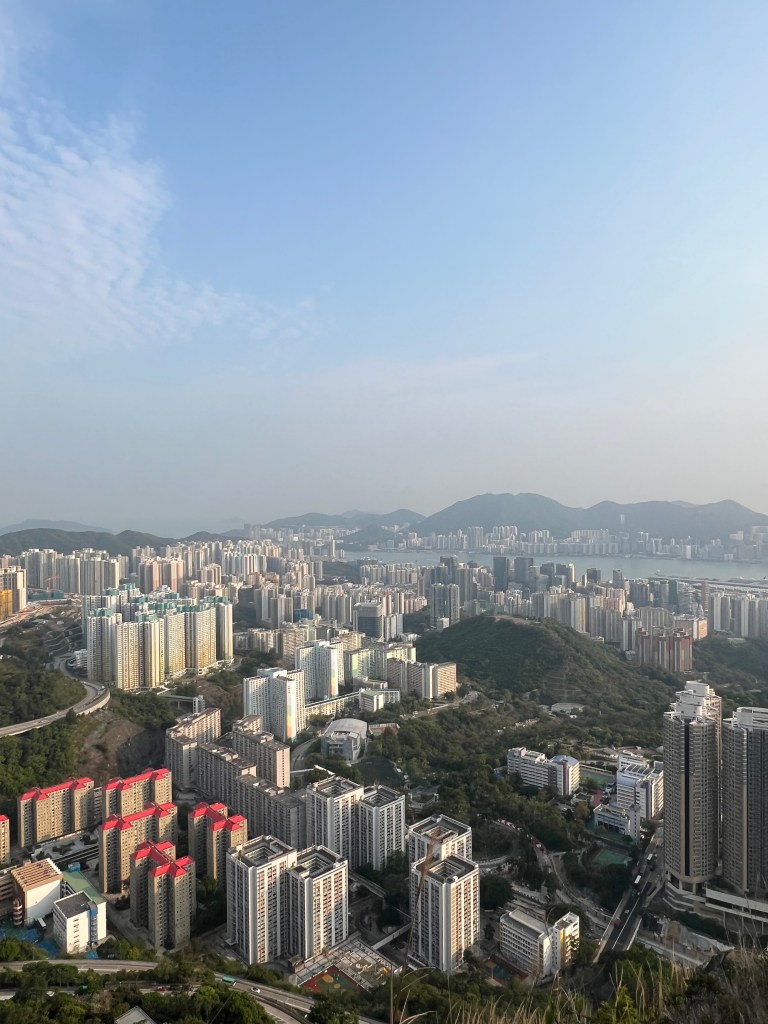
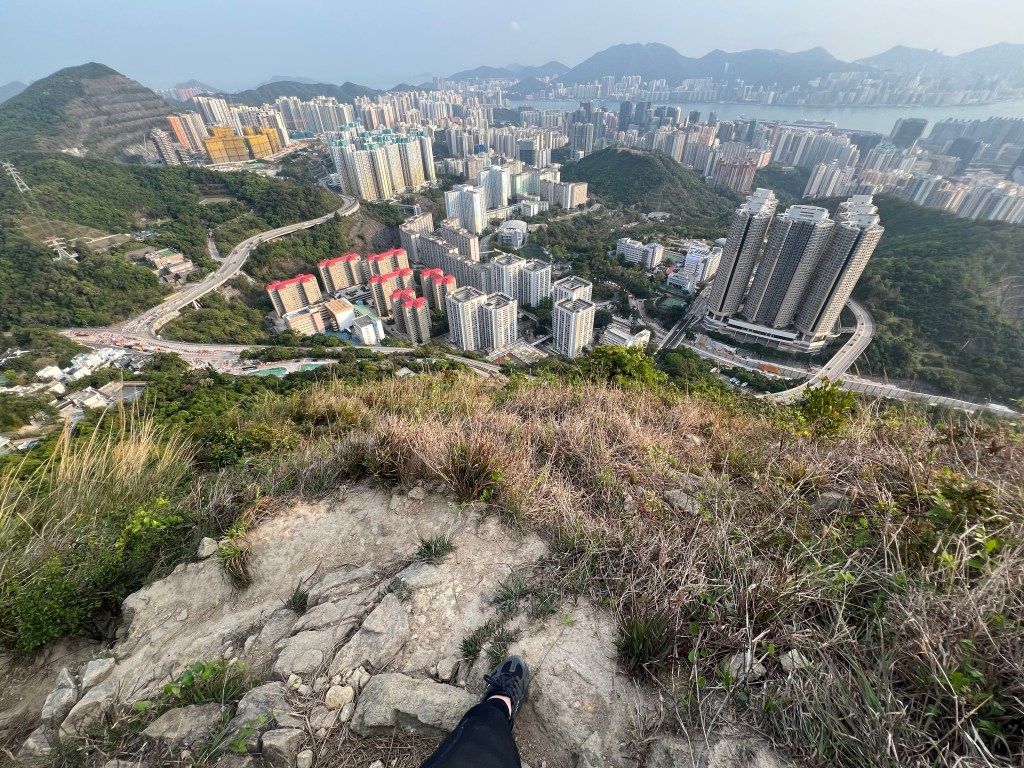
You will know you get there because on the right you will have a whole view of the buildings. Next thing you have to do to get to the Rock viewpoint, is walk up the hill, it’s not anything difficult and you don’t have to walk much but the ground might be very slippery. The views you will get are these, you probably recognise the spot since it’s quite popular.
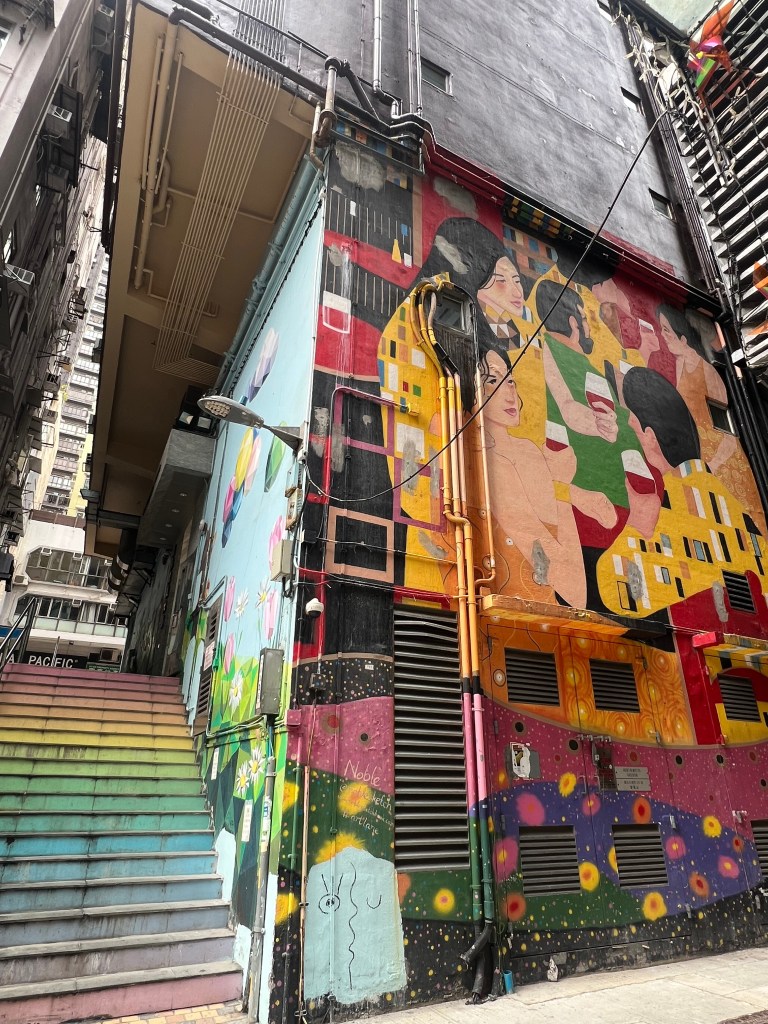
Braemar Hill Peak (Photo Rock)
Worth it, right? I hope this post serves you as a guide to get there and if you already been there and have any comments just leave them below, we will be waiting to see what you would like to add.
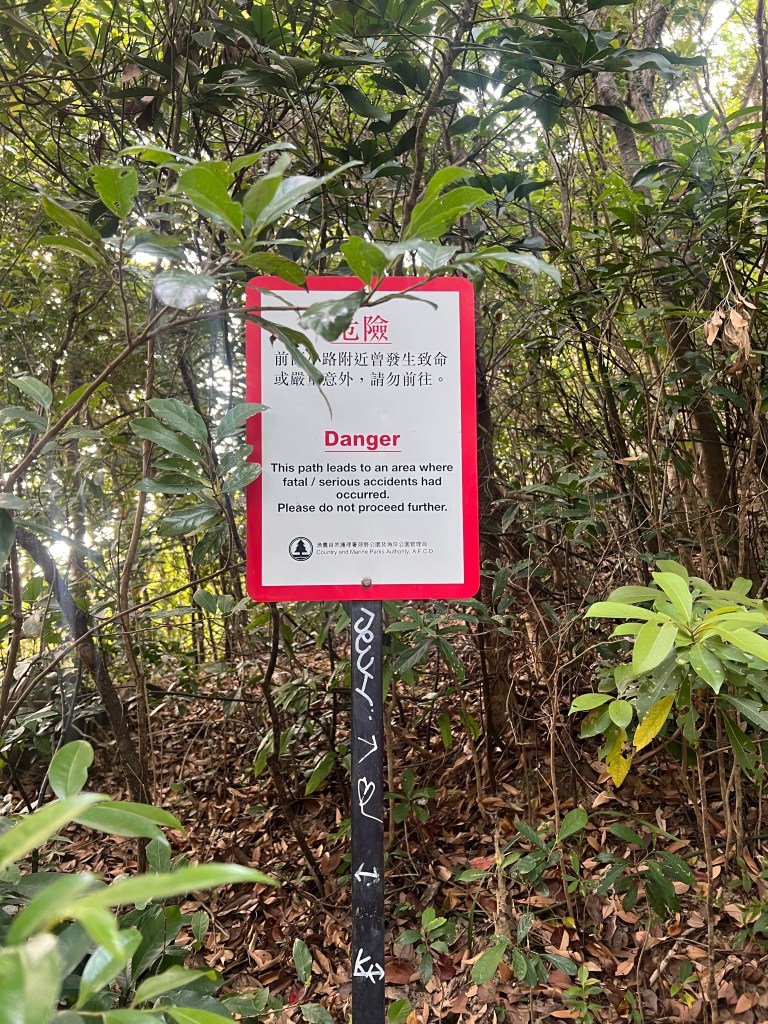
To do this hike you have a few options, in one of them you can visit Kowloon Peak, stop at Elephant Hill and finish in Suicide Cliff, but for us our main goal was to get to Suicide Cliff for sunset and we didn't have much time, so here I will explain just what we did and how was our experience. Just for the record, it wasn't our intention to do this the hard way, but it just happened to be and we just moved ahead with it!
Before I start, first things first, you should pack light and wear proper hiking shoes. The hike can get a bit tricky in some parts and this is in my opinion, without any doubt, is one of the most important things.
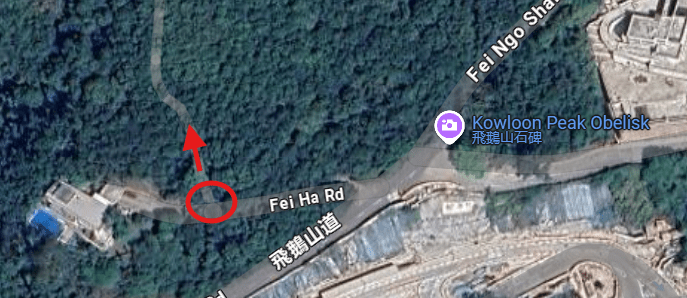
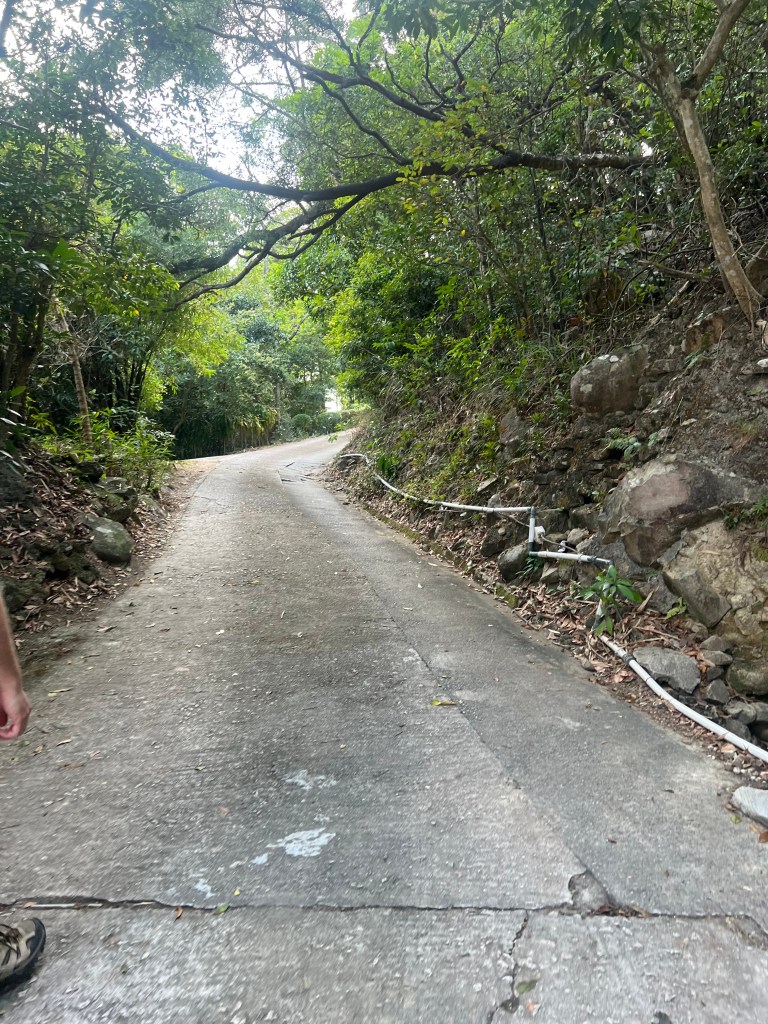
Our hike started in Fei Ngo Shan Rd, if you ubicate your map where the Kowloon Peak Obelisc is, you will see that opposite to this there's a small road without an exit, it's called Fei Ha Rd. and here in the right is the start of the trail that will take you to Suicide Cliff.
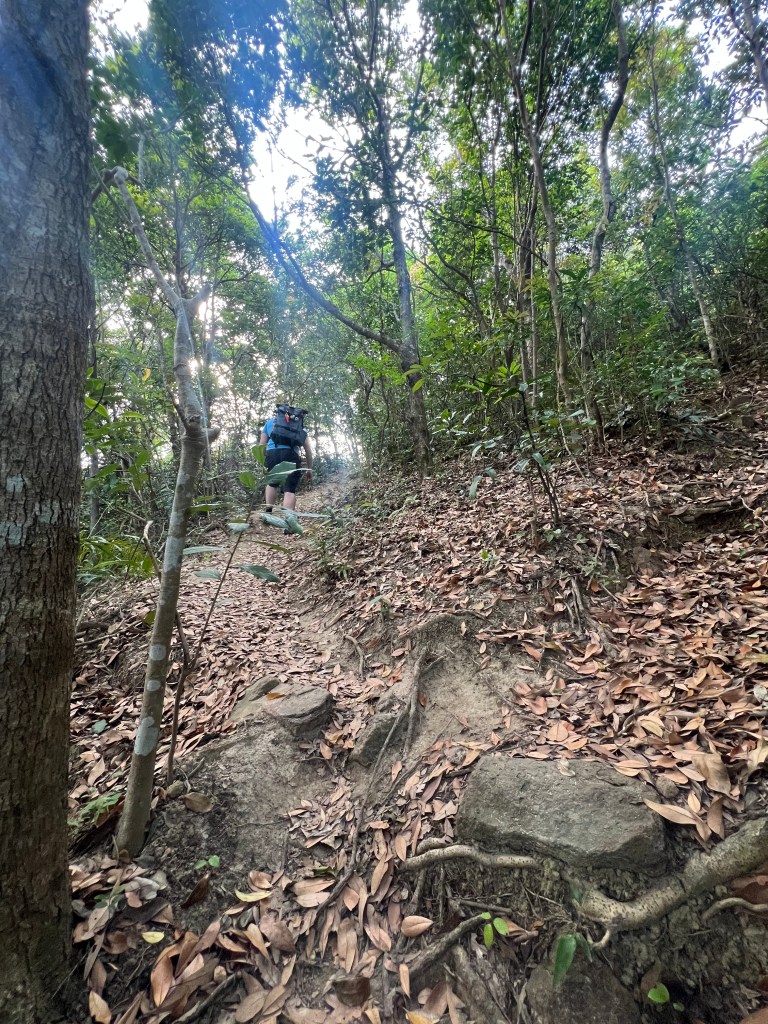
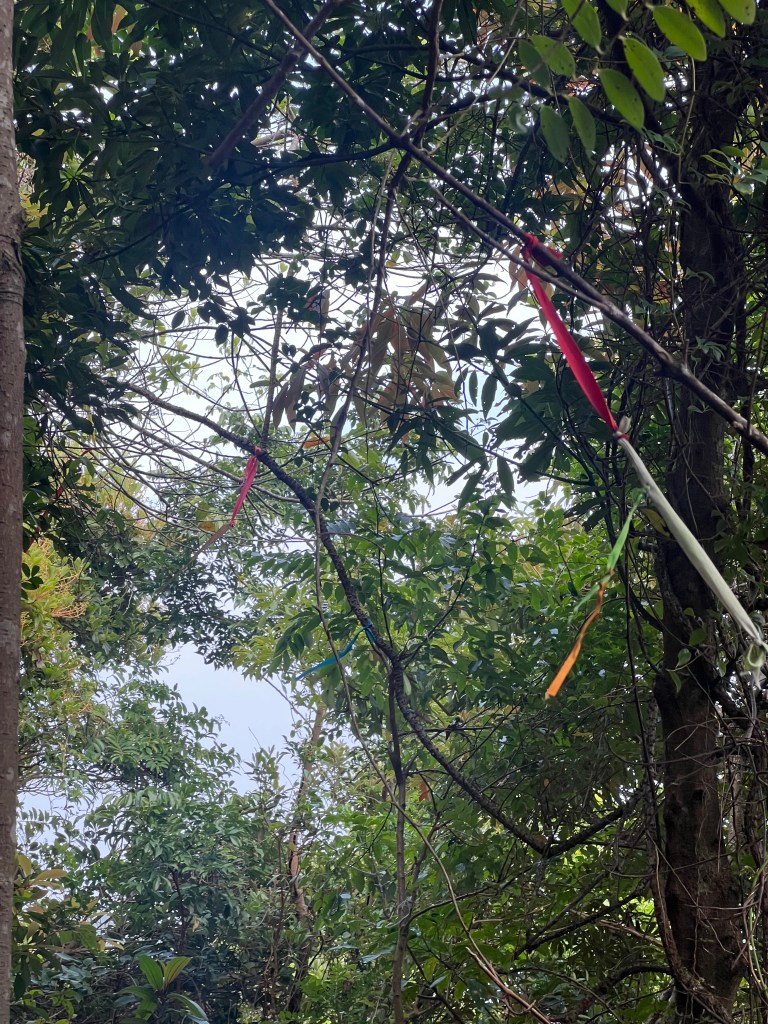
Here it might look a bit confusing at the start since there's not a properly marked route, but once you start to go up you will see that the path is easy to identify. You will also find strings that another hikers tied to the trees to mark the way up (it was actually helpful!).
Fei Ha Rd
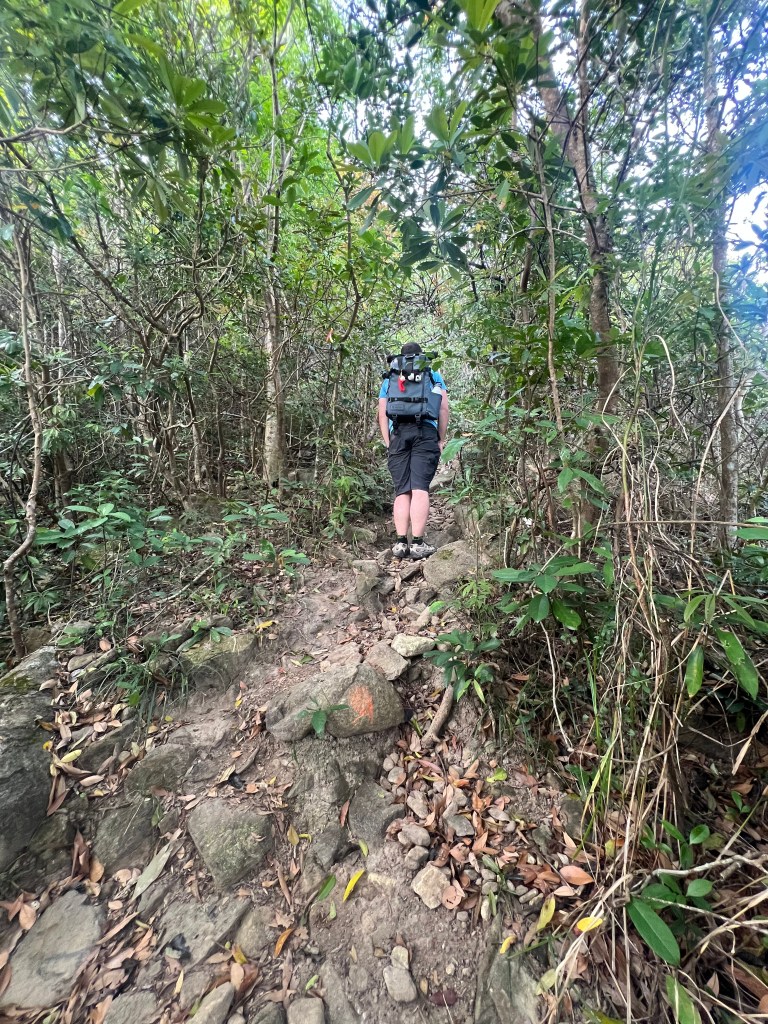
What you see above is the beginning of the trail, is not too bad here but then it starts to get more complicated, overall because of the vegetation in some parts and there's some areas where the path is almost vertical.
Steep part during the hikeStrings on the trees
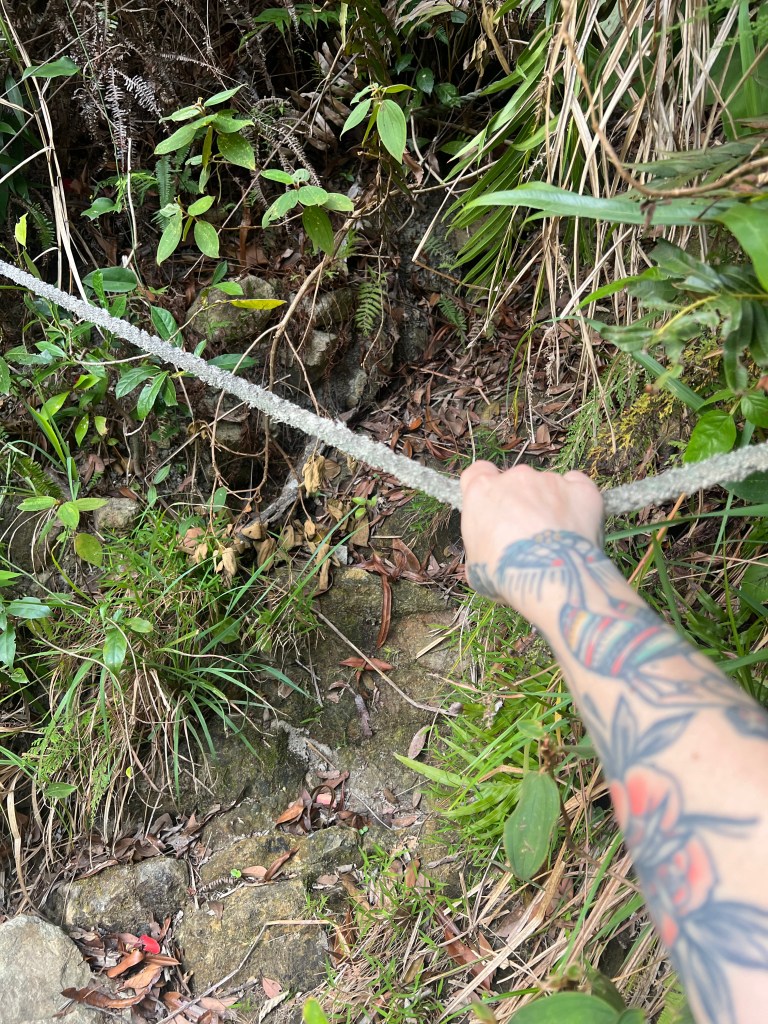
As you can see the path is quite well signalised and there you will find also ropes that will help you to go up if needed.. Here we were hiking for about 20min.
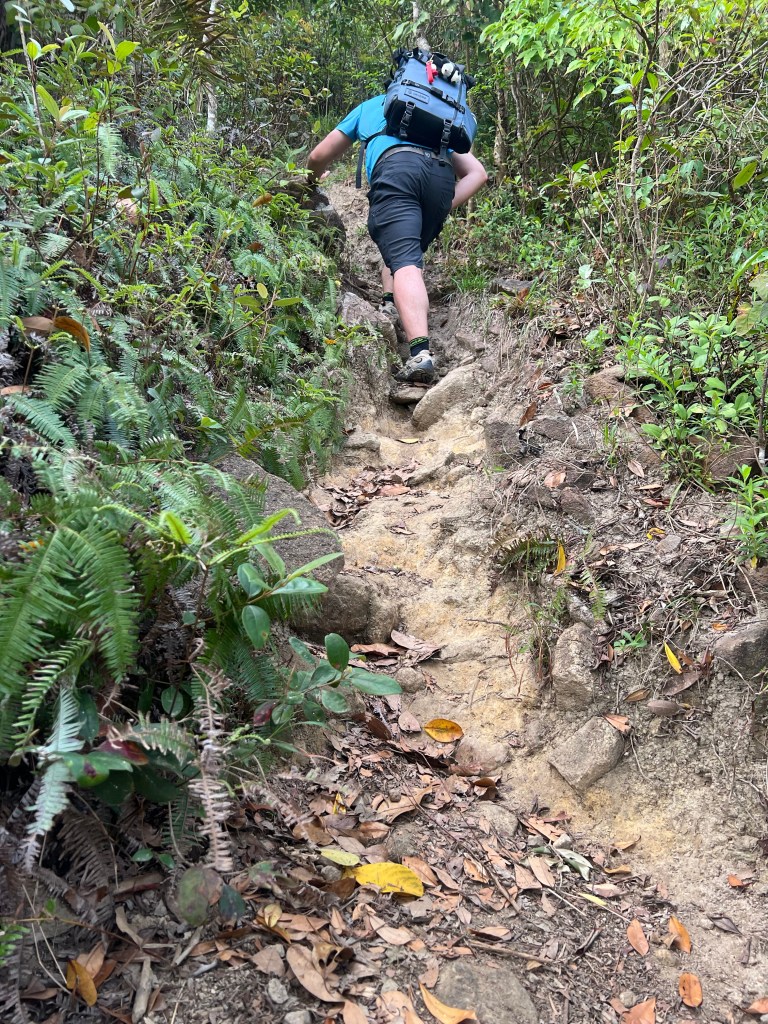
After approximately 30 minutes we started to see a bit of the views, but the hardest part was about to come so we put our phones away and headed straight up! We didn’t face any big drops but the path is made of rocks and is very steep so you need to watch where you are stepping.
Dense vegetationAlmost there (we thought)Very steep partViews are promisingThe rock here is a bit more slipperyParrot Beak rock
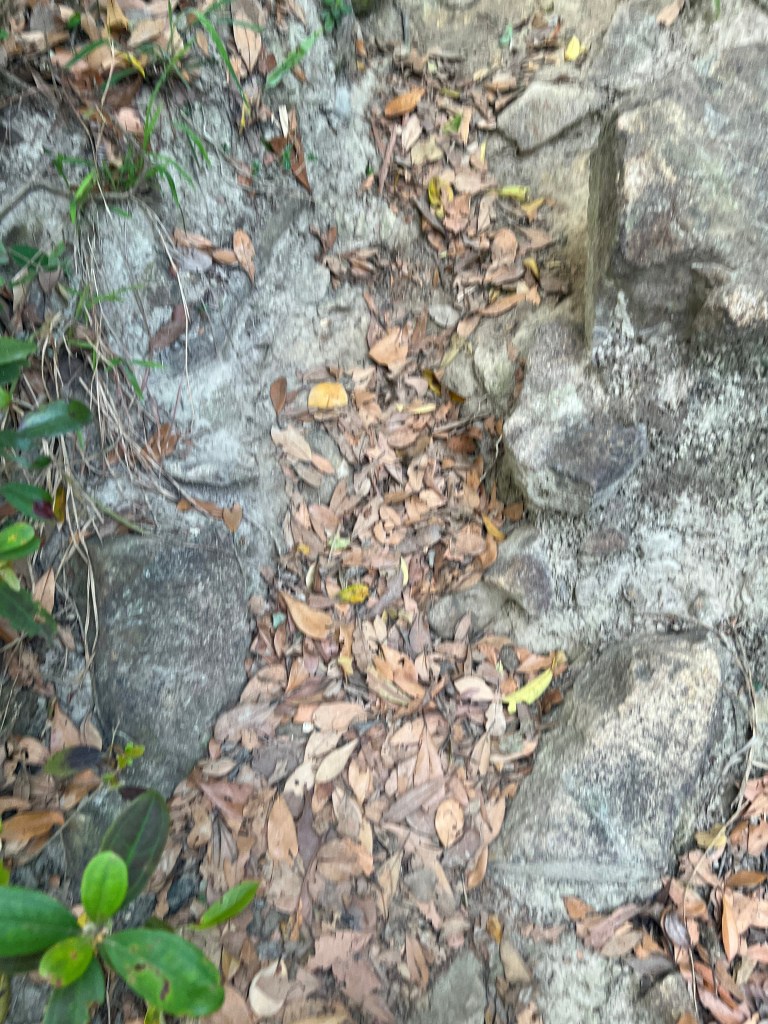
In the first picture above you can see how dense the vegetation gets at some points, we stopped for a minute and we found that we had ticks in our legs (ugh!). After you pass the worst part, the path is clearly visible again. Here the rock becomes a bit more slippery and the slope doesn't make it easier so just pay attention and you will be fine.

In your way up you will pass on your left Parrot Beak rock, this is also a popular viewpoint and many people take pictures here as well so see how you feel about it, you might feel brave and want to take a shot there!
On the left were my favourite views
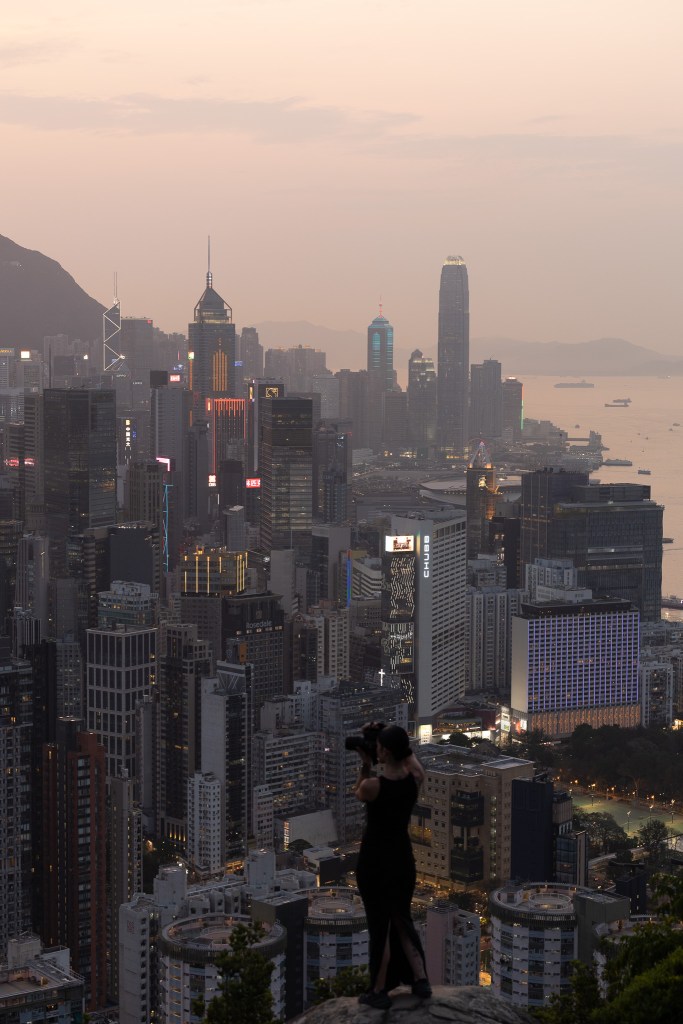
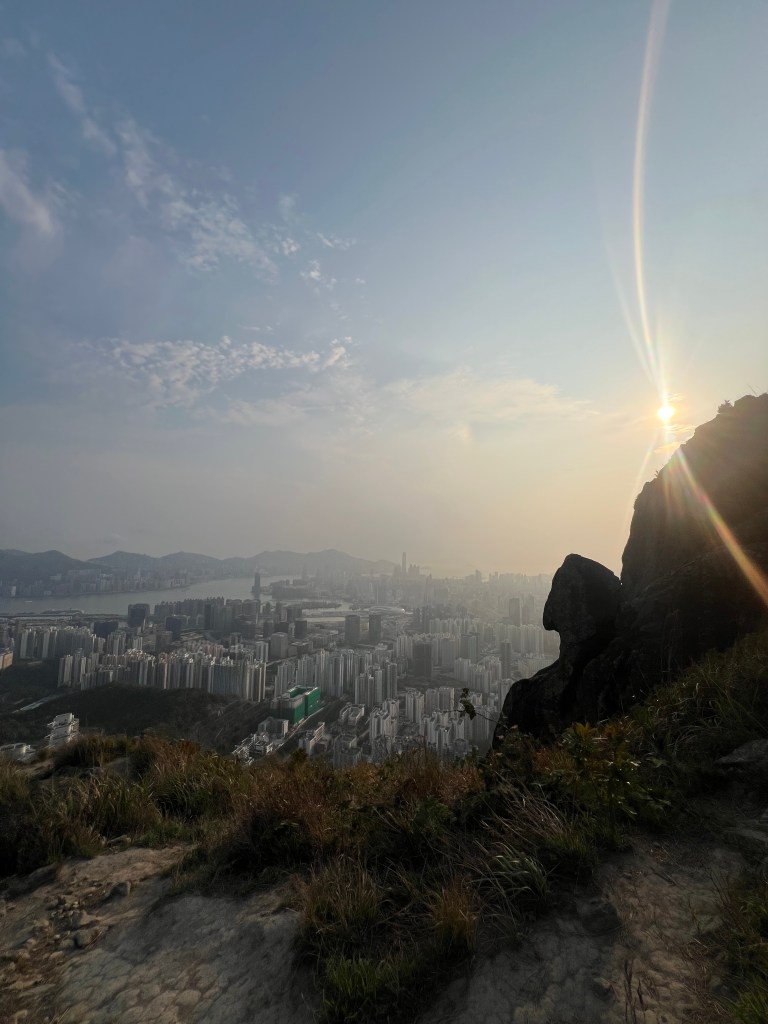
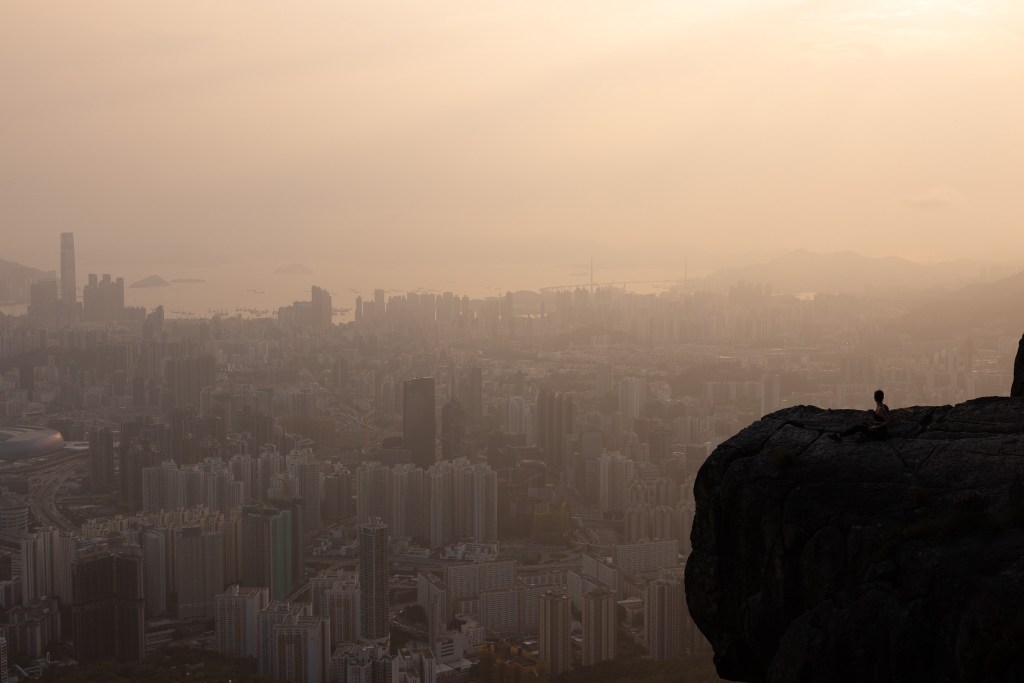
After about 50-60min, we finally reached the top! It was very windy and I seriously considered walking to the rock since there's a big drop on the right side of it and you have to walk a short but narrow way to get there, but after all and after Tom did it as well, I decided I would do it and I have no regrets!
Suicide Cliff at sunset
The way down was definitely easier, it took us over an hour though but its all steps and here we explain you what way did we take.
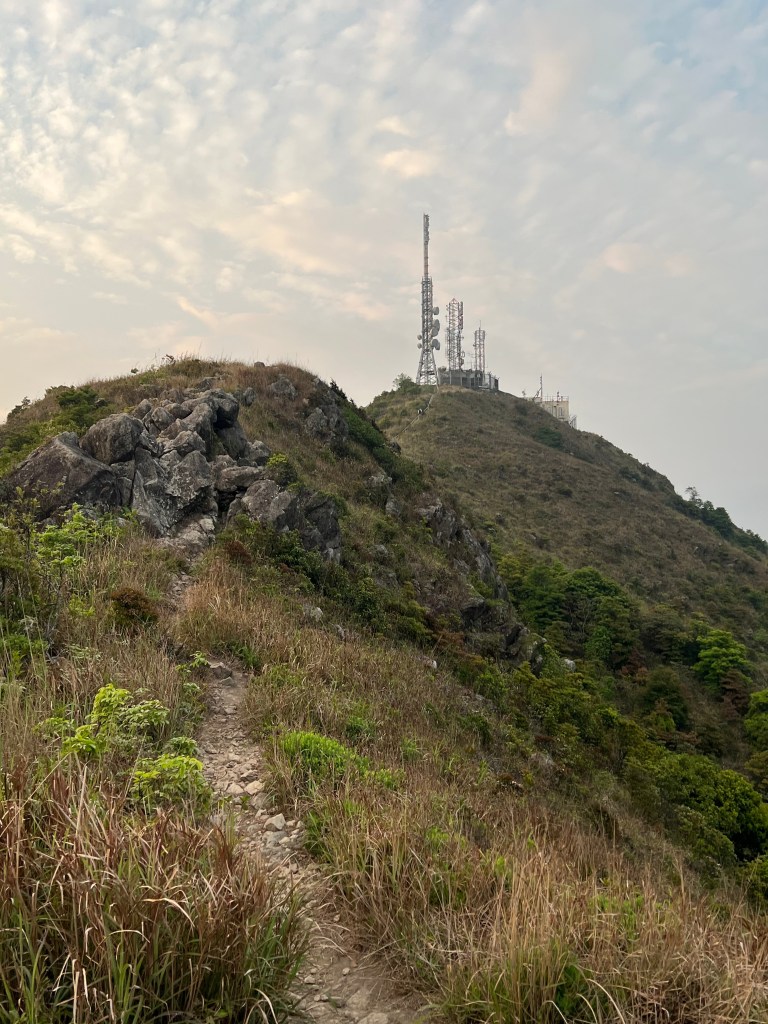
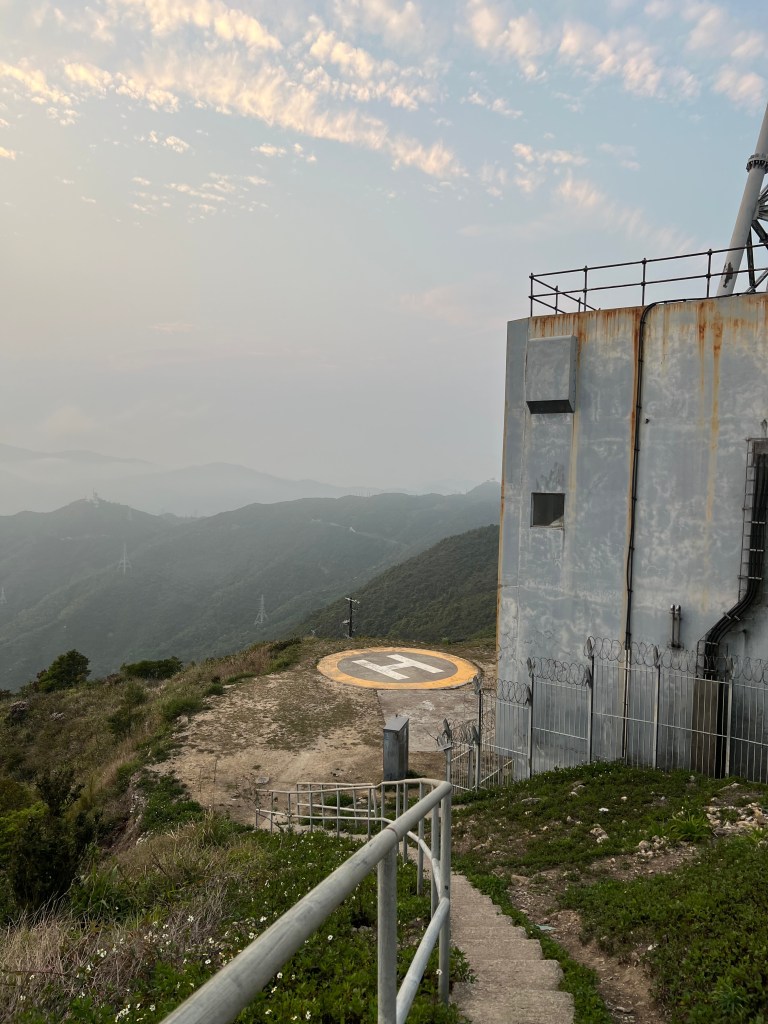
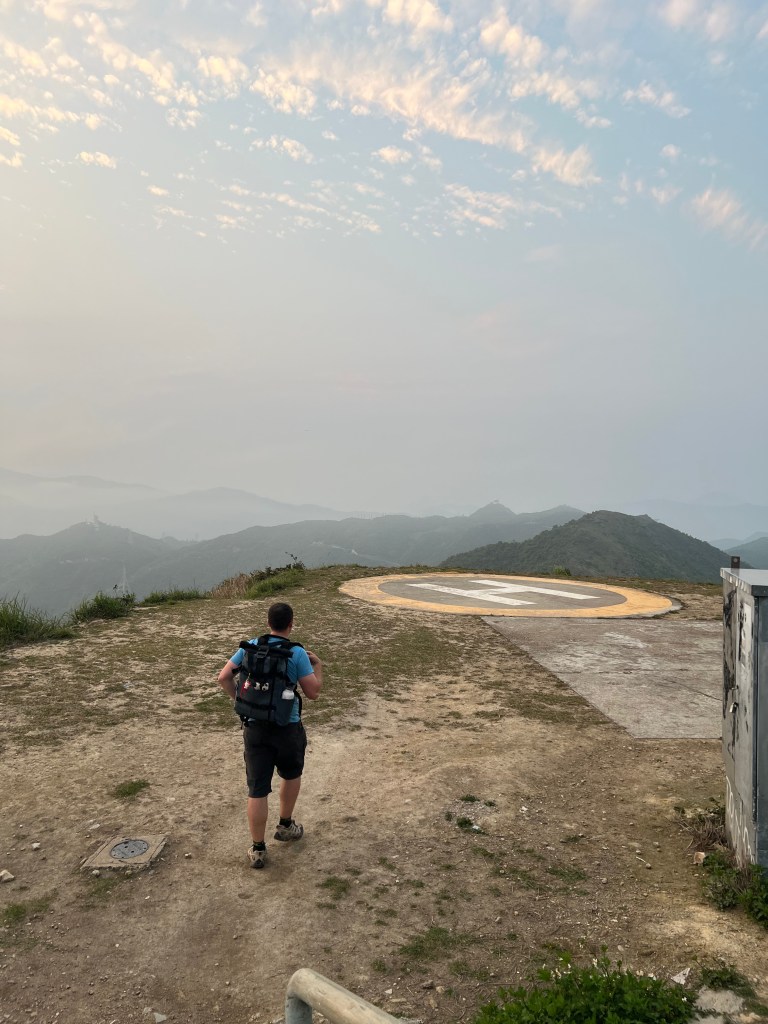
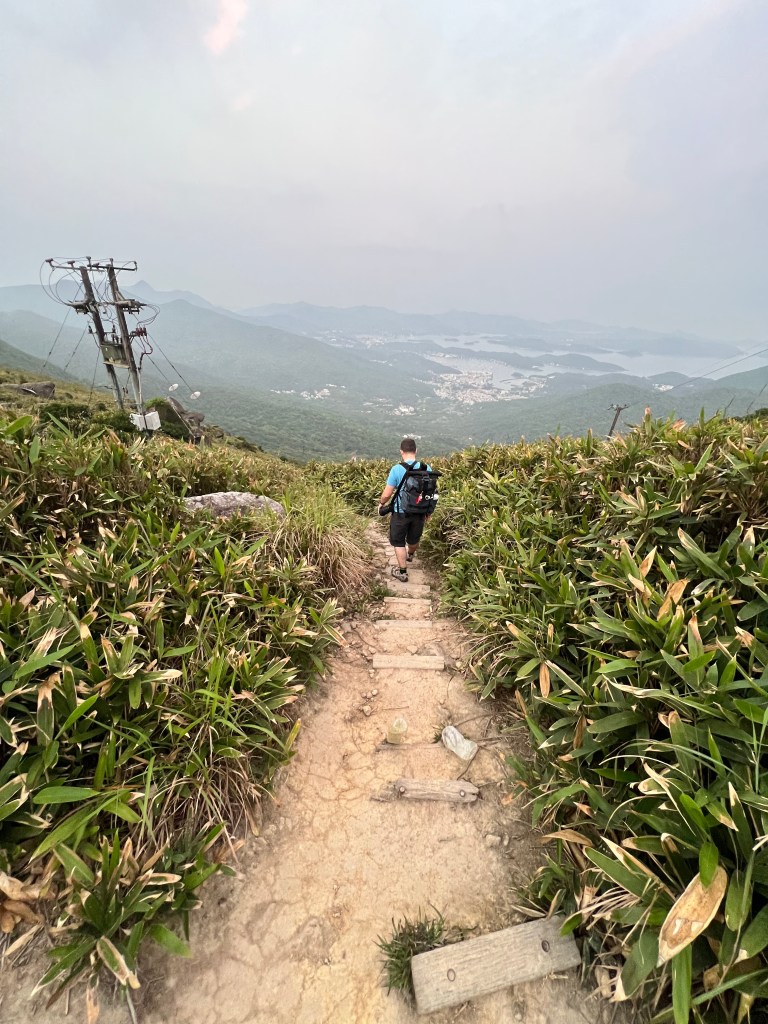
After we finished in Suicide Cliff, all what we had to do was to walk in the direction of the big Radio Station (impossible to miss!) and keep on the right of the way. There's some steps to the right of the station that will take you to the top, just follow all the way up. Once you reach the top you will see a helipad (really cool for a shot too!), you need to follow the path that is just after the helipad.
Radio StationAt the top of the stationHelipadViews from the radio stationPathway after helipad
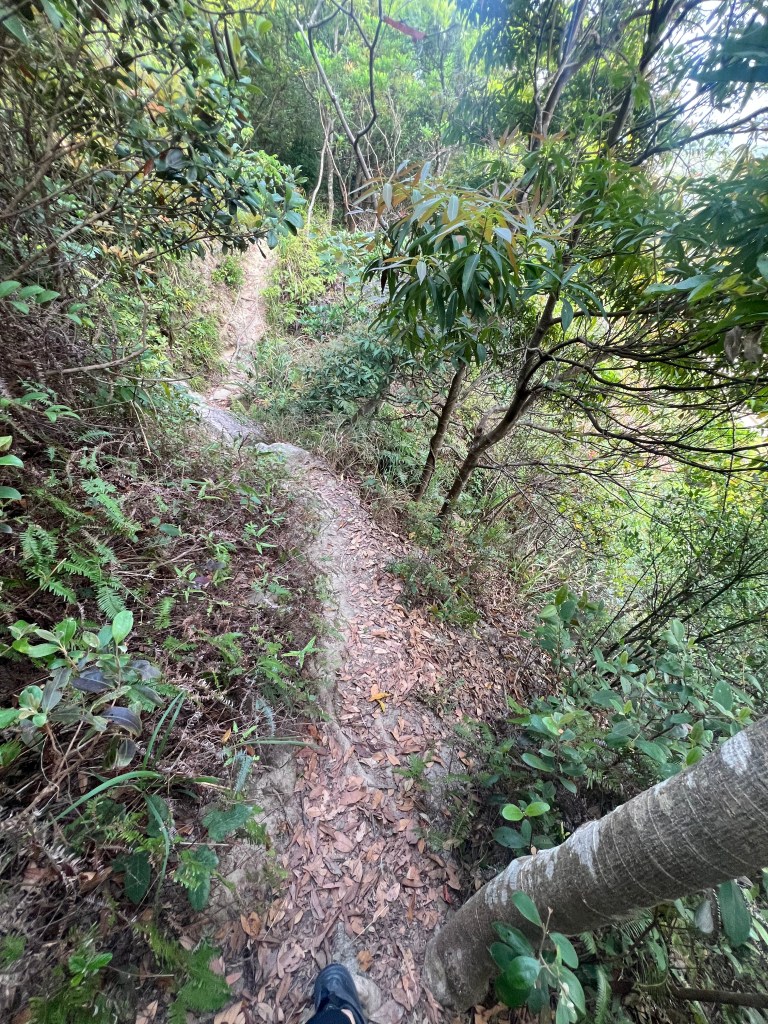
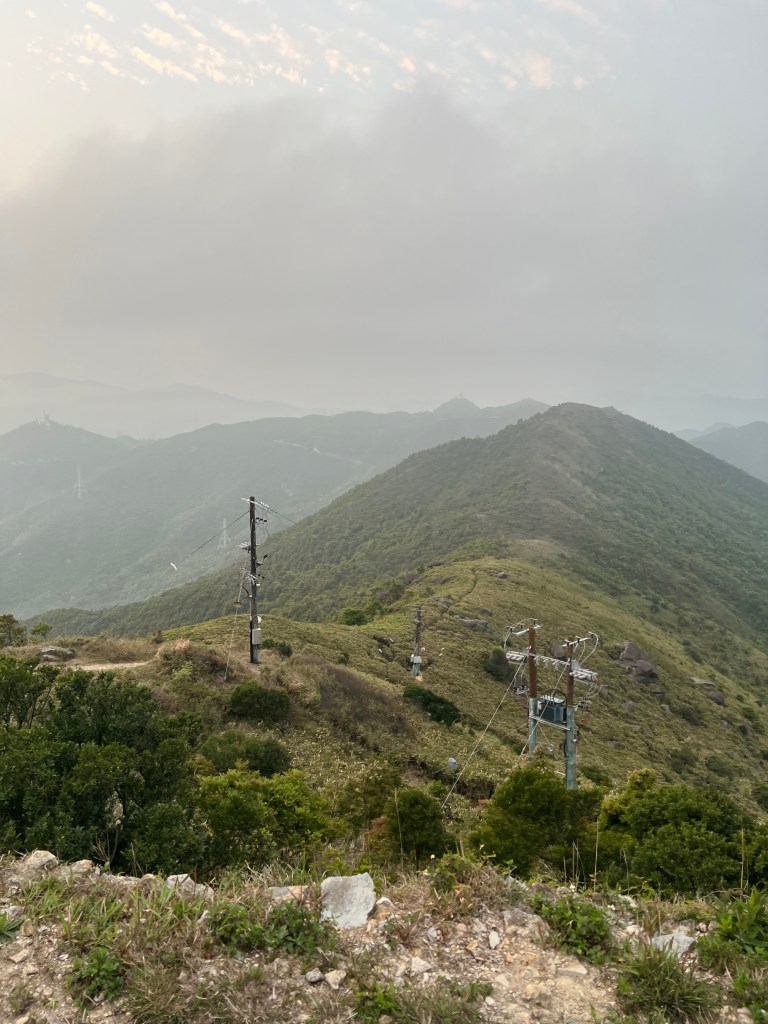
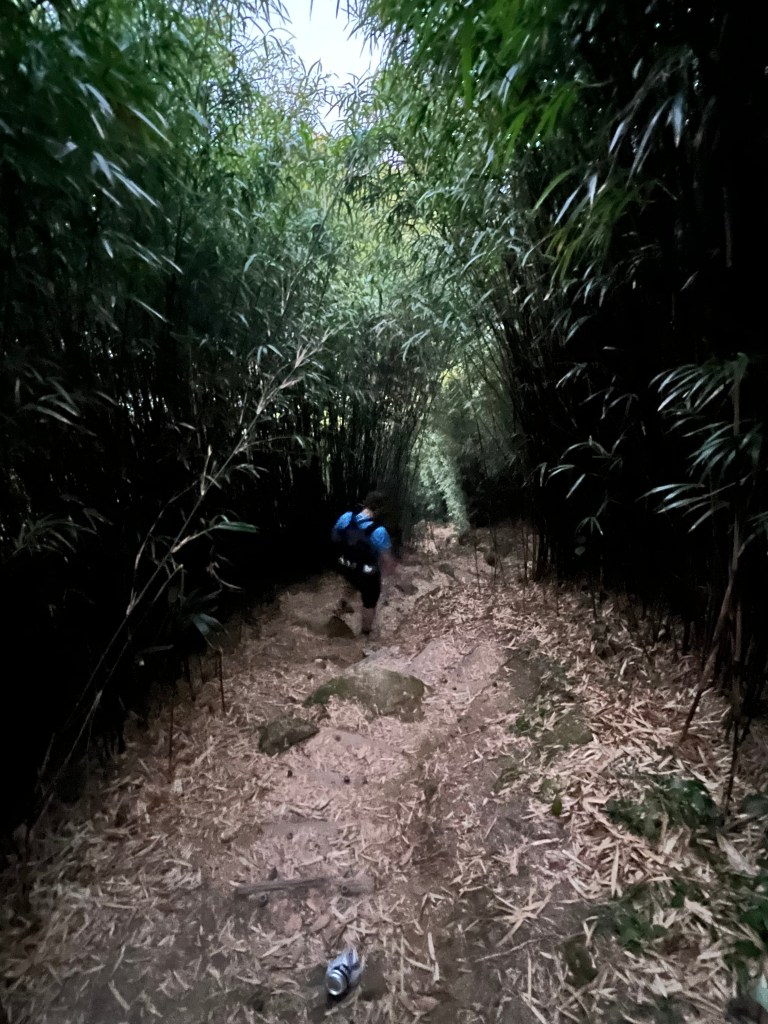
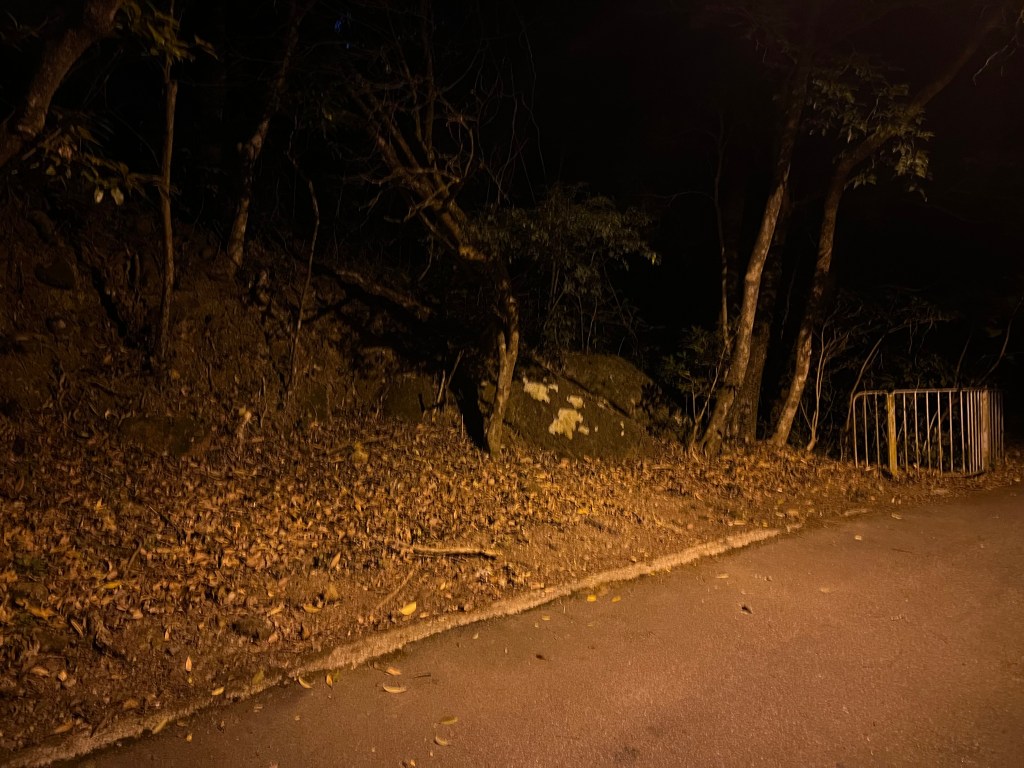
After this as I mentioned above, just keep to the right of the way and follow the steps, it will eventually take you back to Fei Ngo Shan Road. When we get to the end it was already dark, so having a torch with you or having enough battery to use the one in your phone will be really helpful.
On the way downThe path is easy to followEnd of the path, you come out next to the fence on the right of the picture
Overall, I would say this is the hardest hike we did in Hong Kong but if you take your time going up and pay attention to what you are doing, trust me all the effort is well paid off once you reach the top, so if you feel tempted to do this hike, this is your sign to go for it. Also, remember that there's a longer but an "easier" way of getting there, so there's not excuses!

Do you have any comments or suggestions? Leave them below, we will love to hear about it!
We spent just over three days in Hong Kong which was definitely not long enough, here is what we managed to pack into our short stay.
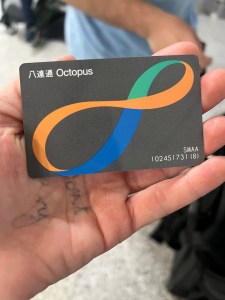
Travelling around HK is so easy, their public transport system is really well organized and always runs to time what make everything so easy. We used the MTR (subway/metro) and buses/trams for nearly everything, our advice? Get an Octopus card! It is like the Oyster card in London but for HK and you will find yourself using it almost all the time. There's some places where you can even pay with it. Do you want to know more? Keep scrolling down!
Octopus Card
Here is a more detailed explanation about our itinerary:
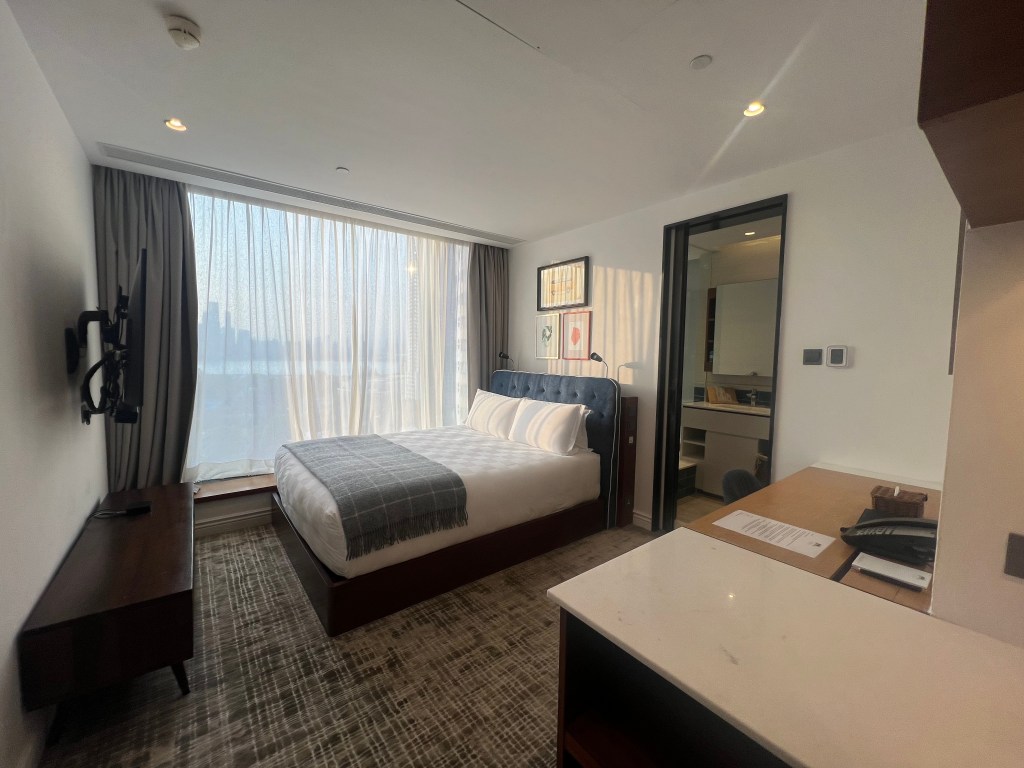
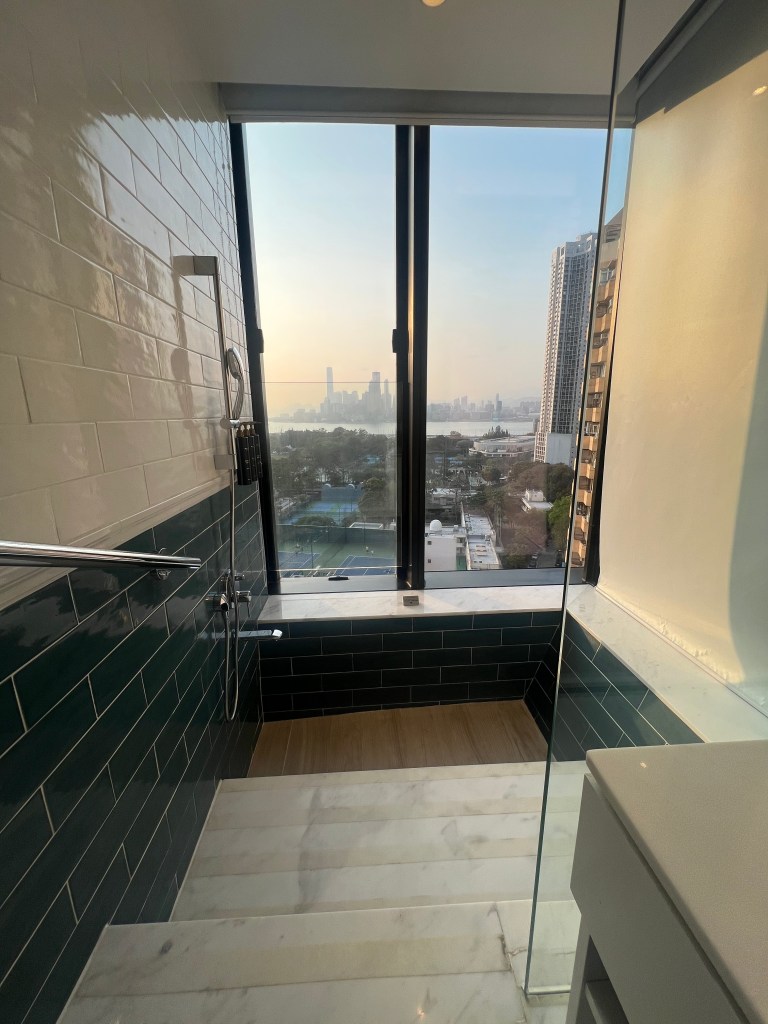
Day 1 – we arrived late afternoon, HK has one of the most efficient airports I’ve ever been to and disembarking the aircraft to leaving the airport took just 25 minutes! The airport express train then takes you to Central (the main transport hub) in about the same amount of time, for you to carry on to your hotel (we stayed in Little Tai Hang aparthotel, located in the Eastern District in the HK Island and the room, the area, the price and the location was perfect!)
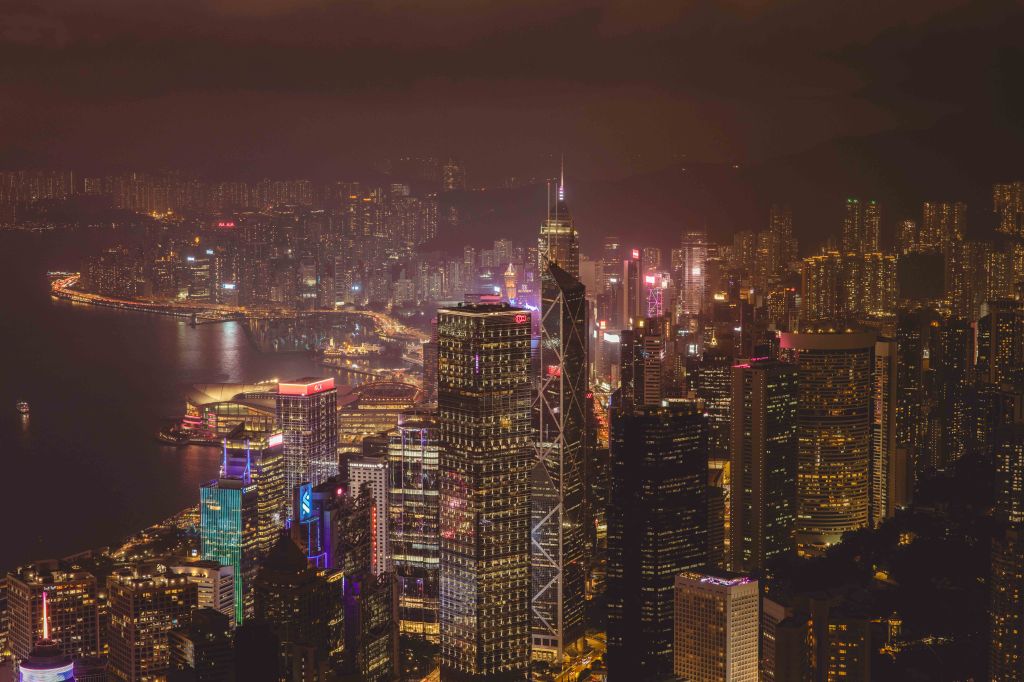
Once we got to our hotel we dumped our bags and headed straight out to try and catch the sunset at Victoria Peak, if you want a more bougie experience you can go to the Sky Terrace 428 on top of The Peak Tower but expect it to be packed at sunset! Otherwise for a slightly quieter spot we opted to walk to the Luggard Road Lookout which takes about 15 minutes from the Peak Tower, it offers amazing views out to Victoria Harbour day or night and surprisingly, it wasn't too busy so we had a perfect spot! Just as a note, if you coming here expecting to see the light show, don't expect much! From here it is basically not visible and the best spot for this is in the Kowloon side.
Victoria Peakat night
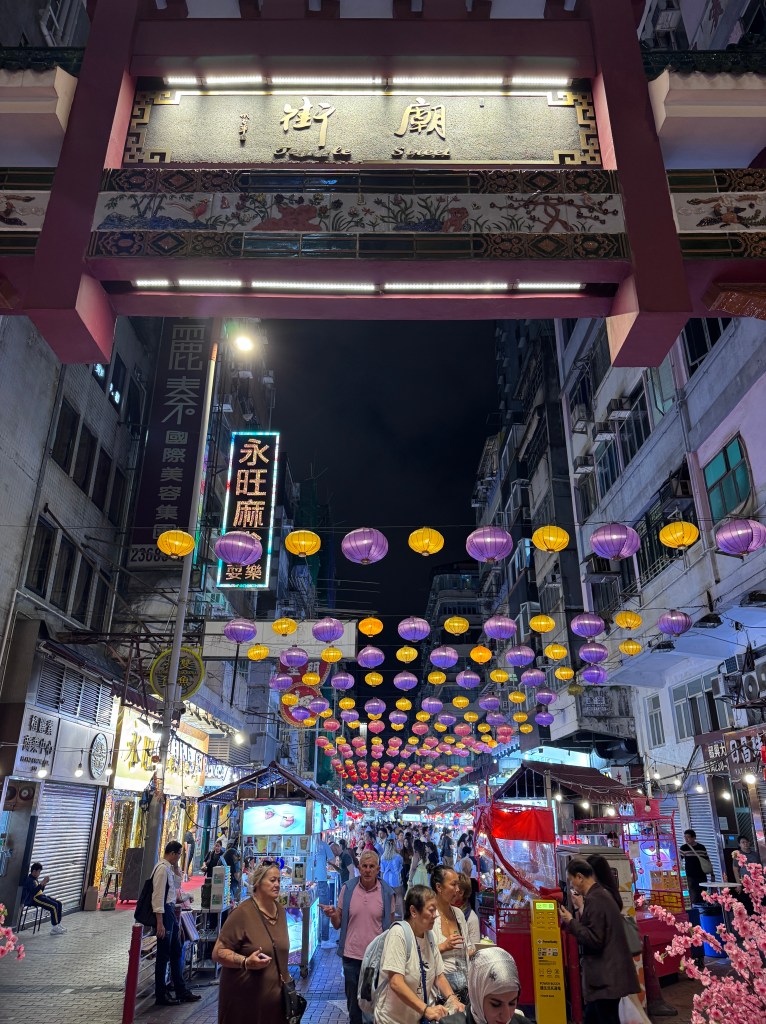
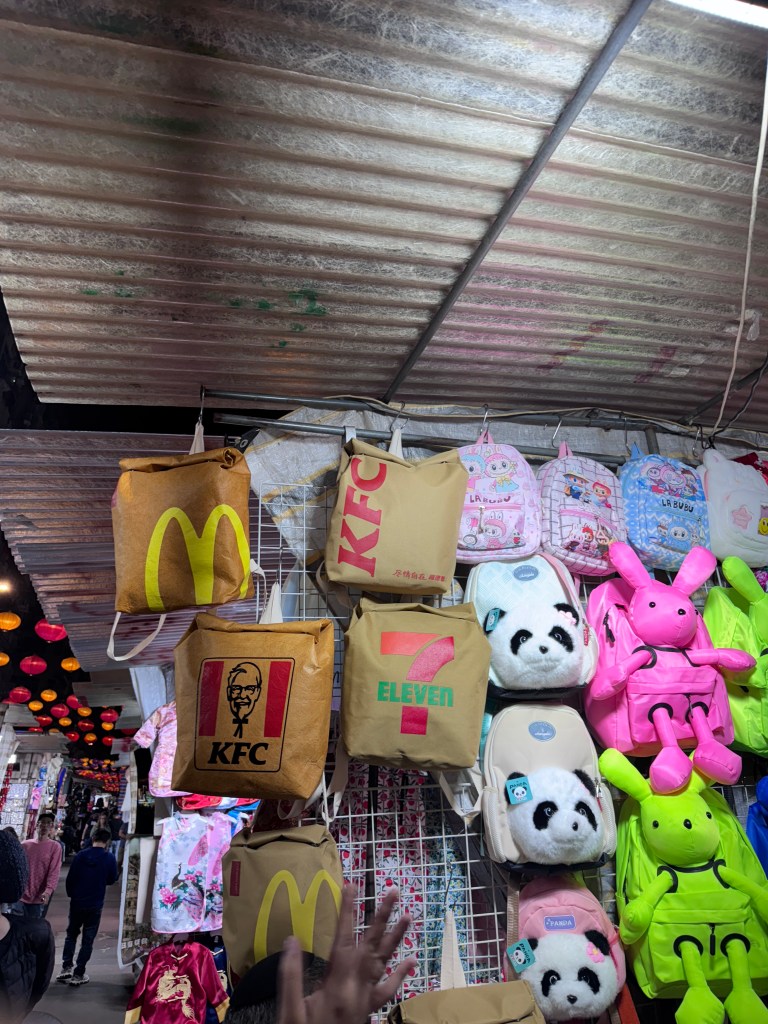
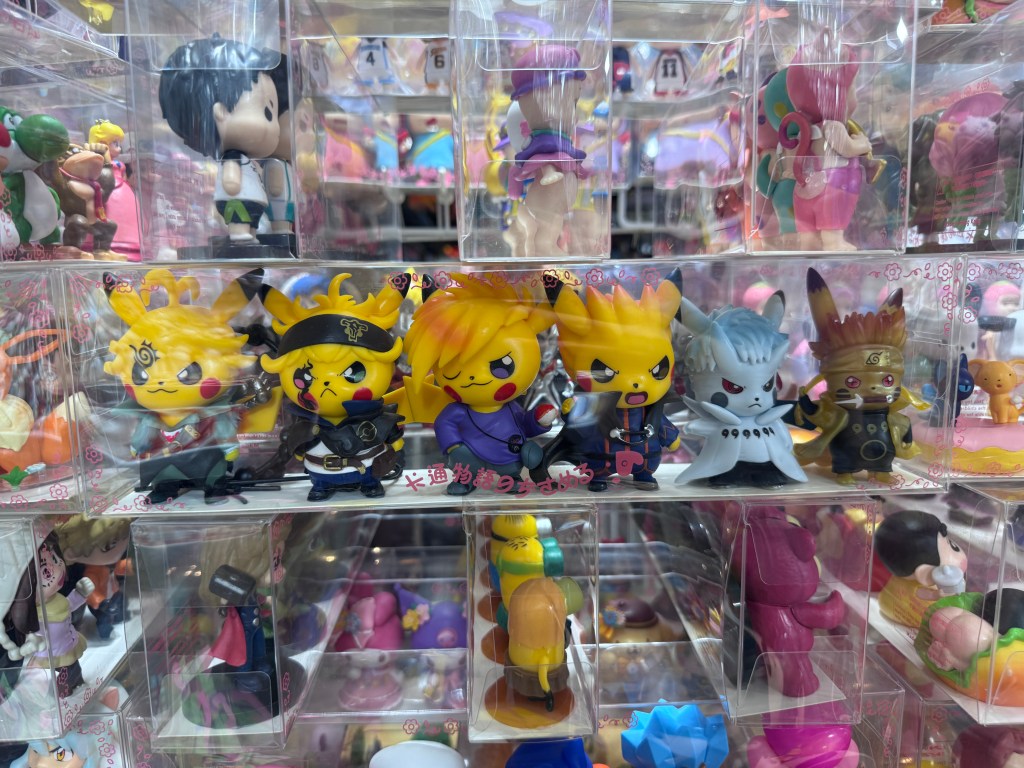
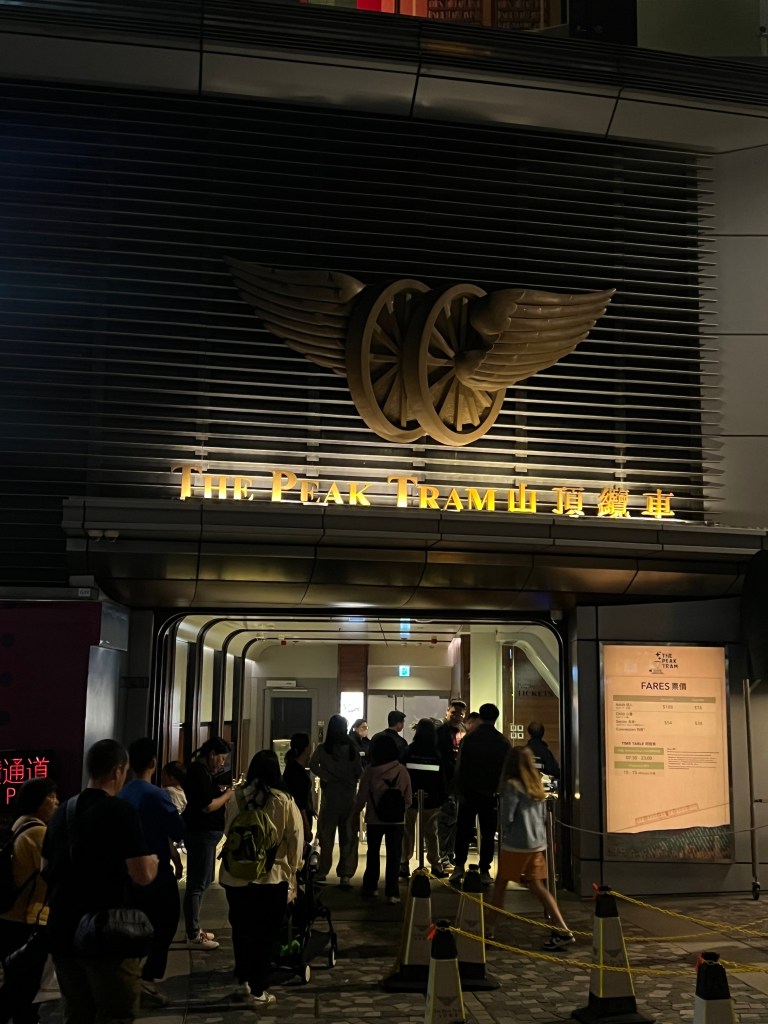
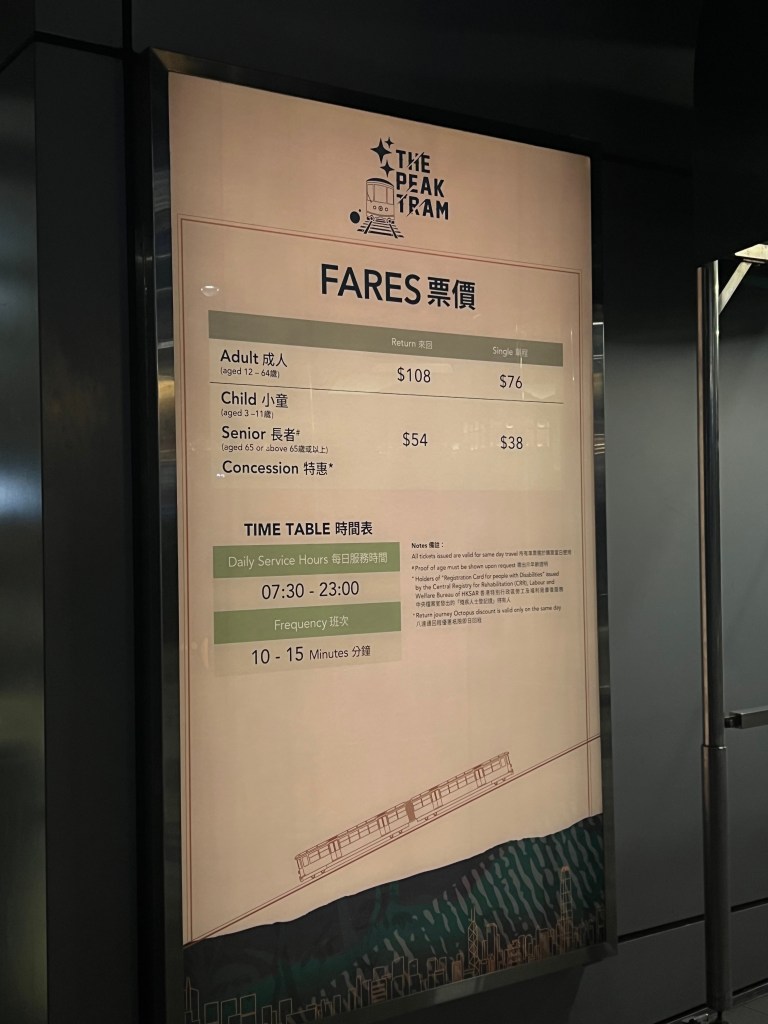
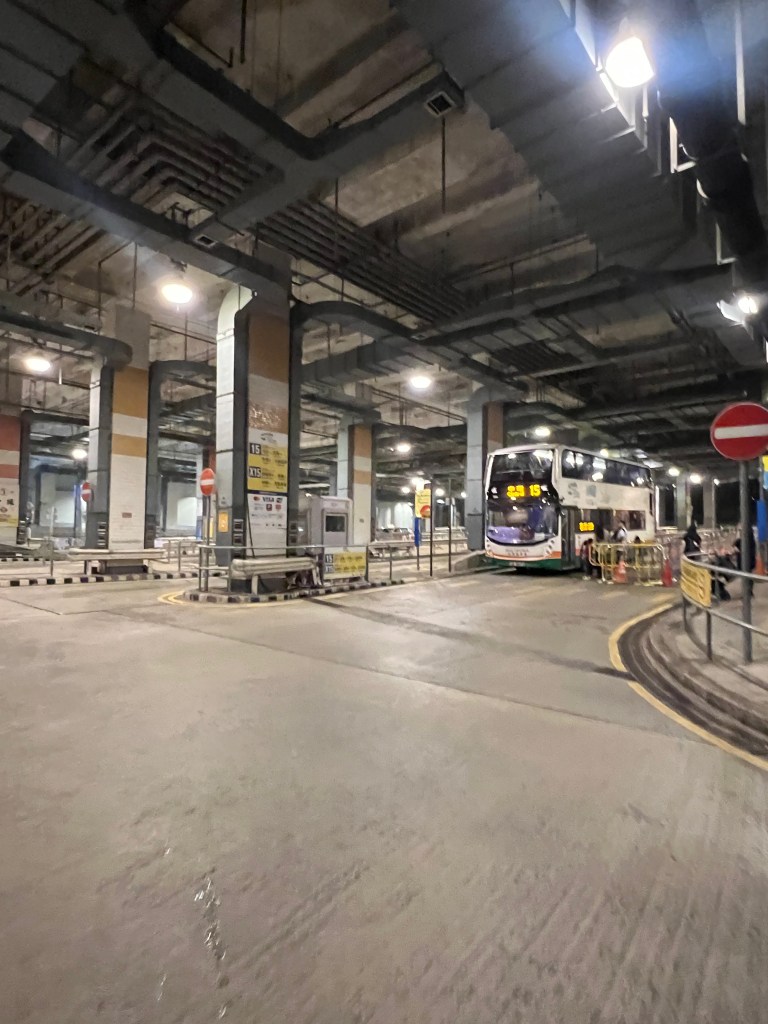
After sunset and admiring the HK city at night, we took a bus then the MTR to Temple Street Night market for some food and souvenir shopping before returning to our hotel. You also have the option of taking "The Peak Tram" from Victoria Peak, but for less than the half of the price you have the bus and it works perfectly well.
Temple Street MarketTemple Street MarketTemple Street MarketPeak TramPeak Tram faresBus Station at Victoria Peak
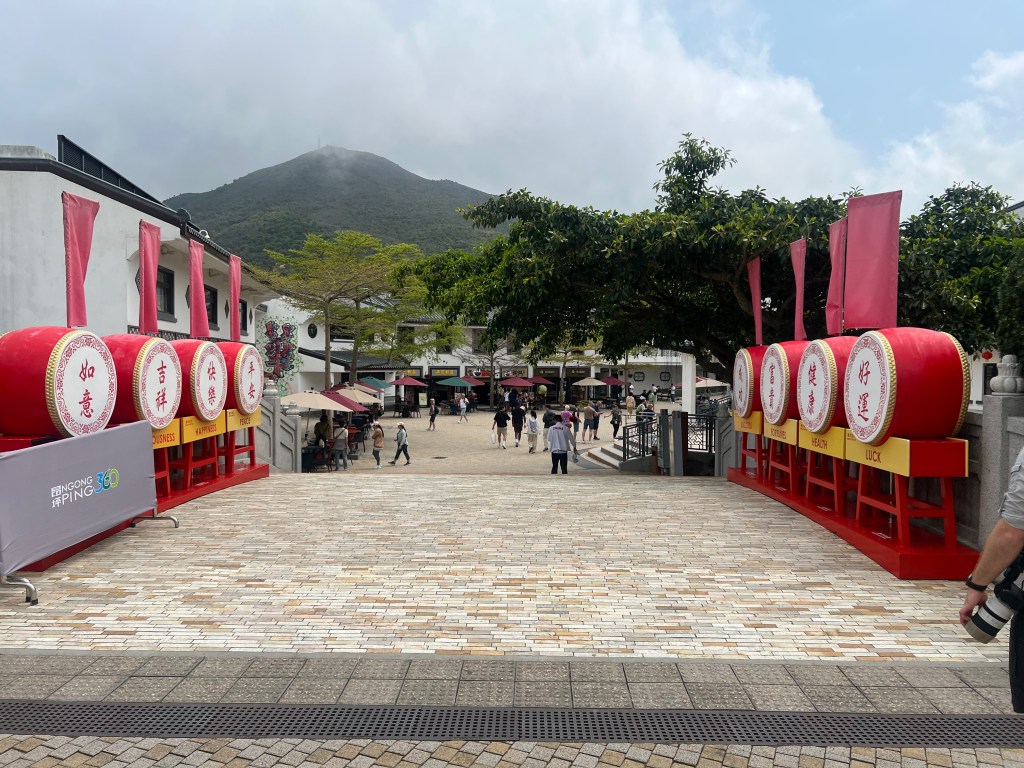
Day 2 – Lantau Island, Tian Tan Buddha, Yick Fat Building, Braemer Peak and the Light Show. Computer and toy markets and finishing with dinner in Ichiran Ramen.
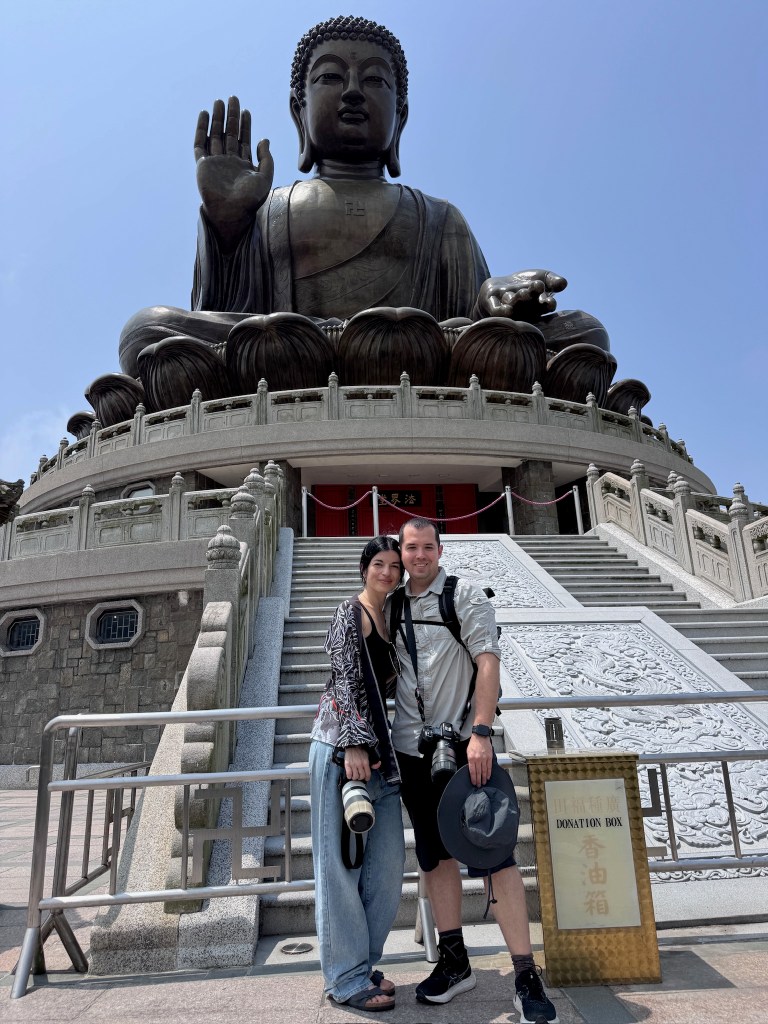
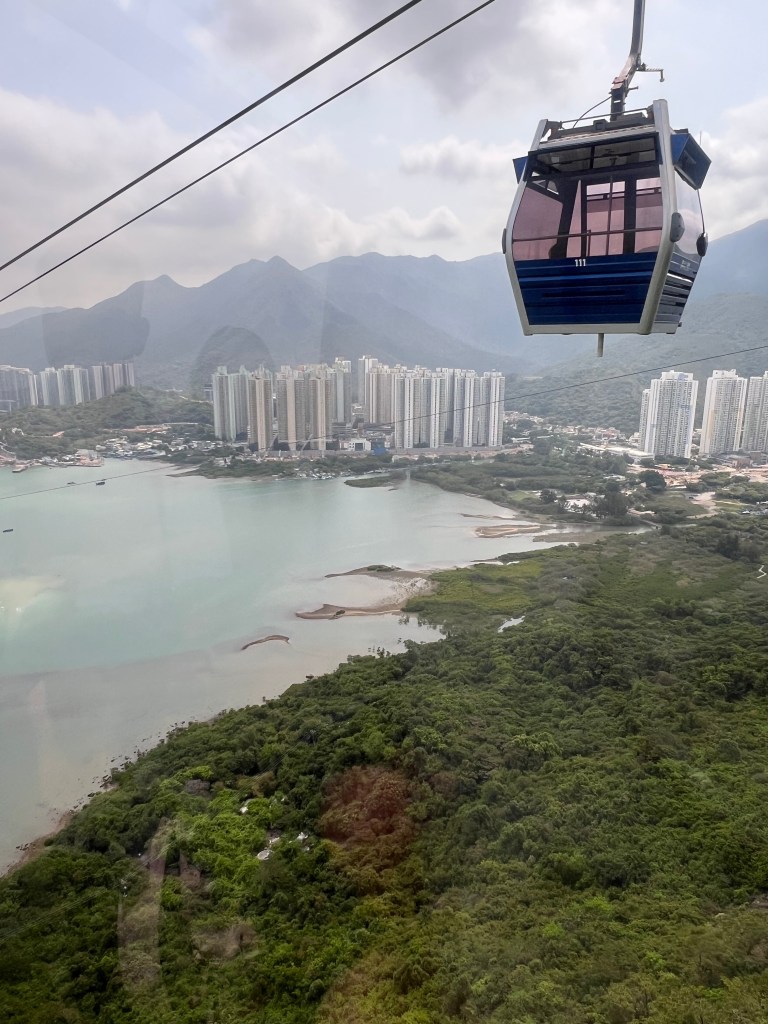
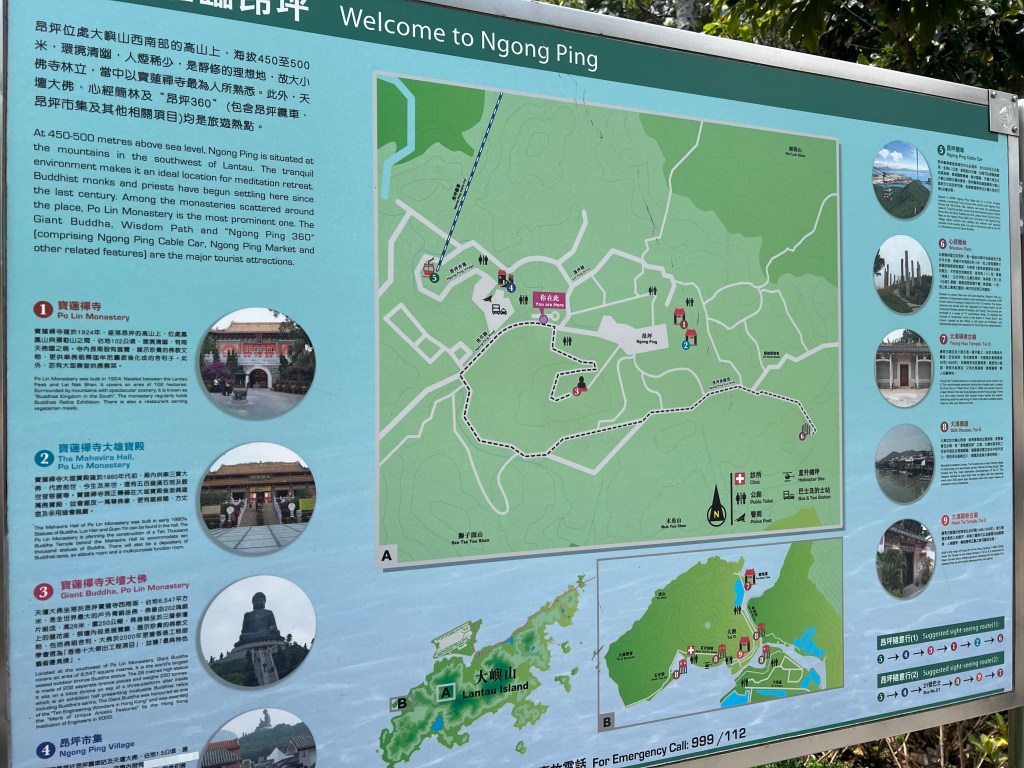
Day two we headed out first thing to Lantau Island, from Central you take the MTR to Tung Chung, its then a short walk to the Ngong Ping Cable car station which was well signed. Its approximately a 30 minute cable car ride so sit back and enjoy the scenery (on your way up you have a panoramic of HK International Airport!) For the cable car the return tickets are £21 per person (if you buy them online), you also have the option of getting the 360 cable car where the entire cabin is made of glass and the price is around £39. Once you reach the top, you can visit the Buddha and the village and you can also explore the Po Lin Monastery and if you have time walk the Wisdom Path as well (in our opinion, the highlight here is the Buddha, we didn't spend much more time around after this). Once you’ve finished it’s the cable car back down.
Visiting the BuddhaCable Car stationCable Car viewsNgong Ping villageNgong Ping map
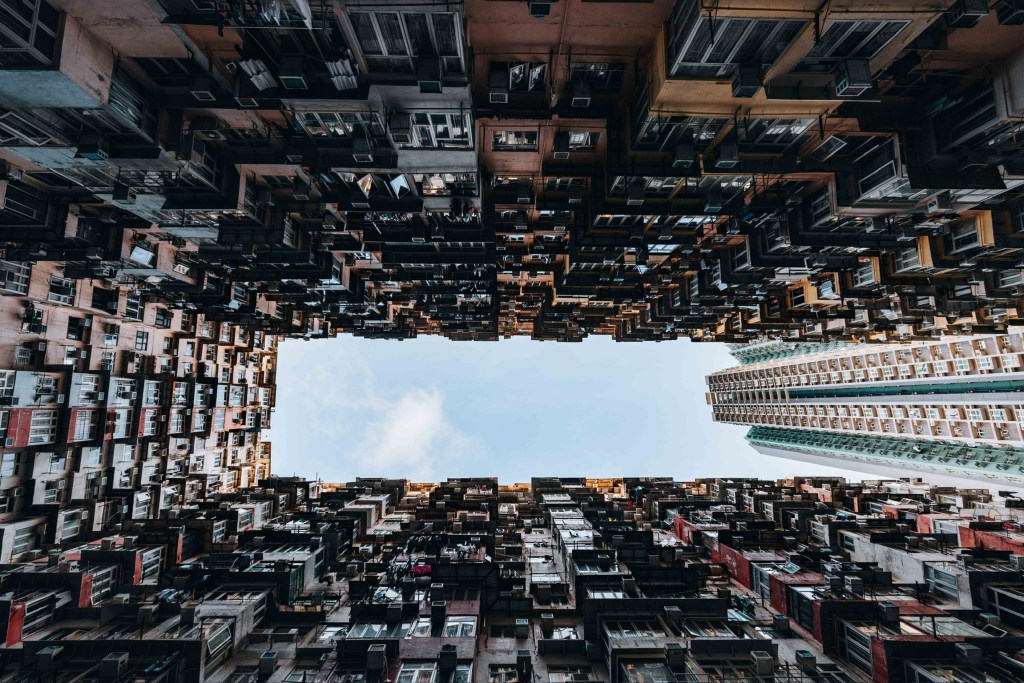
Before taking the MTR back we had a wander around the Citygate Outlets for some retail therapy and grabbed some food. Once back on Hong Kong Island we went to the Yick Fat Building (Monster Building) which became famous after Transformers: Age of Extinction was filmed there it’s a short walk from the Tai Koo MTR station and yes, you can expect this to be busy but fortunately wasn't too bad.
Yick Fat Building
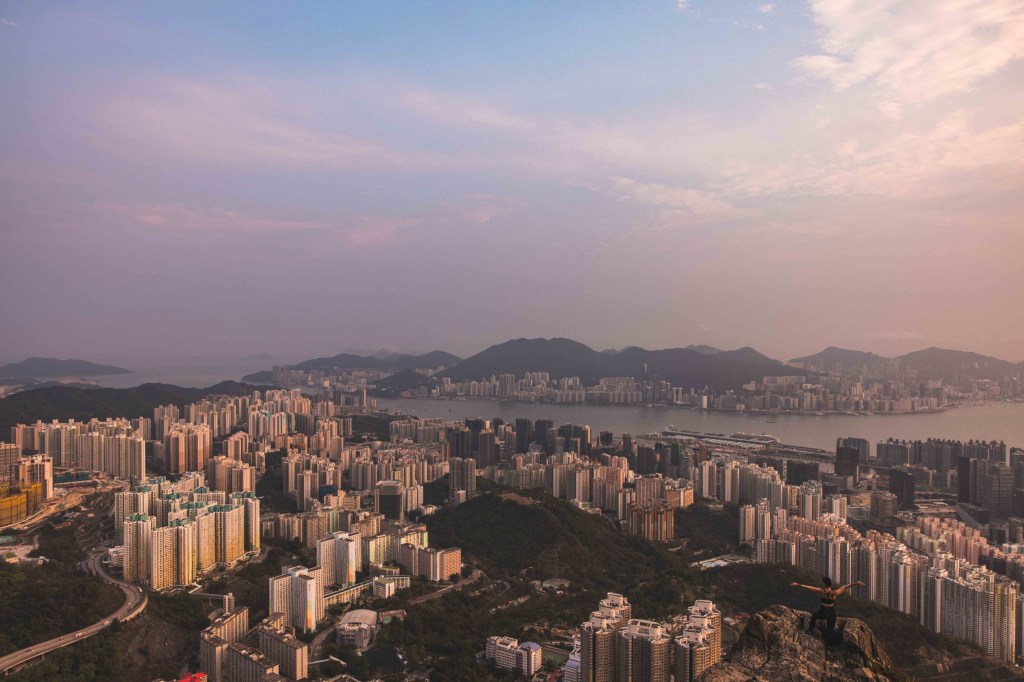
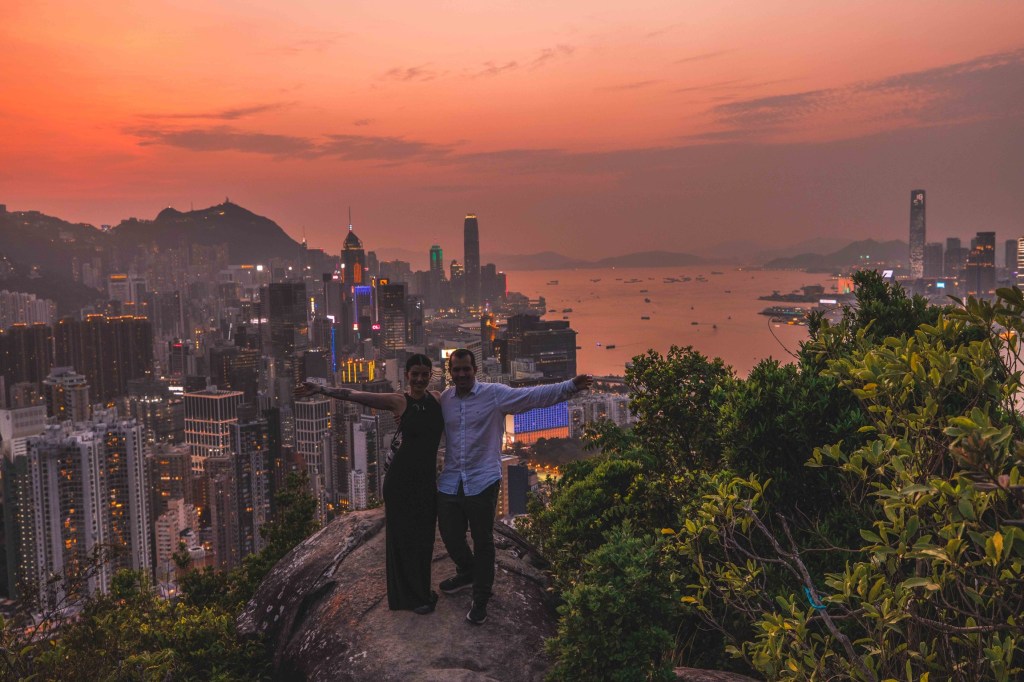
For Sunset we headed up to Braemar Hill Peak, there is actually a rock just before the peak which involves a small scramble which in our opinion offers the best view. Read more about this location and how to get there here.
Braemar Hill Peak
After sunset we headed to the promenade on the Kowloon side to watch the light show before taking the MTR to Yau Ma Tei where you can find In’s Point (Large toy store) and then we headed to Mong Kok to look around Mong Kok computer centre. Honest opinion here, the toy store wasn't what we had in mind at all, it is good but most of the shops seems to have the same products. Regarding Mong Kok computer centre was okay although many of the shops were closed. We visited another computer centre at Wan Chai, (Wan Chai computer centre) which was really good with lots of variety and good deals, if you got to visit one we would definitely recommend the last one.
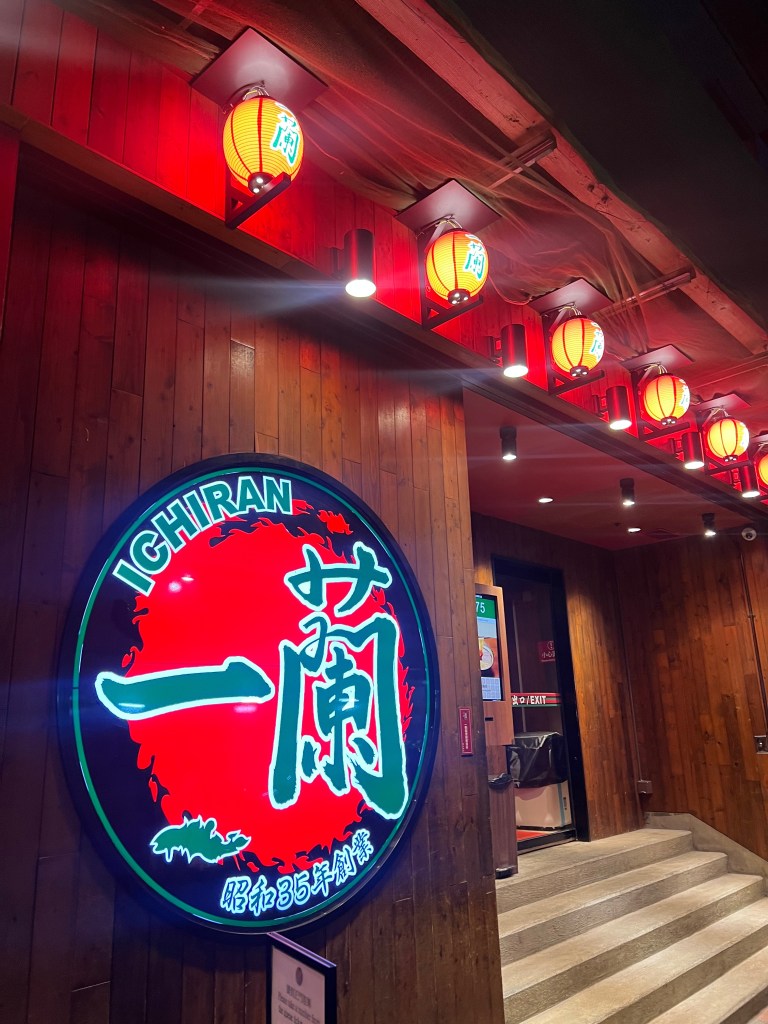
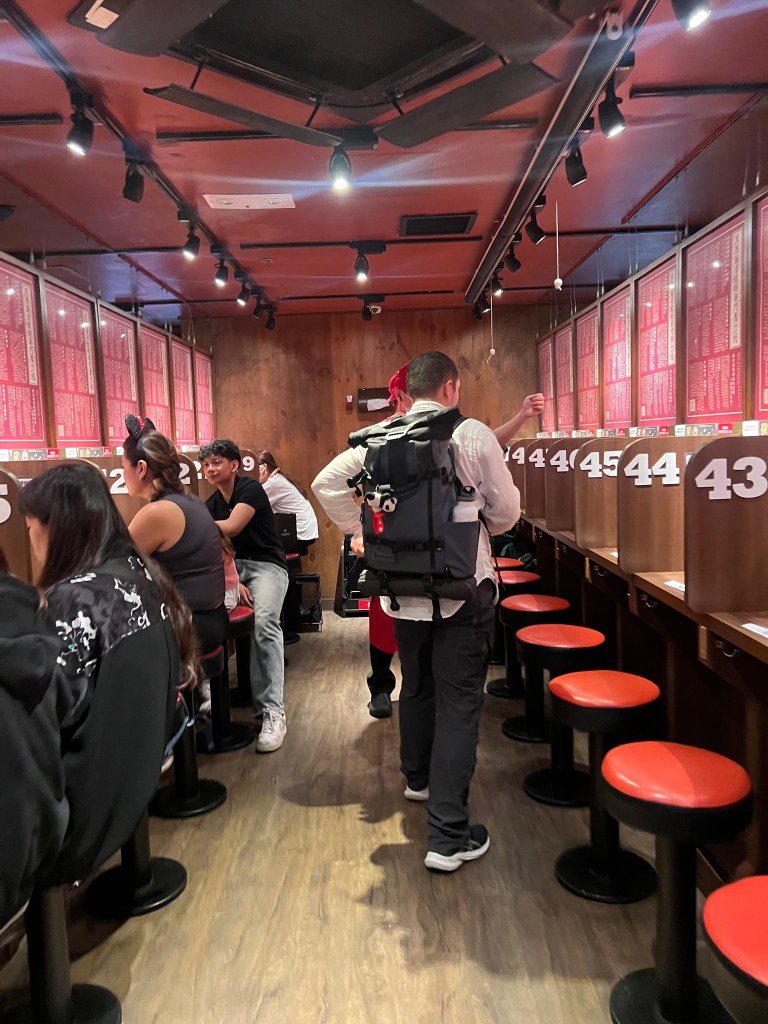
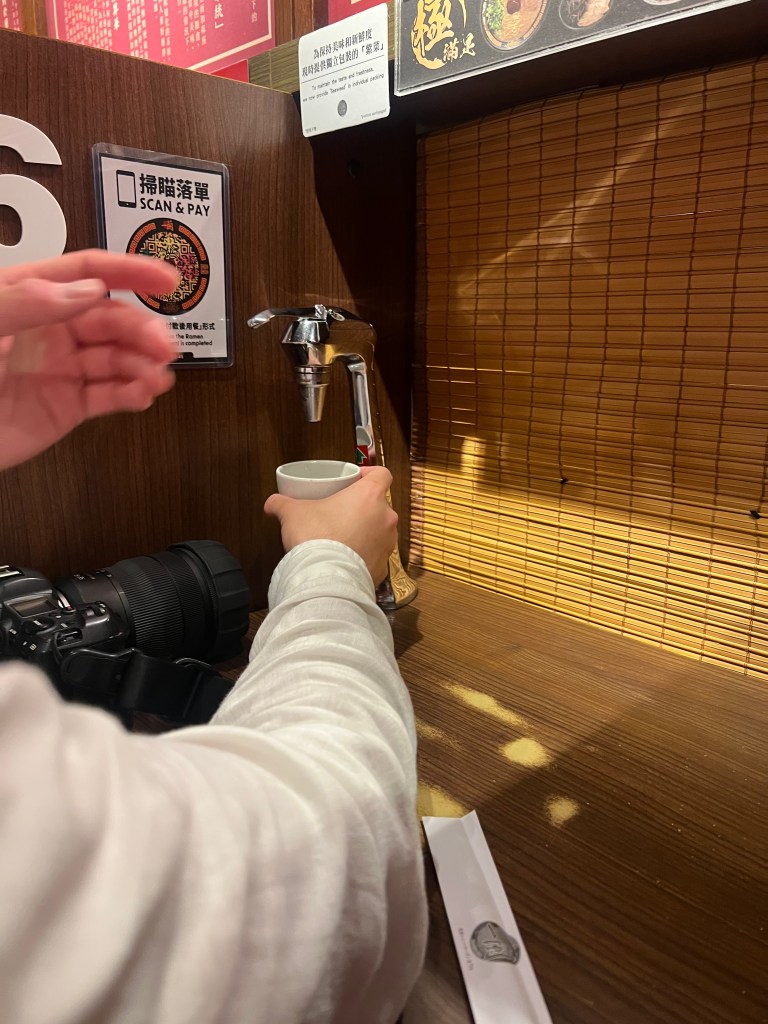
Finally to finish the night, we grabbed some food at Ichiran for the best ramen we’ve ever tasted! Ichiran is also open until late, the prices are for everyone and the experience is unique, so if you like ramen as we do, then this is your place!
Ichiran RamenIchiran Ramen, so authentic!Ichiran Ramen
Day 3– Victoria Peak sunrise, wandering around the city and art lane. Victoria Harbour from the promenade, Choi Hung Estate, Suicide Peak and back to the Temple Night Market.
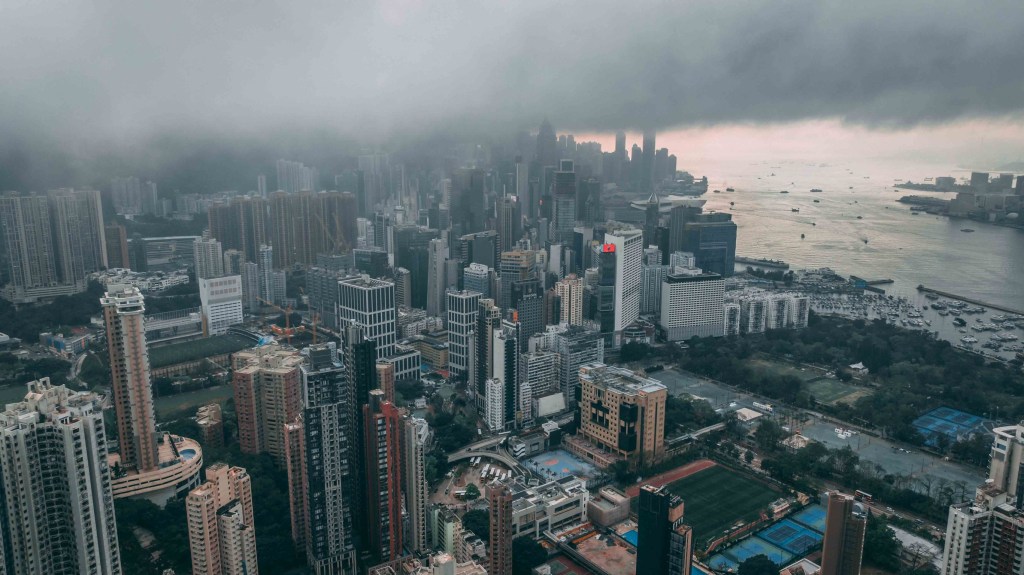
Back to Victoria Peak at Luggard Road Lookout for sunrise, unfortunately it was quite murky but the clouds made it very atmospheric and gave us the chance of taking some amazing photos.
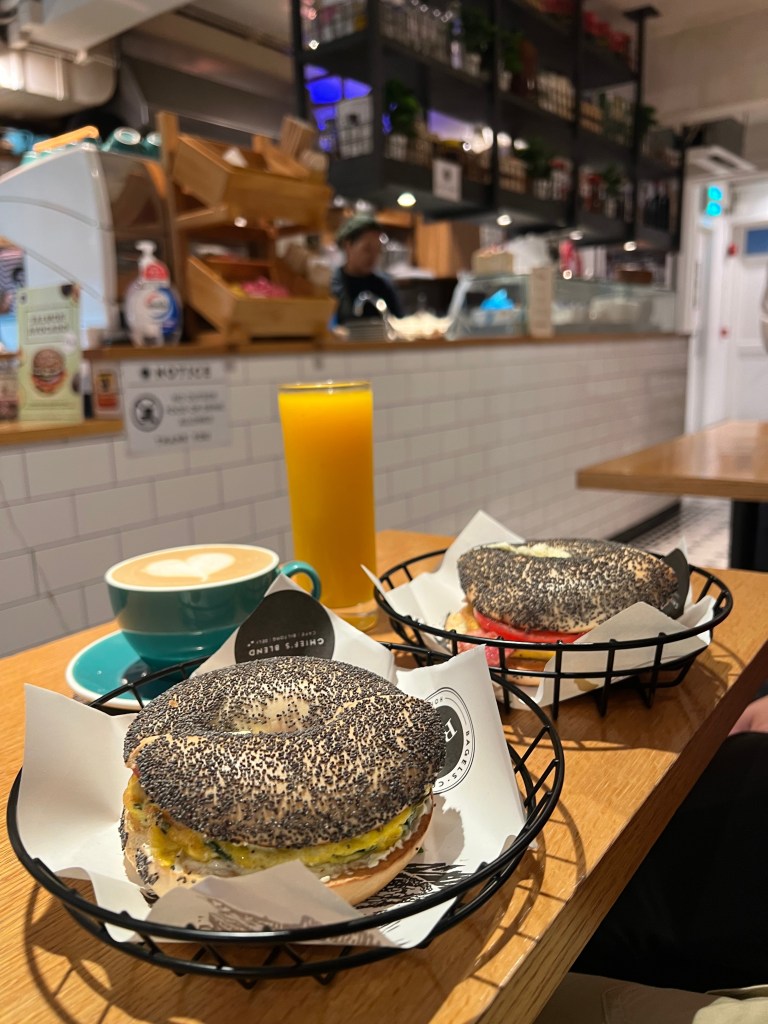
We took then the bus back down to the city (bus No. 1 will take you there in about 20min), grabbed some breakfast at R&R Bagels (a must) and then
wandered around central to Art Lane and back towards the Bank of China to do some street photography before taking the Star Ferry across to the promenade to see the Harbour view in the daytime. The Star Ferry
costs less than £1 and here you can also pay with Octopus card, so definitely worth doing so for the experience!
R&R Bagels, amazing!Art LaneArt Lane
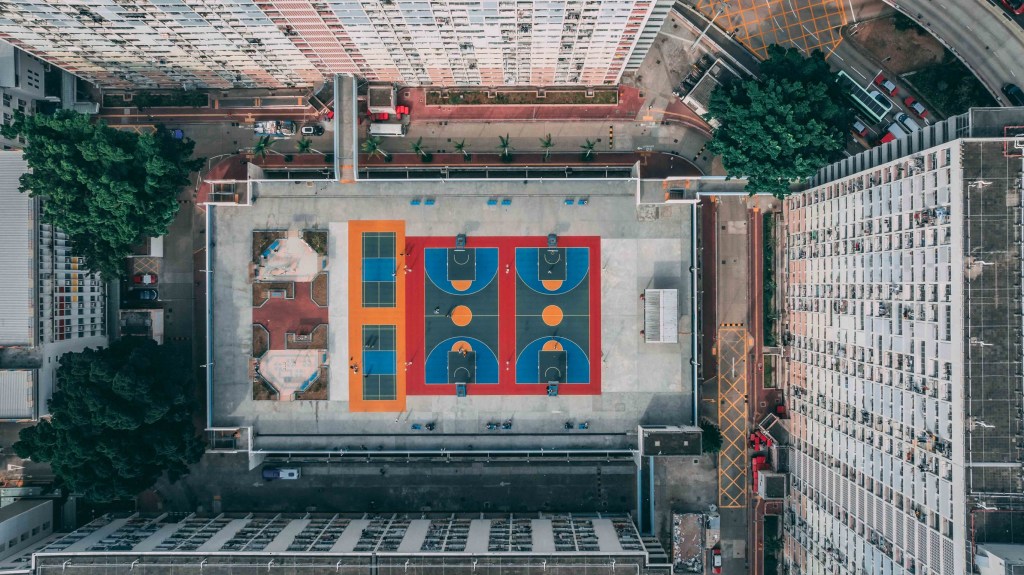
We then headed over to Choi Hung Estate (MTR to Choi Hung station) to photograph the colourful buildings and basketball court, it wasn't too busy and here you can fly drones!
Choi Hung Estate
Our last stop of the day was hiking up to Suicide Cliff, there are several different routes to this spot. We took the shortest but hardest route which involved a lot of scrambling uphill for about one hour, to learn more about it click here.

Once at the top though the views were definitely worth it!
Suicide Cliff
On the way back to the hotel we decided to stop by Temple Street again for some more delicious food.

Day 4 – The Whampoa, East Coast Park Precinct, Causeway Bay , a very cool 3D printing factory, and Braemar Hill again before leaving.

Our flight was late in the evening so we tried to make the most of this day before we had to leave for the airport. Fortunately where we were staying they let us do a late check out (without additional charges) and they storaged our bags until we left to the airport, this allowed us to move around without the hassle of having to carry the bags!
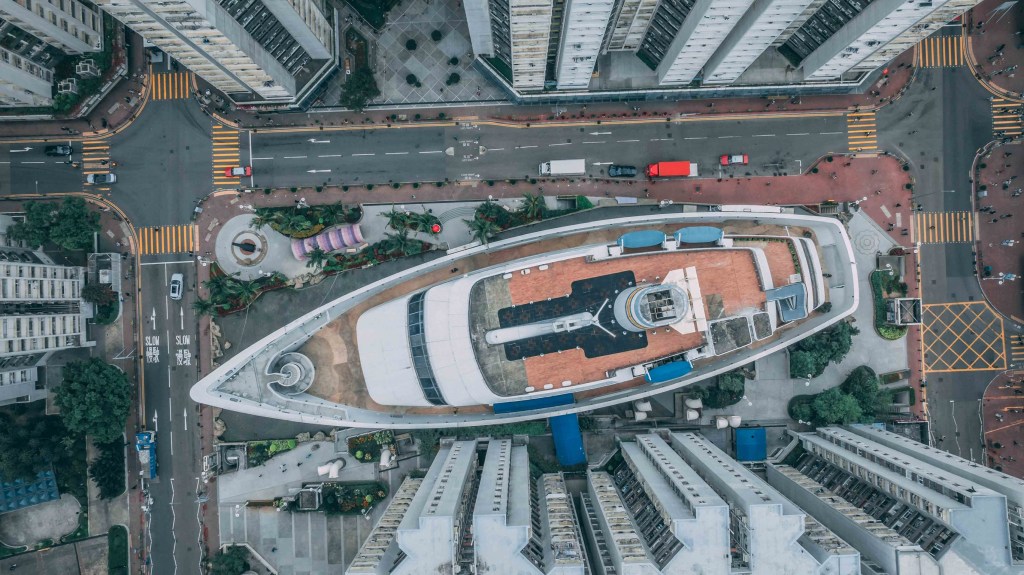
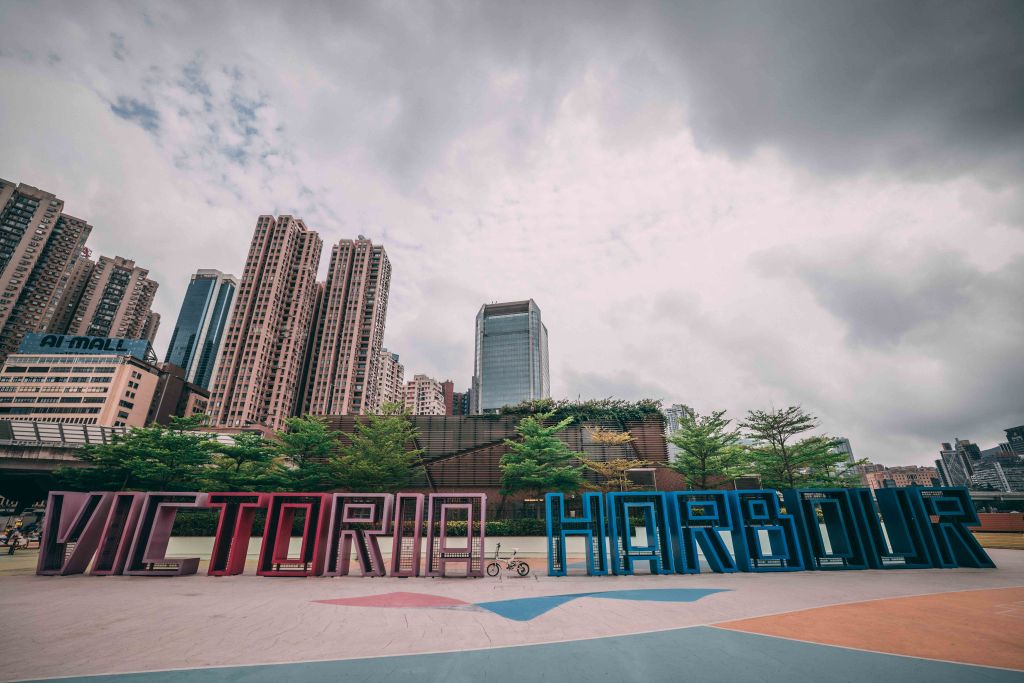
First we headed out to The Whampoa which is a large mall of over 300
shops and several themed worlds, including a ship! Here you can get a very cool shot with the drone. Then we took the MTR to East Coast Park Precinct before wandering up into Causeway Bay, we found here a super cool 3D printing shop called dot 3D which is definitely worth a look!
The WhampoaVictoria Harbour
Finally we decided to wander up Braemar Hill once more to fly our drones and to finish off our stay in HK before heading to the airport.
Braemar Hill
Short but intense, we feel like we made a lot considering that we just spent three days in Hong Kong. In our opinion, in the last day we could have also do the hike to The Dragon's Back, but we had to choose one. However, Hong Kong is a city to come back that's for sure so it will be in our list next time.

If you enjoyed this post don't forget to subscribe and if you have any other tips or recommendations for a short stay in HK, let us know in the comments, we will love to hear about it!


Leave a comment