This post is to help you get to the famous rock where you have probably seen many instagram pictures, here’s our experience so let’s start.
First thing you should know, is that the way to take once you get to Braemar Hill Road, is the one on the left! Yes, you are going to have to jump the fence. I start with this because when we get there the first time we went to the right and then the second time we saw people doing exactly the same thing, so keep reading and you won’t make the same mistake.
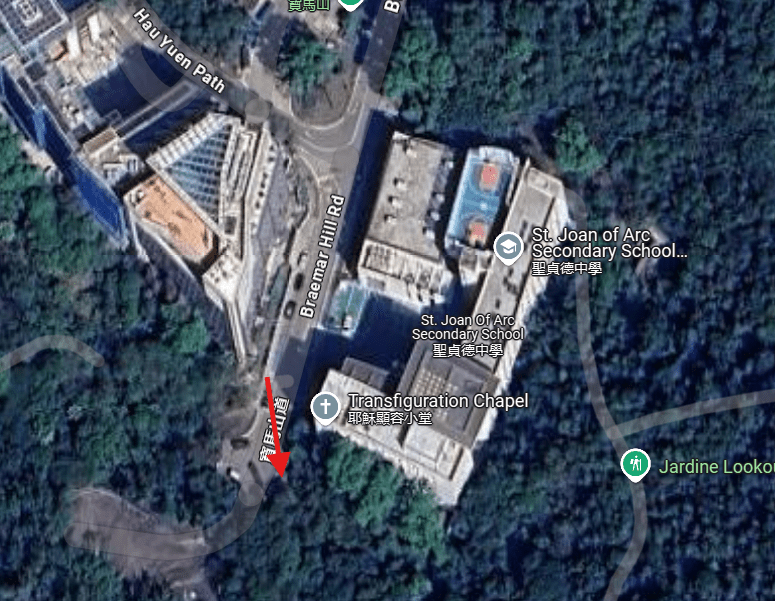
Braemar Hill Peak starting point
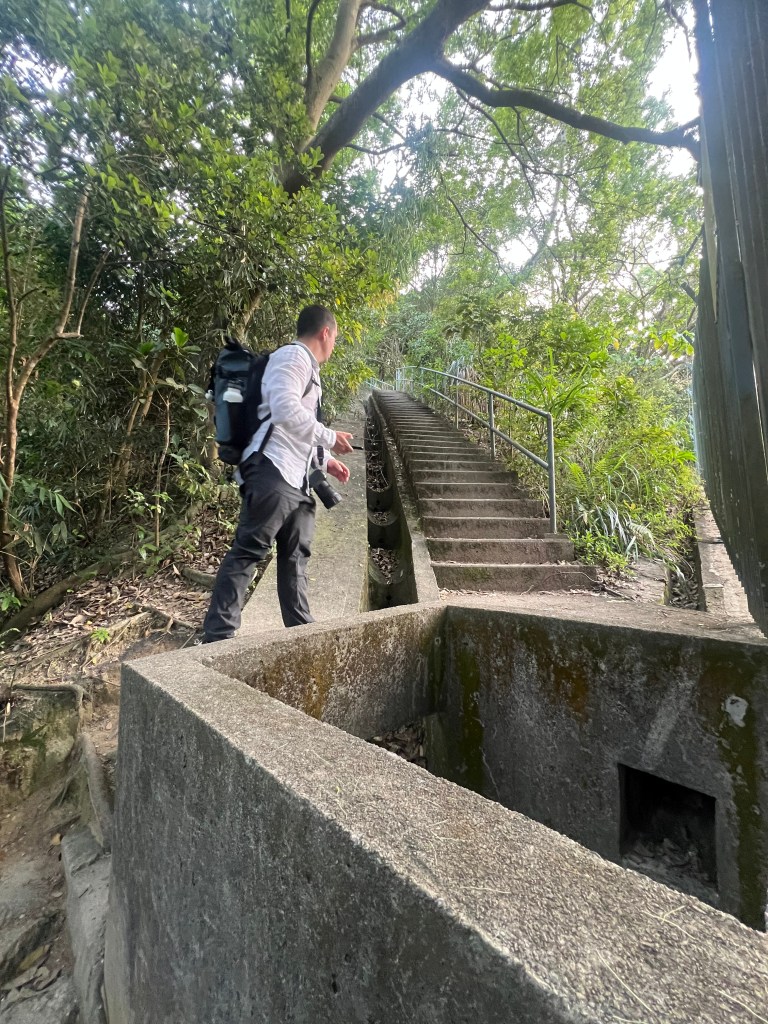
To Braemar Hill Rd you can get by any public transport or by Uber, just make sure you get to the very end of the road (you will need to pass the school). Once you there you will see a small fence on the left, just jump the fence and keep walking, you will see some steps, start to follow them up until you get to this point (see pictures).
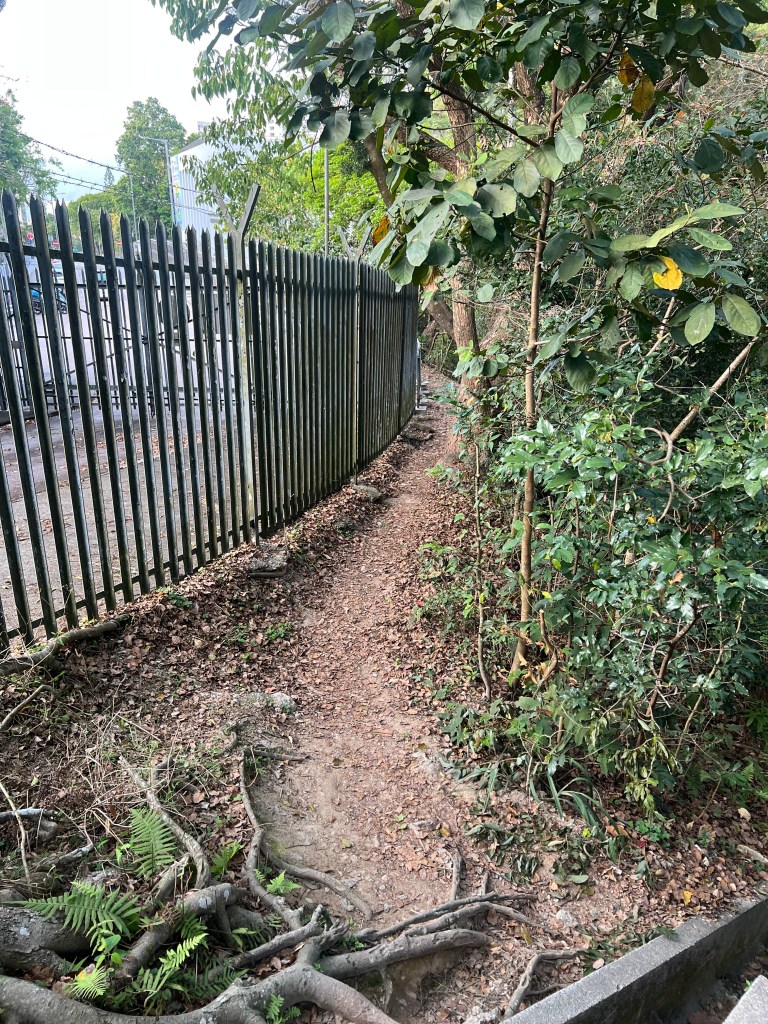
Starting pointThis is the fence you need to jump overOnce on the top of the steps, go left follow this pathGo all the way up
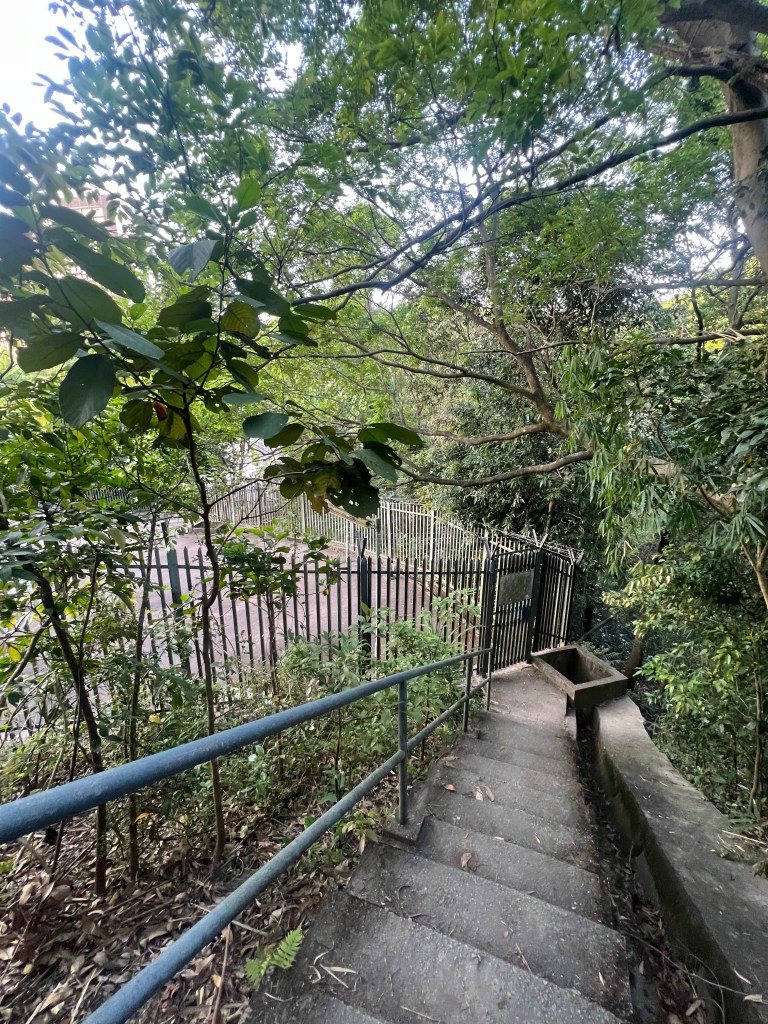
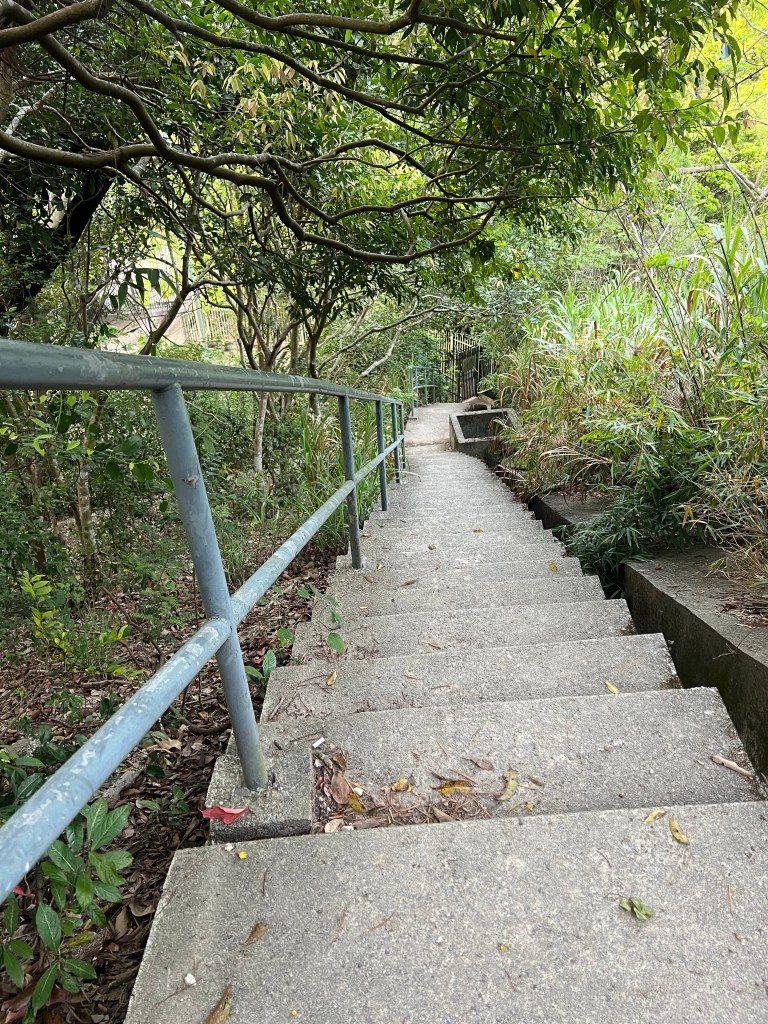
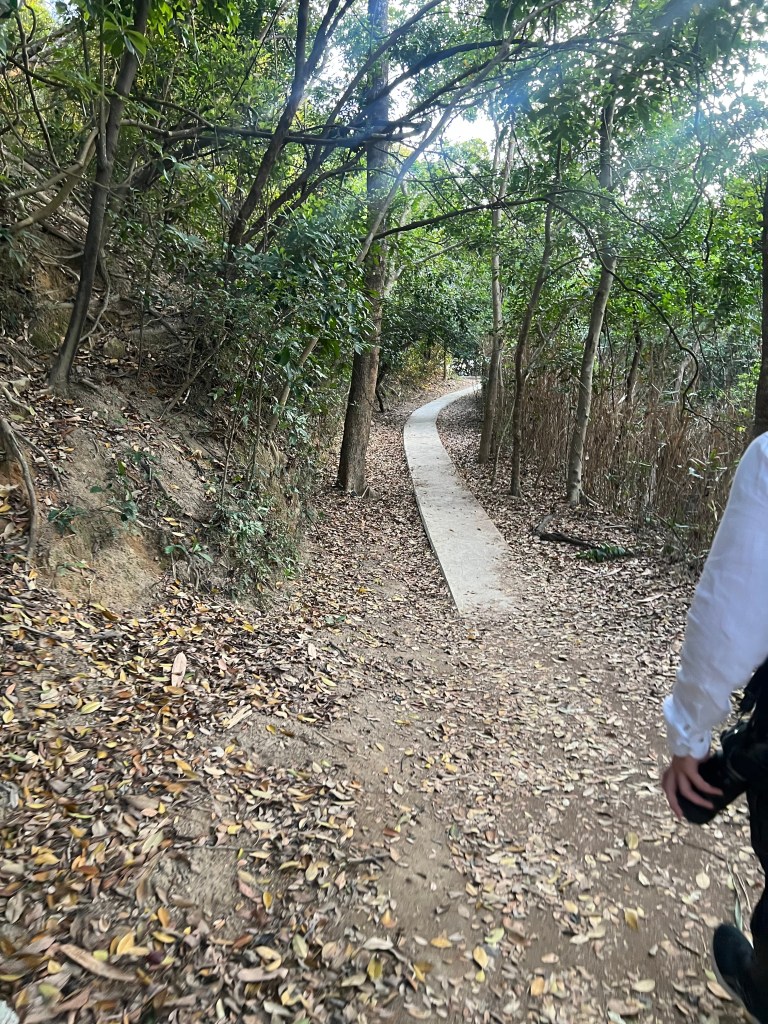
Right, now when you get to the very top of this steps, you will see there is a pathwalk, take right and keep walking.
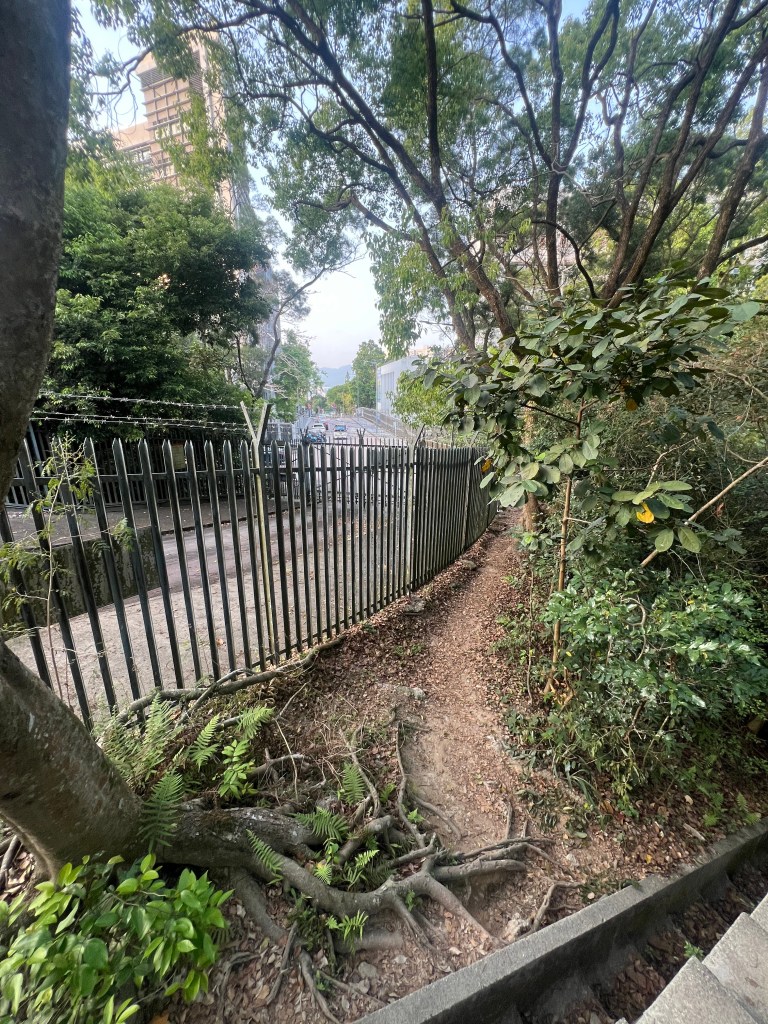
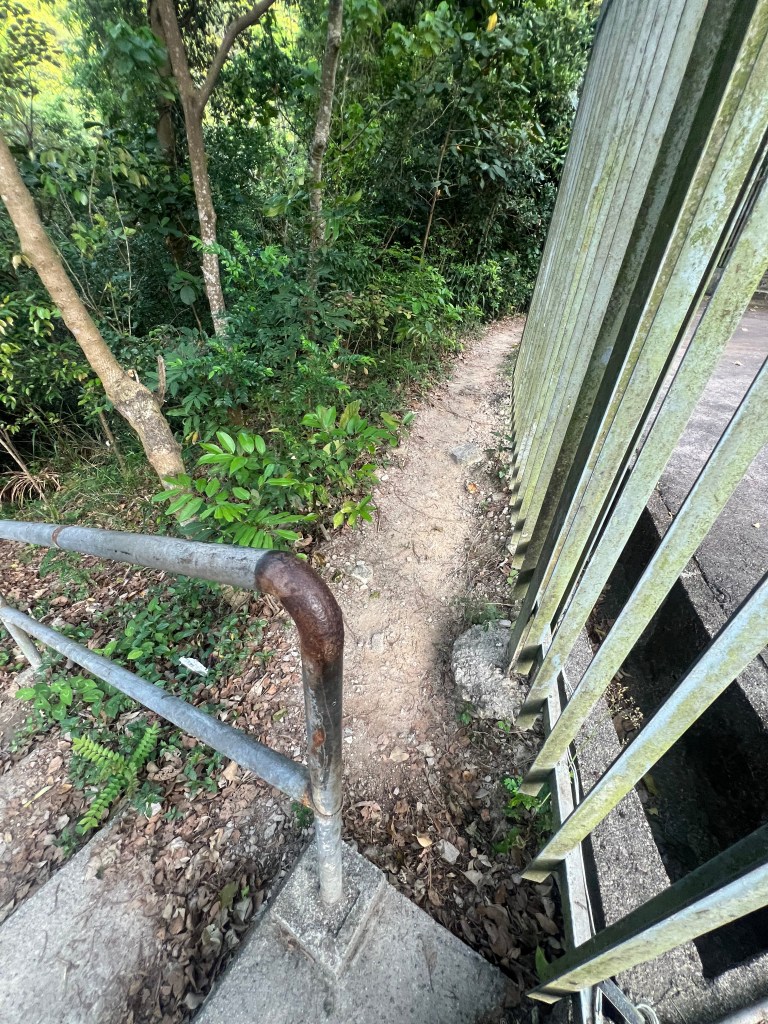
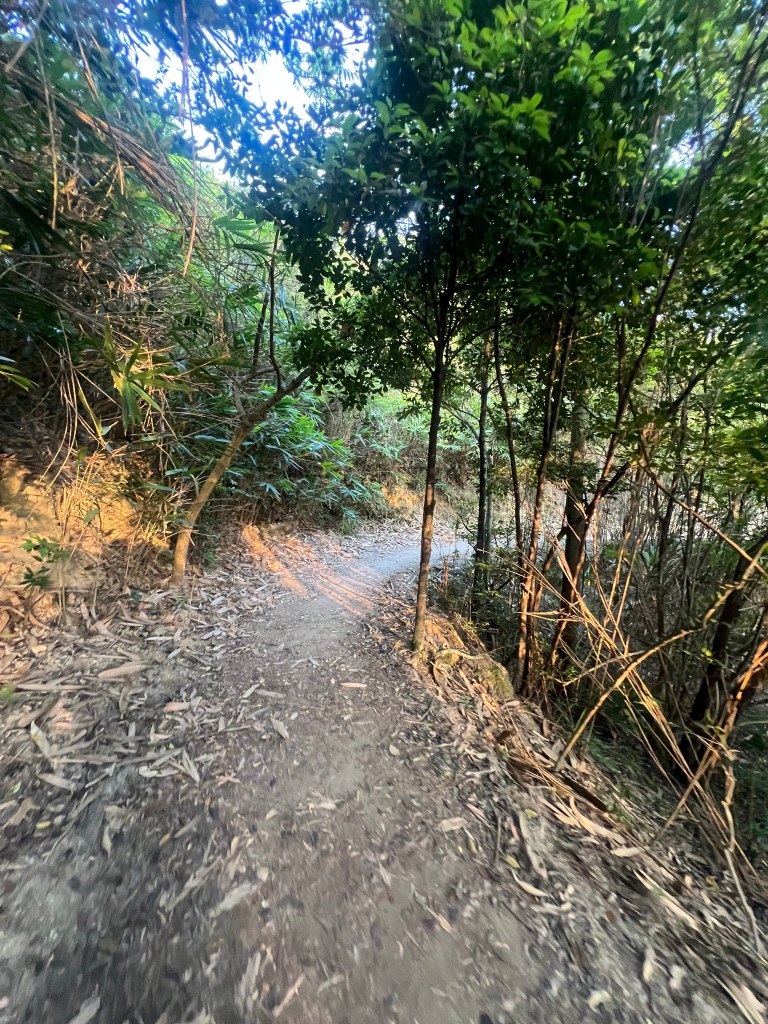
This is how it will lookPathwalkHere the path starts to clear
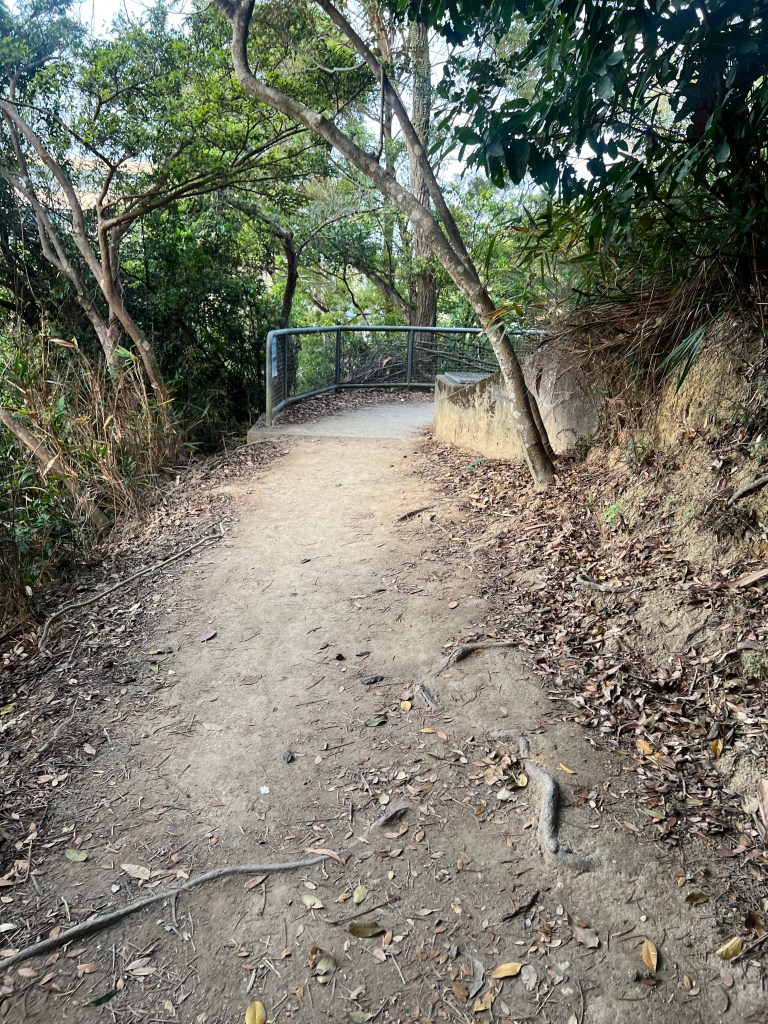
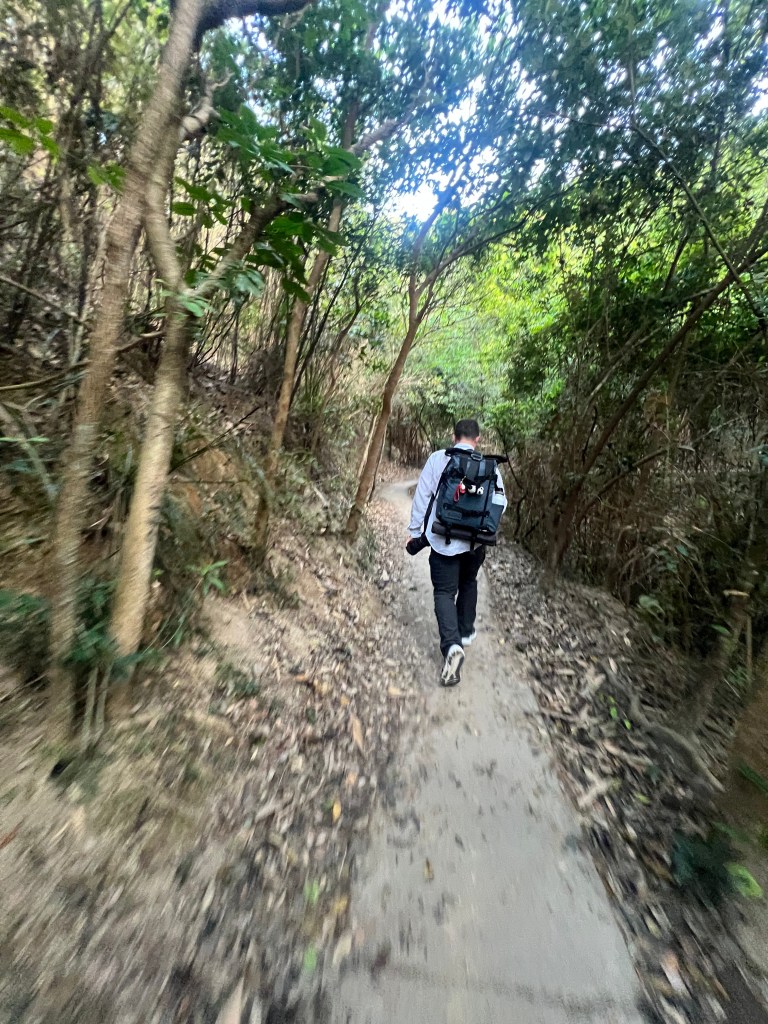
To walk this path it takes about 15 minutes, along the way you will see different spots where you can take pictures. Also, you will leave behind some rocky area in the pathwalk, after this you are basically there.
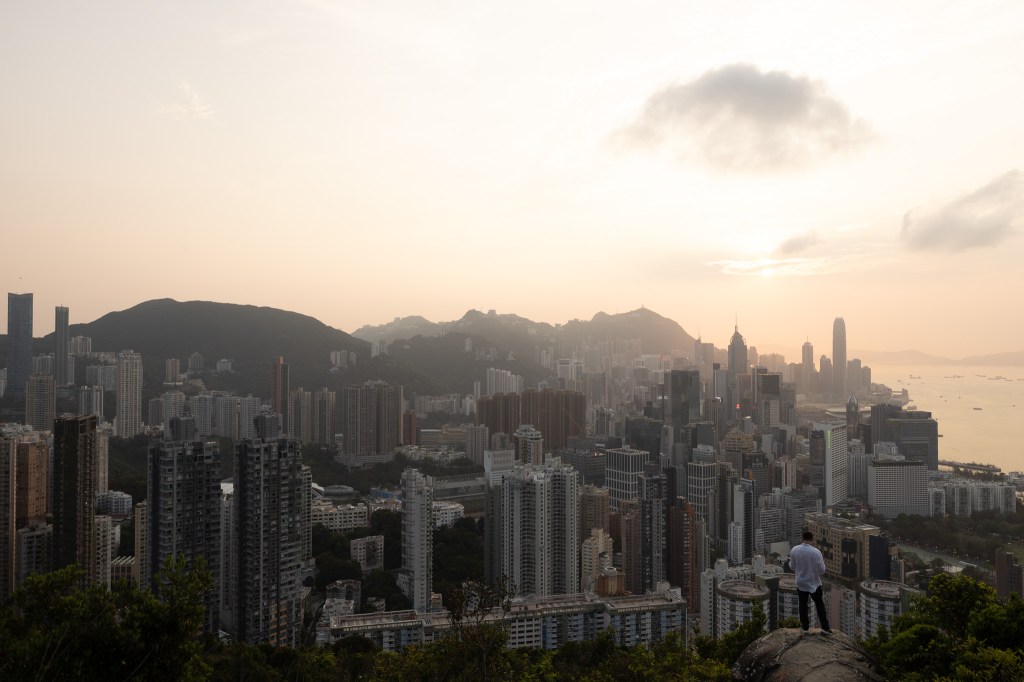
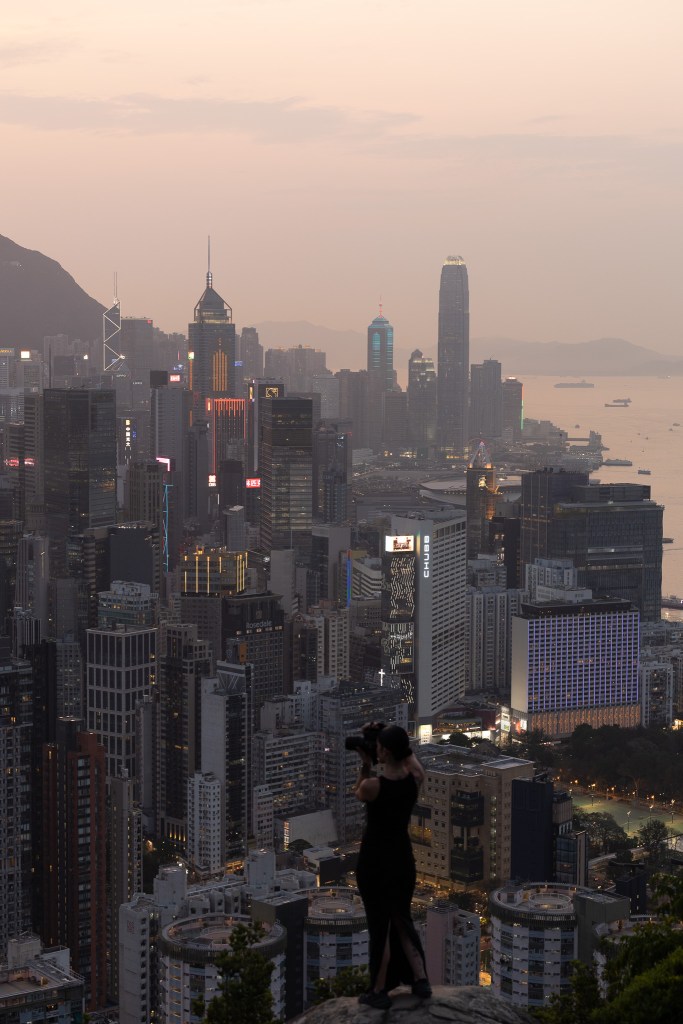
You will know you get there because on the right you will have a whole view of the buildings. Next thing you have to do to get to the Rock viewpoint, is walk up the hill, it’s not anything difficult and you don’t have to walk much but the ground might be very slippery. The views you will get are these, you probably recognise the spot since it’s quite popular.
Braemar Hill Peak (Photo Rock)
Worth it, right? I hope this post serves you as a guide to get there and if you already been there and have any comments just leave them below, we will be waiting to see what you would like to add.
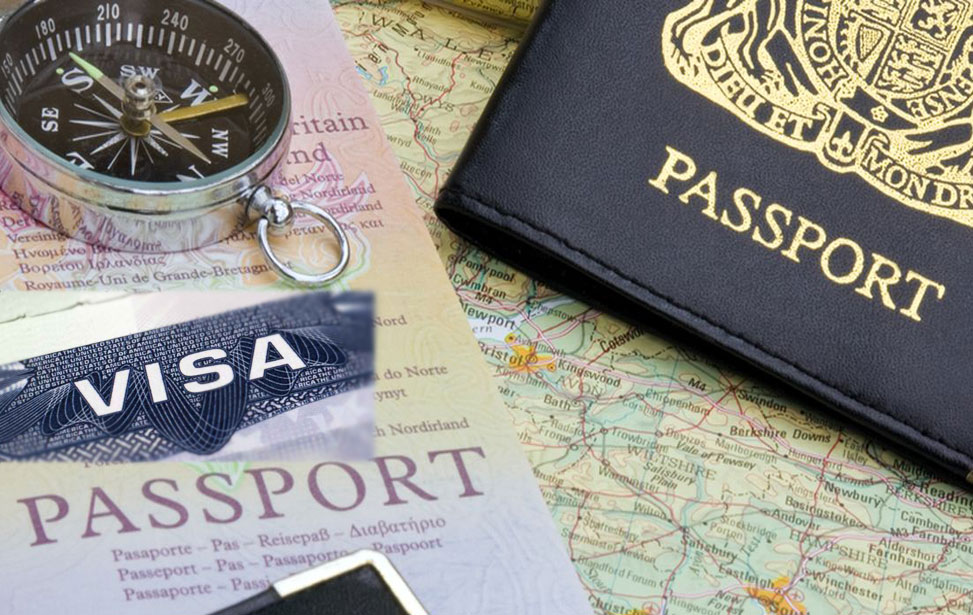
Before travelling to a different country, one of the first things in our checklist should be our Visa. Is it required and if so, what’s the application process, duration or if there’s any exemptions (as it was my case due my Spanish nationality). This should be one of the most important things to keep in mind since without this, we won’t go too far! In this post, Tom will discuss his experience to obtain a visa to travel to the China mainland as a British Citizen living in the UK.
Firstly, there are several different options for visitors travelling to China.
VISA EXEMPTION
For around 40 nationalities, China offer an exemption for up to 30 days (recently extended from 15 days), this may be extended but for now it is only as long as you travel before the end of December 2025. Here is the list of the current countries included:-
Switzerland, Ireland, Hungary, Austria, Belgium, Luxembourg, France, Germany, Italy, The Netherlands, Spain, Malaysia, New Zealand, Australia, Poland, Portugal, Greece, Cyprus, Slovenia, Slovakia, Norway, Finland, Denmark, Iceland, Andorra, Monacco, Liechtenstein, South Korea, Brunei, Bulgaria, Romania, Croatia, Montenegro, North Macedonia, Malta, Estonia, Latvia and Japan.
VISA FREE TRANSIT
China have also recently upgraded their China visa-free transit policy, this only applies if you have a interline ticket (connecting ticket) with the confirmed departure date and seat number leaving for a third country or region within 240 hours of arriving (10 Days). Please note that it must be a third country so you can’t simply return back to your original travel country!
The nationalities this applies to are as follows:-
Austria, Belgium, Czech Republic, Denmark, Estonia, Finland, France, Germany, Greece, Hungary, Iceland, Italy, Latvia, Lithuania, Luxembourg, Malta, Netherlands, Norway, Poland, Portugal, Slovakia, Slovenia, Spain, Sweden, Switzerland, Russia, United Kingdom, Ireland, Cyprus, Bulgaria, Romania, Ukraine, Serbia, Croatia, Bosnia, Herzegovina, Montenegro, Macedonia, Albania, Monaco, Belarus, United States, Canada, Brazil, Mexico, Argentina, Chile Australia and New Zealand, South Korea, Japan, Singapore, Brunei, United Arab Emirates and Qatar.
TOURISM VISA
For myself as a British Citizen I unfortunately couldn’t take advantage of the transit visa as while I was travelling onwards to Hong Kong my stay in China would be 14 days so applying for an official tourist visa was my only option.
Fortunately while there were a lot of steps the whole process was very smooth for me, hopefully this will give you the information for you to do the same thing.
Step 1 – Find your visa centre
First of all you can only apply for the visa when you are within 3 months of your travel date, you can complete all the paperwork before this date however if you wish which I will come onto in step 2! The UK has four dedicated Chinese Visa Application Centres located in London, Manchester, Edinburgh and Belfast. You will have to attend in person at which every location you choose. Manchester was just over a two hour drive for me so was the most ‘convenient’ for me to pick. Select your choice on the website here: https://www.visaforchina.cn/ , you can then create an account to be able to start your application.
Visa Application Centre, Manchester
Step 2 – Collection or Postage options
Before starting the paperwork I would recommend obtaining a passport style photo which is needed for the application, you are required to upload a photo to the website as well as bring a hard copy to the application centre. Most photobooths readily available in many locations will give the option to email you the photos as well nowadays, I went to a local Tesco superstore to get mine.
The other option you want to decide now is whether you want to go back to the application centre to collect the visa once it has been approved or have it returned by post. While there was an extra charge (covered in more detail later) it was more convenient for me to have mine posted back. You passport is retained as the visa is directly stamped in so I opted for special delivery to have mine returned, you have to purchase a prepaid envelope from a post office for this which costs approximately £8, this is not provided by the centre. Make sure you write the return address clearly onto it. If you decide you want to return in person then skip this process
Step 3 – Paperwork
So for this application be prepared to give literally every bit of information you can think of! All you personal details as well as your parents, work history, education etc and references to back it up!
With regards to your planned trip they want all your accommodation information, your departure/arrival flight numbers and a general itinerary.
This part takes a bit of time especially to collate all the information and double triple check everything matches, I know someone who’s visa got rejected because their names didn’t match their passports exactly on the forms it’s very strict!
You are then required to print and sign the application bringing it as well as all the documents to the visa centre to be checked.
Please note:
A recent update to the application process means that now all the paperwork can be uploaded to the visa application for an online review, additional documents may be requested. Once you have passed the online review you will still need to visit the visa centre but this streamlines the process.
Step 4 – Visa centre visit
Appointments are not required, I arrived early as I wasn’t sure how busy it would be. No photos are allowed to be taken inside but I snapped this before entering. You are given a ticket number and called to a desk once it is your turn. All the documents are reviewed with copies taken, your passport will also be taken so bear this in mind. Your fingerprints are also scanned and finally you pay the visa fee. Overall this process was very smooth and I was only inside for about 15 minutes, there was a lot of seats and 8 counters though so maybe it can get a lot busier at times. It’s worth noting that I was told I would receive no email updates during the processing time unless any further information was required, so in this case no news was good news!
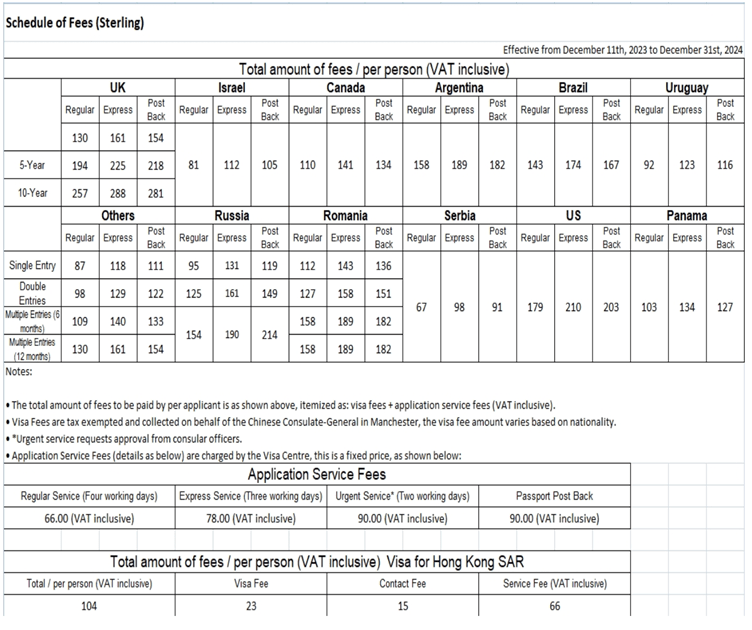
Step 5 – Fees overview
As a UK passport holder I was charged £154 which included a £90 post back service fee as shown in the schedule of fees table below (fees could change in the future). A pleasant surprise was also that while I only requested a one time entry visa I was told I would get a two year visa allowing travel up to 90 days at a time which was a bonus!
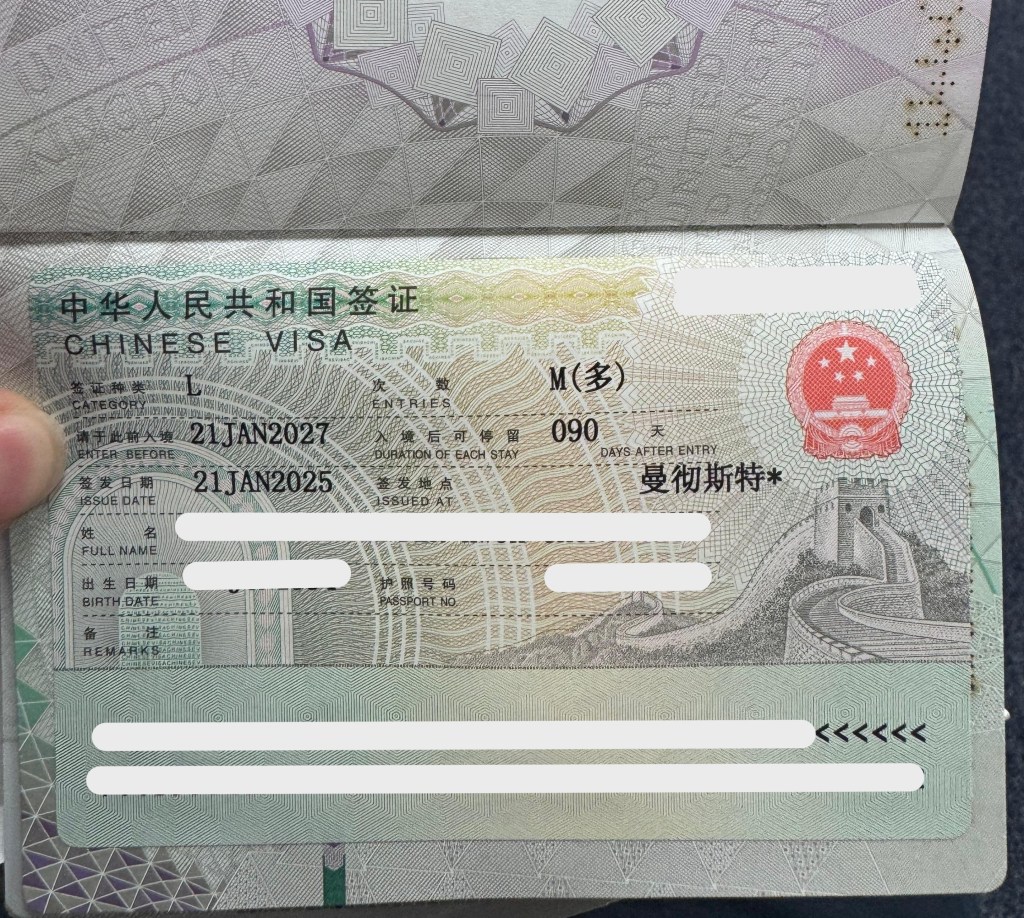
Step 6 – Receive visa
I submitted my application on a Monday and as promised I received a tracking update Wednesday evening stating that my passport would be delivered Thursday in line with their stated four day processing time. Here is a picture!
Chinese Visa
Overall while a lot of time went into preparing the application I found the process streamlined and encountered no issue, I hope the same goes for you as well!


Leave a comment